
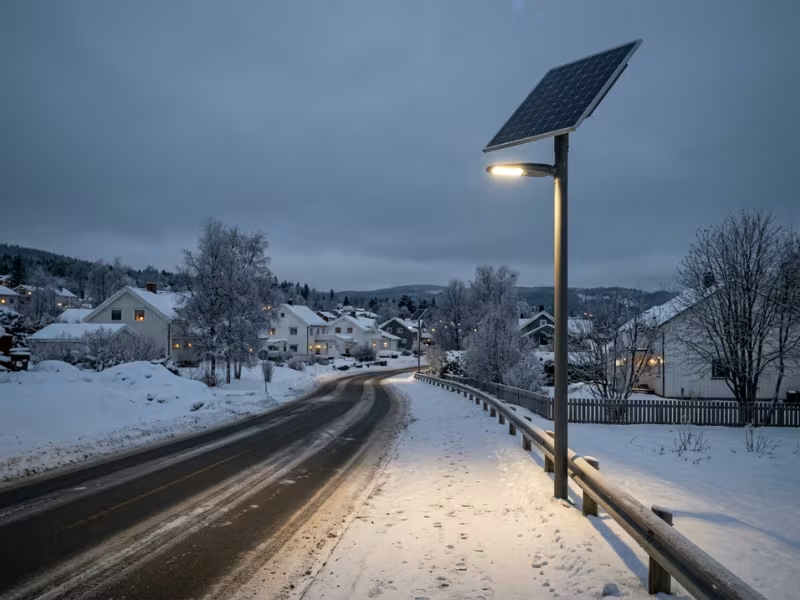
Every fall, buyers ask me the same question. Will solar street lights fail when snow piles up, days get short, and temperatures drop below freezing?
The short answer is that they can work well in winter, but only when the system is designed for the worst winter month, not for average weather across the year.
I work on outdoor solar lighting projects in cold regions, and I see the same pattern again and again. A system looks fine in summer, then struggles when winter cuts charging time and stretches nighttime runtime.
In this guide, I explain what really limits winter performance, how to judge whether a site is suitable, and how to design a system that stays reliable through cold weather.
Can Solar Street Lights Really Run Through Winter?
Yes. A well-designed solar street light can keep working through snow, short days, and freezing nights. But the phrase “well-designed” carries most of the weight.
I have seen two lights on the same rural road behave very differently in midwinter. One stayed bright until dawn. The other went dark before midnight. They faced the same weather. The difference came from sizing, battery protection, panel angle, and load control.
When winter systems usually hold up
Cold-climate systems usually perform well when a few basics are right:
- The battery is sized for the longest night, plus reserve for cloudy periods
- The panel is large enough to recharge during short winter days
- The battery uses LiFePO4 chemistry with low-temperature charge protection
- The panel tilt is steep enough to shed snow
- The lighting profile uses dimming or motion-based control
When these points are handled properly, many sites in cold northern regions can still run from dusk to dawn through winter.
When winter systems struggle
Problems usually begin when someone buys a system sized for summer or mild seasons. It may look fine in July, when days are long and nights are short. Then the hardest winter month arrives. Nights get longer, the sun stays low, and a run of cloudy days starts draining the battery.
A flat panel buried in snow makes things worse. So does a battery that cannot charge safely below freezing. In most cases, the light does not “break.” It simply runs out of energy.
The rule I give every client
Size the system for the darkest winter month at your site, the longest nights, and several cloudy days in a row. Do not size it on annual averages. Annual averages hide the hardest part of the year, and that is when your system either proves itself or fails.
What Actually Limits Winter Performance?
Most buyers blame the cold when a solar light fails in winter. In practice, cold air alone is rarely the main problem. Winter performance usually comes down to four connected limits: less solar harvest, harder battery charging, snow coverage, and poor energy balance.
Short days and a low sun hurt more than cold air
Solar panels generally do not hate cold weather. In fact, crystalline panels often run a little more efficiently in low temperatures. On a clear cold day, a panel can perform slightly better than it would in summer heat.
The real problem is winter sunlight.
- Days are shorter
- The sun stays lower in the sky
- Cloud cover is often heavier
- The charging window becomes much smaller
A site that gets 5 to 6 peak sun hours in summer may get only 1.5 to 2 in the worst winter month. That cuts your energy harvest at the same time that your night load increases.
In summer, many systems collect much more energy than they use. In winter, that safety margin can disappear fast.
Freezing weather makes the battery harder to recharge
Most people know that batteries lose usable capacity in the cold. That matters, but it is only part of the story.
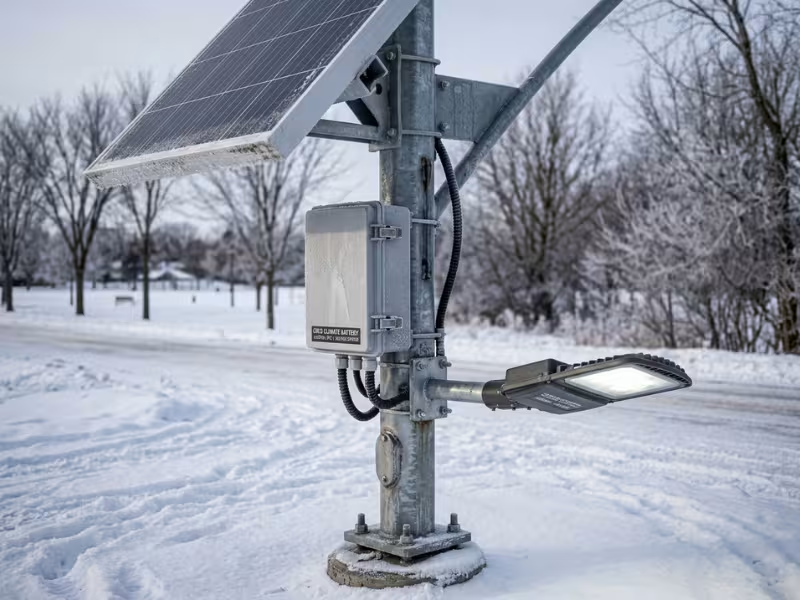
The bigger issue is charging. LiFePO4 batteries can usually discharge at low temperatures much better than they can charge. Most should not charge below 0°C (32°F). If charging continues when cells are too cold, permanent damage can happen.
A good battery management system prevents that damage by blocking charging below a safe temperature. That protection is necessary, but it also creates a hidden winter problem. Your panel may have some output during the day, yet the battery may refuse to accept that charge until the cells warm up.
That is why I pay close attention to daytime recovery, not just nighttime runtime.
Three things help here:
- Low-temperature charge cutoff in the BMS
- Self-heating battery packs for colder sites
- Better battery placement, such as insulated or protected enclosures
If the battery cannot recharge properly during the day, winter performance drops quickly.
Snow on the panel can stop charging completely
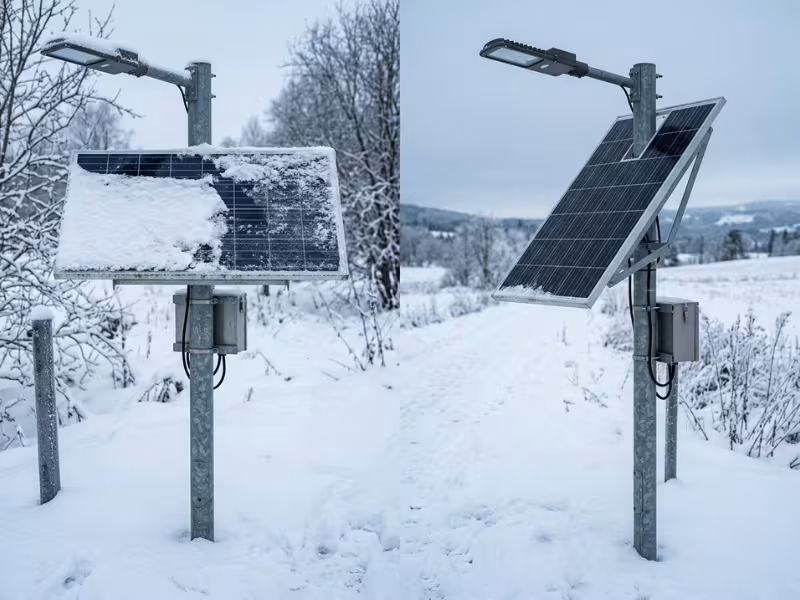
Snow is the most direct winter threat. A covered panel produces little or no useful energy. Even partial snow cover can cause large losses.
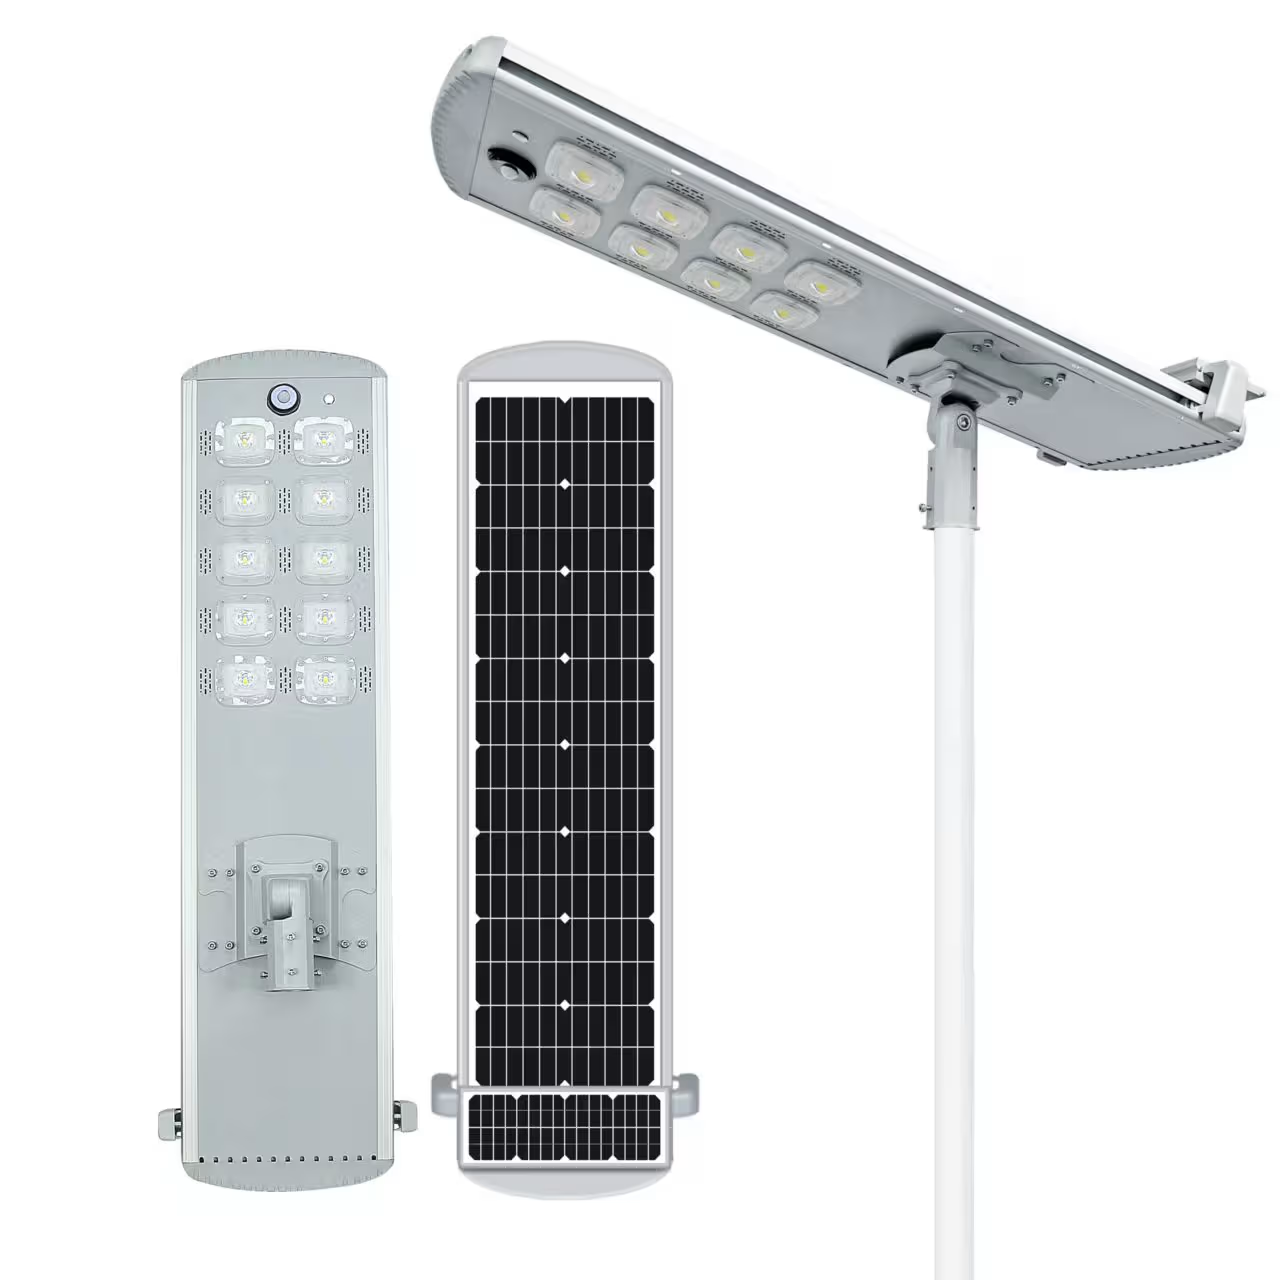
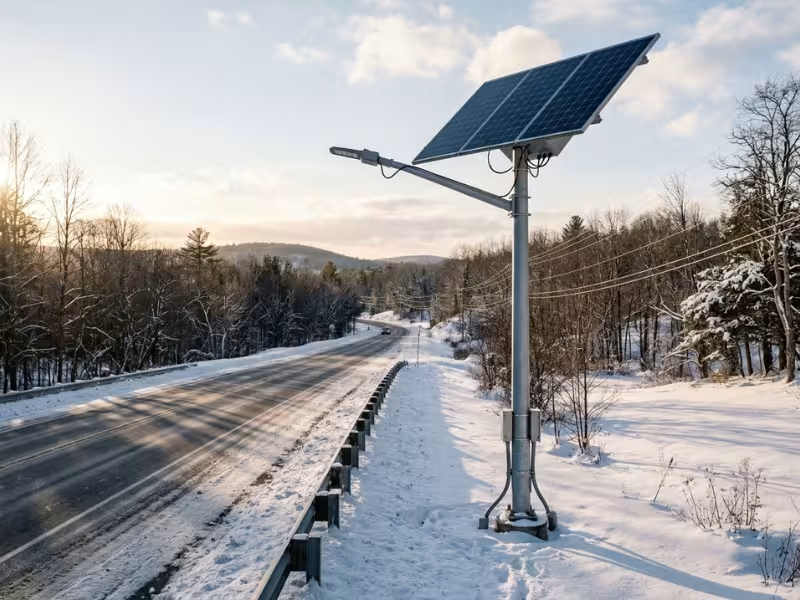
This is where tilt angle matters. In snowy regions, I treat 45 degrees as the minimum, and I often go steeper in heavy-snow areas. A steeper angle helps the panel catch low winter sun and shed snow more easily.
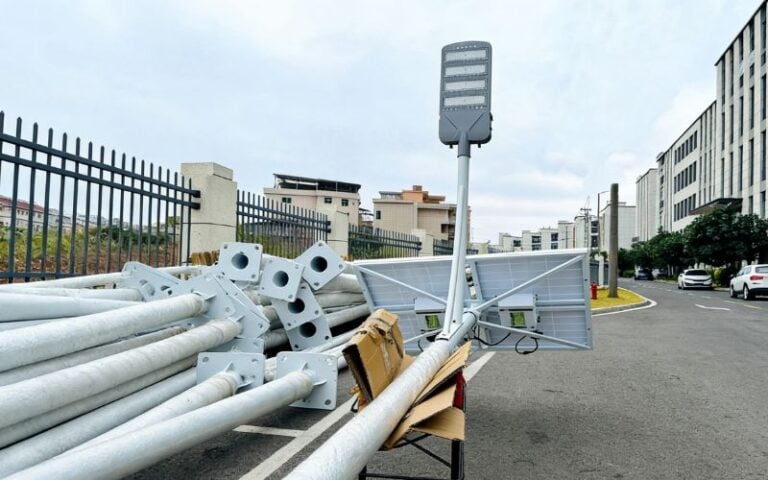
The panel design also matters. Lower-edge details can affect how easily snow slides off. A panel that clears itself after each storm can save a lot of maintenance time. In heavy-snow regions, a self-cleaning solar street light may also help reduce manual panel clearing.
Installation position matters too. Keep the panel clear of winter shade, building shadows, drifting snow, and snowplow spray.
Most winter failures are energy-balance failures
When a light goes dark in winter, many people assume a part failed. Usually, the bigger problem is simple energy math.
Imagine a light that draws 20 W on average over a 15-hour night. That is 300 Wh of nightly demand. Now imagine its panel produces only about 110 Wh per day after winter sun limits and system losses. The result is a daily deficit.
Nothing needs to “break” for that system to fail. If it spends more every night than it earns every day, the battery will eventually empty.
That is the core winter rule: daily winter energy income must cover nightly demand, with margin left over.
How to Tell If a Winter Solar Street Light Project Is Feasible
Before you compare products or request quotes, check whether your site can realistically support solar through winter. This step saves time and prevents expensive mistakes.
Start with the worst winter month, not the annual average
Annual averages make many sites look better than they really are. A location may average 4 peak sun hours across the year, but that number mixes strong summer months with weak winter ones.
Your lights cannot store summer sunshine for winter use. So I always pull monthly solar data for the exact location and work from the weakest winter month.
If the system works in that month, it usually works for the rest of the year too.
Check these four site variables before choosing a system
Once you have the weakest winter month, check four things.
1. Effective winter sun hours
Start with peak sun hours, then adjust for real shading. Trees, buildings, poles, and nearby terrain all matter more in winter because the sun stays lower.
2. Longest night duration
This sets your runtime target. Longer nights mean higher nightly energy demand.
3. Snow frequency and panel coverage risk
A site with light, occasional snow behaves very differently from one with repeated storms or snow that lingers for days.
4. Lighting demand by application
A pathway, a parking lot, and a main roadway do not need the same output or the same runtime profile. Define the lighting task before sizing the system.
When you combine these four factors, you get a realistic picture of whether winter solar is practical.
High latitude and heavy snowfall require stricter assumptions
Some locations need more conservative design rules. High-latitude sites may get extremely weak winter solar input. Heavy-snow zones may lose charging days again and again.
In those cases, I usually make three adjustments:
- Increase autonomy days
- Reduce expected winter panel output
- Require faster recovery after cloudy periods
If a project still looks weak after those adjustments, pure solar may not be the best choice. That is the point where hybrid or grid-connected lighting deserves serious consideration.
How to Design Solar Street Lights for Cold Climates
Once a site passes the feasibility check, good winter performance comes down to design choices. A few decisions have far more impact than the rest.
Size the battery for the longest nights and cloudy-day autonomy
The battery is your winter reserve. I size it first.
Start with the longest night at the site. Multiply that runtime by the system’s average power draw. Then add autonomy days, which means how long the light must keep running with little or no useful charging.
At milder sites, 3 days of autonomy may be enough. In snowy or cloud-prone regions, 5 days is often safer.
Then adjust for usable depth of discharge and cold-weather capacity loss. This is where many undersized systems fail. On paper they look efficient. In winter they simply do not hold enough reserve.
If you size the battery on annual averages, the result may look neat and affordable. It will also likely be too small for real winter operation.
Oversize the solar panel for winter recovery, not summer sufficiency
A system does not just need enough panel power to survive one night. It also needs enough charging power to recover after poor weather.
That recovery margin matters more than many buyers realize. After several cloudy days, the battery may be deeply drained. The panel must cover that night’s load and start rebuilding reserve at the same time.
That is why I design for winter recovery, not just minimum survival. In practical terms, I want the panel to help the battery recover within a few clear winter days.
This is also why a winter-capable system may need a much larger panel than a summer-only design. The extra panel size does not mean waste. It means resilience.
Use LiFePO4 batteries with proper low-temperature protection
For cold-climate solar street lights, LiFePO4 is usually the best battery chemistry.
It offers:
- Good cycle life
- Better safety than many lithium alternatives
- Strong daily cycling performance
- More predictable off-grid behavior
But chemistry alone is not enough. I look for three specific features:
- A verified low-temperature charge cutoff
- Self-heating for colder sites
- Smart battery placement or insulation
A cheap battery without real winter protection can ruin an otherwise good design.
Use steeper panel tilt for snow shedding and winter sun capture
Panel angle works twice as hard in winter. It helps with solar capture, and it helps with snow shedding.
At many cold-climate sites, I use a steeper tilt than I would for annual energy optimization. A winter-focused angle can improve exposure to low sun and reduce the chance of snow sitting on the panel for days.
But there is a tradeoff. A steeper, larger panel catches more wind. So the bracket, pole, and foundation must match that load.
This is one area where a good electrical design can still fail if the mechanical design is weak.
Reduce load intelligently with dimming and motion-based control
One of the best winter design tools is load reduction. But that does not mean blindly dimming everything.
The goal is to match light output to actual site use.
A residential road may need full light early in the evening, reduced output late at night, and a motion boost when someone passes by. A parking area may need a different profile. A pathway may need very little background output after midnight.
With a good dimming profile, you can cut winter energy demand sharply without making the site feel dark or unsafe.
This is one of the most cost-effective ways to reduce required battery and panel size.
Match lighting output to the application, not to a generic lumen target
Many buyers ask for the brightest fixture they can get. In winter, that approach often creates more problems than value.
Start with the lighting task:
- Pathways and trails need safe visibility and low glare
- Residential streets need balanced coverage
- Parking areas need good uniformity
- Rural roads often need focused lighting at key points, not full blanket lighting everywhere
Snow also changes how people perceive brightness. A snowy surface reflects a lot of light, so a site may appear brighter in winter than in warmer months at the same output.
That is why smart design starts with the application, not a marketing lumen number.
Don’t ignore housing, drivers, corrosion, and sealing
Winter performance is not only about watts and amp-hours. The hardware has to survive the environment.
I always check:
- Enclosure rating
- Driver temperature rating
- Seal quality
- Venting
- Corrosion resistance
- Fastener quality
Driving snow, freeze-thaw cycles, condensation, and road salt all shorten product life if the fixture is poorly built.
If water enters the housing or the driver cannot start in deep cold, the best battery calculation in the world will not save the system.
Common Reasons Solar Street Lights Fail in Winter
When winter failures happen, the causes are usually familiar. They tend to trace back to design or buying mistakes, not mystery faults.
1. Sizing for average weather instead of the worst month
This is the most common mistake. A system looks good on annual averages, then fails during the hardest winter weeks.
2. Flat panel angles that hold snow
A panel that stays buried cannot recharge the battery. Flat integrated designs often struggle more in snow country.
3. Batteries without proper low-temperature charging protection
Some low-cost batteries either charge when they should not or stop charging with no recovery support. Both problems shorten winter runtime.
4. Overly high output with no dimming strategy
Running full power all night can destroy the winter energy balance. Smart controls make a major difference.
5. No maintenance plan after storms or prolonged snow cover
Even a good system may need checks after wet snow, freezing rain, or repeated storms. If nobody looks, charging problems can go unnoticed until the battery is empty.
The good news is that these are preventable mistakes. Most winter failures begin long before winter starts.
When Solar Street Lights Make Sense in Winter — and When They Don’t
Not every cold site is a good solar site. Some projects are excellent winter candidates. Others are possible, but not economical.
Good-fit winter applications
Solar works especially well when the load is moderate and trenching is difficult or expensive.
Good examples include:
- Remote roads
- Pathways and trails
- Campuses and parks
- Parking areas
- Sites with expensive ground works or road crossings
These projects often benefit from flexible dimming profiles and lower wiring costs.
Higher-risk or poor-fit applications
Some applications push winter solar close to its practical limit.
These include:
- Extreme latitudes
- Heavy, repeated snowfall zones
- All-night high-output roadway lighting
- Critical-safety locations with near-zero outage tolerance
In these cases, the required battery and panel sizes may become too large, too costly, or too exposed to wind and snow risk.
When grid or hybrid systems may be the better choice
Sometimes the right answer is not pure solar.
Choose grid power when a nearby power source makes connection easy and all-night high output is non-negotiable. In these cases, a conventional LED street light system may be the more reliable fit.
Choose hybrid power when you want solar contribution for most of the year but need backup during the hardest winter periods.
For larger sites, a mixed approach often works best. Use solar where trenching is painful, and use grid power where uptime requirements are stricter.
The goal is dependable lighting, not forcing solar into a poor-fit application.
Recommended Winter Maintenance Checks
A well-designed system needs less maintenance than many people expect, but winter still rewards a few simple checks.
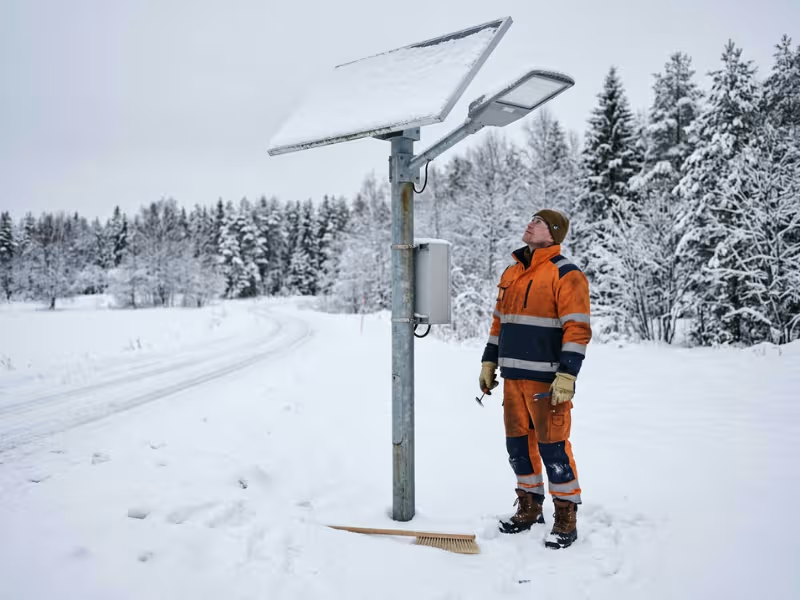
Clear panels after major snow events
Steep panels often self-clear, but wet snow, freezing rain, and snowplow spray can still cause buildup.
Inspect the battery before the freeze season
Check capacity, state of charge behavior, and any fault history before winter gets serious.
Confirm control settings and sensor operation
Motion sensors, dimming schedules, and switching thresholds should be checked before the darkest months.
Inspect seals, mounts, and wiring
Freeze-thaw cycles can loosen hardware and expose weak seals or cable entry points.
These checks do not take long, but they prevent many midwinter service calls.
FAQs
Do solar street lights work in snow and freezing weather?
Yes. Cold air alone does not stop them from working. The real risks are weak winter charging, snow-covered panels, and poor system sizing.
How cold is too cold for a solar street light battery?
That depends on whether the battery is charging or discharging. LiFePO4 can often discharge at low temperatures, but charging below freezing usually requires strong BMS protection and, at colder sites, heating support.
How long can solar street lights stay on in winter?
A properly sized system can run from dusk to dawn, even on the longest winter nights. The more important question is how many cloudy days it can survive without enough charging.
Can solar panels charge on cloudy winter days?
Yes, but output is much lower. Cloudy winter days help less than many buyers expect, so autonomy and recovery design matter a lot.
Are LiFePO4 batteries better for cold climates?
In most cases, yes. They offer better cycle life, safer chemistry, and more stable off-grid performance than many alternatives. But they still need proper low-temperature charge protection.
What size solar panel or battery is needed for winter use?
There is no single answer. The correct size depends on your winter sun hours, longest night, snow conditions, output target, and autonomy requirement. Any supplier should be able to show you the winter energy math behind the design.
Plan for the Hardest Winter Month, and the Rest Follows
Solar street lights can work very well in winter. But they do not succeed by accident.
The strongest winter designs usually get five things right:
- Battery sizing for the longest nights and several cloudy days
- Panel sizing for winter recovery, not just one-night survival
- LiFePO4 batteries with proper low-temperature protection
- Steep panel tilt for snow shedding and low-sun capture
- Smart dimming or motion-based control to reduce load
If you are planning a cold-climate project, start with your site’s winter sun data. Then calculate the longest-night runtime, define the autonomy target, and size the battery, panel, and control strategy around those numbers.
That process will help you compare products more clearly and avoid undersized systems that look fine on paper but fail in winter.