
You grab a new bulb, check the box, and look for the wattage you’ve always used. But an LED equivalent chart tells a different story now. That old number no longer means what you think.
Here’s why: wattage measures power, not brightness. A 9W LED can outshine a 60W incandescent with ease.
An LED equivalent chart fixes the confusion. It translates old watts into the light output you actually want.
So let’s clear it up. You’ll learn how to read the chart, match your old bulb, and pick the right LED without the guesswork.
Why Watts Stopped Telling You How Bright a Bulb Is
For years, watts worked as a rough stand-in for brightness. That shortcut is gone now, and here’s why.
A watt measures power. It tells you how much electricity a bulb pulls from the socket, not how much light it throws into the room. Those are two different things.
The old incandescent bulb blurred that line. It burned most of its watts as heat. Only a small slice turned into visible light. So a high wattage really did mean a hot, bright bulb.
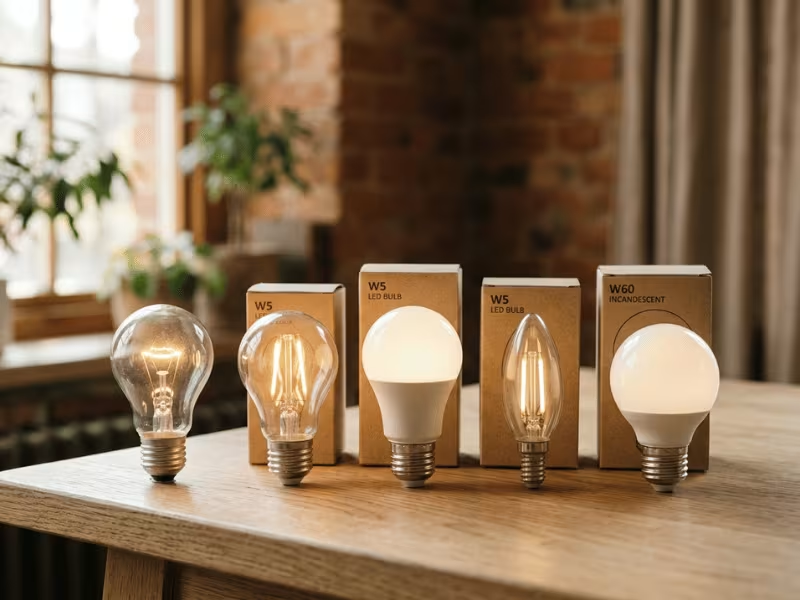
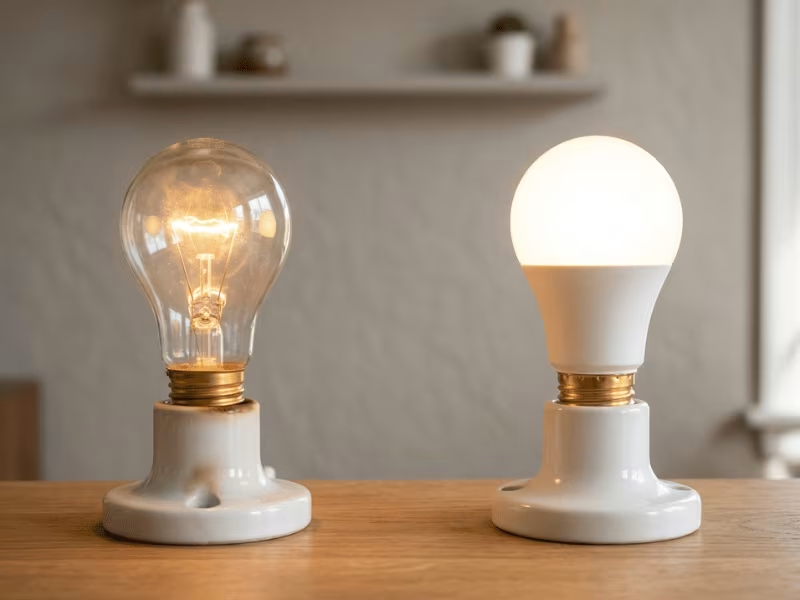
LEDs flipped the math. They waste very little as heat and send far more of each watt out as light. That gap is the whole story. A 9W LED matches the brightness of a 60W incandescent, and it barely warms up doing it.
This is where the box gets tricky. Makers print “60W equivalent” to bridge the old world and the new one. But that number is loose. Brands round it their own way. One “60W replacement” might give you 750 lumens. Another might reach 900. Same label, noticeably different light.
So stop shopping by watts. Shop by lumens, the true measure of brightness. An LED equivalent chart hands you that number fast.
What an LED Equivalent Chart Actually Shows
Think of the chart as a translator. It maps a traditional bulb’s wattage to the LED wattage that gives you similar light. So “60W equivalent” points you toward a roughly 9W LED.
But treat it as a shortcut, not a hard rule. The real measurement sitting underneath is lumens. That’s what your eyes actually read as brightness.
Here’s the catch I want you to remember. Charts differ by brand and by bulb shape. Two bulbs both labeled “60W replacement” won’t always throw the same light.
So use the chart to get close, then check the lumen number on the box to be sure. That’s exactly how you should read the tables coming up.
The LED Equivalent Chart by Bulb Type
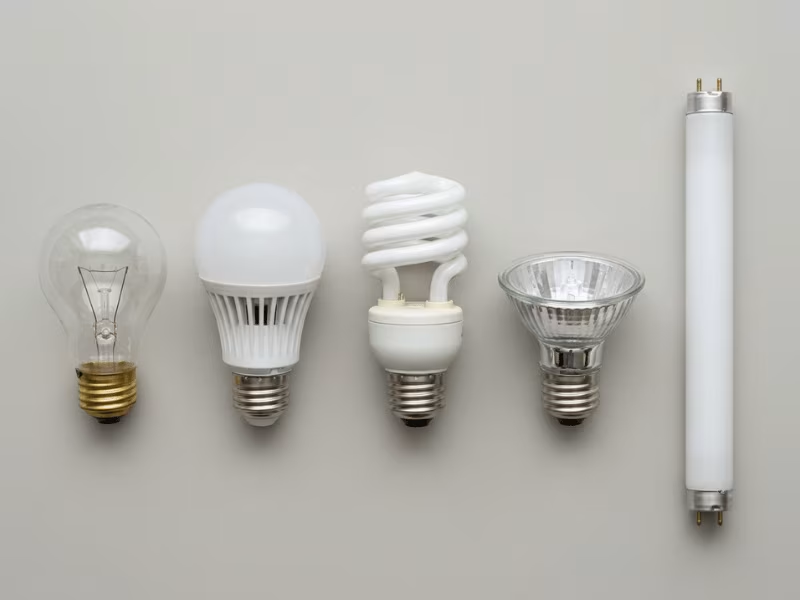
Here’s the part you came for. Find your old bulb below, read across, and shop by the lumen number. I’ve grouped the charts by the bulb you’re replacing, since each type converts a little differently.
Incandescent to LED
This is the most common swap, and the numbers are the easiest to trust.
The LED wattage lands in a range because efficiency varies by brand. A well-made 9W LED can hit the same 800 lumens a cheaper 10W struggles to reach.
Halogen and CFL to LED
These two sit close to incandescent, but each needs a small adjustment before you shop.
One more reason to replace CFLs early: they contain mercury. A broken one means careful cleanup, so I tell clients to swap them before they fail.
Linear Fluorescent (T8 / T12) to LED
Tubes take a different route than screw-in bulbs. You have two paths.
One caution: T12 fixtures usually can’t take a ballast-compatible LED tube. Older magnetic ballasts often won’t drive them. For most T12 setups, go the bypass route.
Read the LED wattage column as a range, not a promise.
How to Read the Chart in Four Steps
The chart gives you the number. These four steps make sure that number turns into a bulb that fits, lights up, and looks right in the room. Skip one, and you may end up back at the store.
Step 1 — Start with the bulb you’re replacing
Before you shop, get the details off the old bulb.
Write down four things:
- Wattage — the number printed near the base
- Base type — how it screws or pins into the socket
- Shape code — the letter-number label like A19 or BR30
- Color — warm, soft white, or daylight
Then pull out your phone. Snap a clear photo of the base and any markings.
I tell every client to do this. The store lighting is bright, the aisle is crowded, and it’s easy to grab the wrong size from memory. A photo settles every guess on the spot.
Step 2 — Convert old watts to a lumen target
Now turn that old wattage into a lumen goal. Lumens are what you actually shop by.
Start with the incandescent baseline:
Two quick adjustments:
-
- Halogen runs a bit brighter per watt. Trim your lumen target by 10–15%.
- CFL sits between incandescent and LED. Match the lumens directly, then upgrade.
- CFL sits between incandescent and LED. Match the lumens directly, then upgrade.
Once you have the number, ignore the “equivalent” wattage on the box. Look for the lumen figure and match it to your target.
Step 3 — Match the base, shape, and size
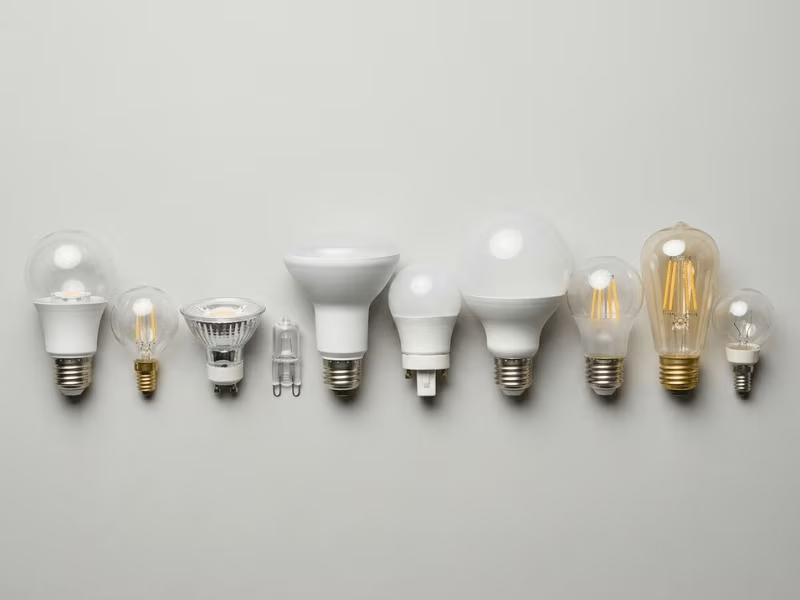
A bulb can hit your lumen target and still refuse to fit. So check the physical details next.
Common bases:
-
-
- E26 — standard medium screw
- E12 — smaller candelabra screw
- GU10 — twist-lock pins
- G9 — thin double-pin
- GU24 — twist-lock, two prongs
-
Common shapes:
-
-
- A19 / A21 — the classic rounded household bulb
- BR30 — wide flood for recessed cans
- PAR — tighter spot or flood
- MR16 — small reflector, often low-voltage
- Globe — round vanity bulb
- T8 — linear tube
-
Here’s the trap. Your new LED might match on lumens, base, and shape, yet still sit too tall or too wide for a shade, sconce, or recessed can. LED bulbs sometimes run a touch longer than the incandescent they replace.
If the fixture is tight, check the bulb’s length and diameter against the space before you buy.
Step 4 — Confirm it works in the fixture
The last step catches the problems that show up after you flip the switch.

Run through these four steps and the chart does its real job. You walk out with a bulb that fits the socket, suits the space, and gives you the exact brightness you set out to buy.
The Specs the Chart Leaves Out
The chart nails brightness. But four things it never lists can still make or break the swap. Here’s what I check before every purchase.
Check these four, and you avoid the surprises the chart can’t warn you about.
The Mistakes That Send People Back to the Store
I’ve seen the same six slip-ups trip up buyers again and again. Run through this before you check out.
What You Actually Save (Cost and Payback)
The savings show up in two places: your power bill and your ladder time.
Start with lifespan. An incandescent burns out around 1,000 hours. A good LED runs 15,000 to 50,000 hours. So you replace one LED where you’d have swapped dozens of old bulbs.
Now the energy math. Here’s the formula I use:
Let’s work a real example. Swap a 60W incandescent for a 9W LED, running 3 hours a day.
-
-
- Watts saved: 60 − 9 = 51W
- (51 ÷ 1,000) × 3 × 365 = about 56 kWh saved per year
-
At 15 cents per kWh, that’s roughly $8.40 saved each year from one bulb.
An LED that costs about $3 pays for itself in under five months. Everything after that is money back in your pocket.
Multiply that across every bulb in the house, and the numbers add up fast. The same efficiency logic drives large outdoor upgrades too, where switching to LED street lights cuts both power draw and maintenance visits across dozens of poles.
Your Pre-Purchase Checklist
Take this list to the store. It catches every problem before you pay.
Run this once, and the swap works the first time.