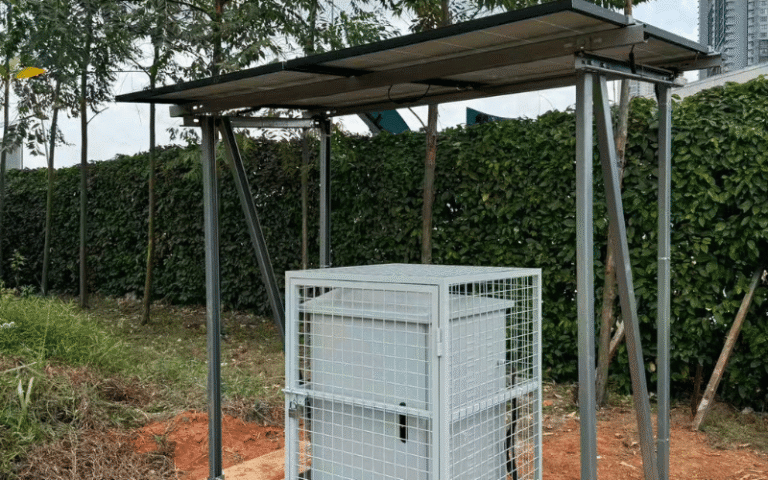


Many cities, campuses, and property managers already own working street light poles. They want solar power, but they don’t want to throw good hardware away.
The short answer is yes. You can retrofit many existing street lights with solar. But not every pole, fixture, or site is a good candidate.
I’ve reviewed retrofits that saved owners a fortune in trenching. I’ve also seen retrofits that cost more than new lights would have. The difference almost always came down to a few checks done, or skipped, before anyone ordered parts.
So I start every project the same way. I look at the pole, the sun, the fixture, and the battery location.
This guide walks you through that process. You’ll learn how to judge whether your site fits and how to compare retrofit options. You’ll also see when a full replacement makes more sense and how to avoid the mistakes that drain budgets.
When Solar Retrofitting Existing Street Lights Makes Sense
When a client asks me about a solar retrofit, I don’t start with panels or batteries. I start with what’s already standing on site. A retrofit only pays off when the existing pole and fixture do most of the work for you.
My first job is to sort the project into “worth a closer look” or “probably not.”
Signs Your Site Is a Strong Candidate
Good retrofit projects share a few traits:
- The poles are solid. They stand plumb, show no deep rust at the base, and sit on a stable footing. A panel, bracket, and battery add weight and a lot of wind area, so the pole needs real reserve strength.
- The sky is open. The panel position gets direct sun from about 9 a.m. to 3 p.m., even in winter.
- The fixtures already use LED. An LED head in the 20–60W range keeps the energy load manageable.
- Grid power is expensive to reach. If new power means cutting pavement or running long cable, solar can win on cost before you count any energy savings.
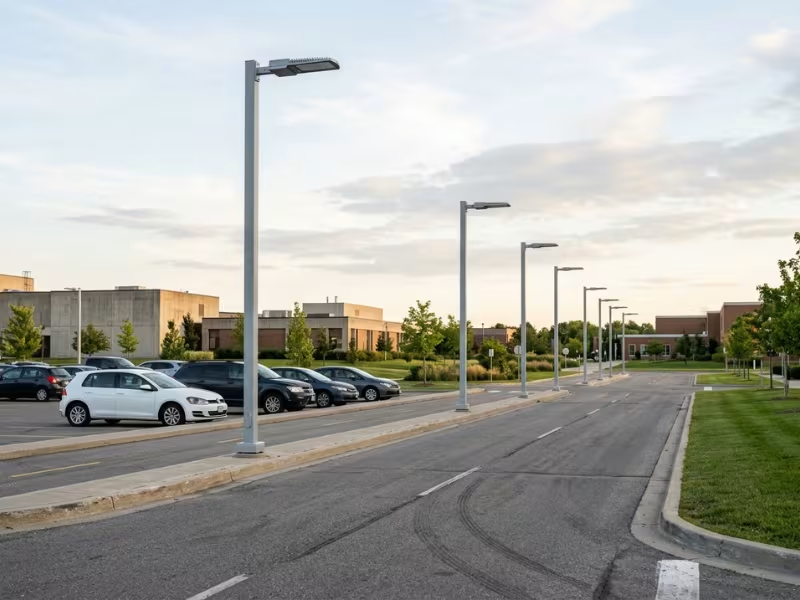
I see the best results in parks, parking lots, campuses, rural roads, and remote pathways. These sites usually have moderate lighting needs and poles at practical heights.
When a Retrofit Usually Costs More Than It Saves
Some sites look tempting on paper but fight you at every step. These red flags tell me to slow down:
- Heavy shade. No battery size fixes a panel that never fully charges.
- Weak or aging poles. Once you replace the pole, you lose the main reason to retrofit.
- Old or incompatible fixtures. High-pressure sodium and mercury vapor lamps draw far too much power. Many LED heads also use AC-only drivers.
- High-wattage roadway lighting. A 150W+ fixture running all night needs more panel and battery than most existing poles can carry.
- Nowhere safe for the battery. Flooding, heat, or vandalism turn the battery into a constant problem.
My rule: if your site shows two or more red flags, price a full replacement before you spend money on design.
A Fast Way to Judge Retrofit Feasibility
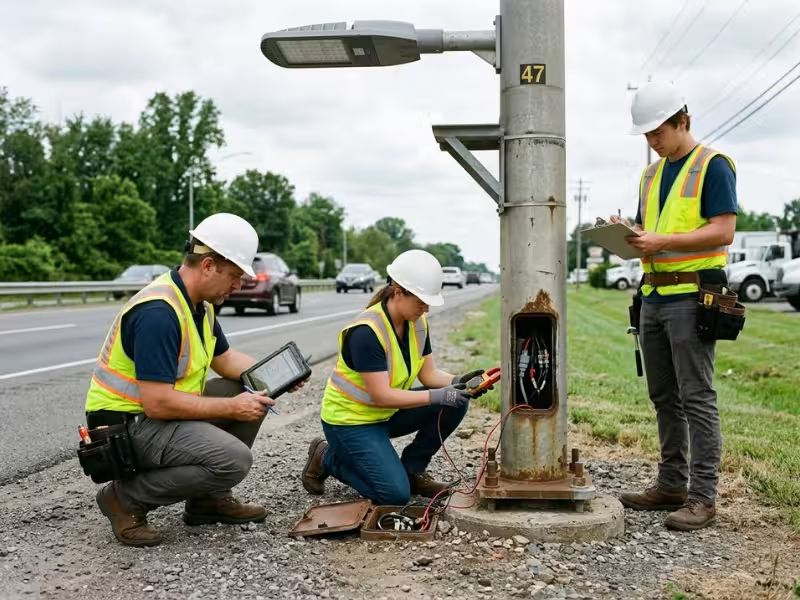
Before I quote a retrofit, I spend about 30 minutes at one or two sample poles. I bring a hammer, a multimeter, a clamp meter, a compass app, and a camera.
That short visit answers four questions. Can the pole carry the load? Will the panel get enough sun? Can the fixture run on solar power? Is there a safe place for the battery? A clear “no” to any of them saves you a design fee.
Check the Pole First
Every other decision rests on the pole, so I start at the base.
- Look for corrosion where it hurts most. Rust usually starts at ground level, at the base plate, and around the hand hole. Tap these spots with a hammer. A dull thud or flaking metal means the wall has thinned.
- Check plumb and the footing. Hold a level on two faces. Look for cracked concrete, rusted anchor bolts, and soil washed away from the base.
- Add up the new load. A 100W panel weighs about 7–8 kg, and a battery can add 10–15 kg. Wind matters even more, because a flat panel on top of a pole acts like a sail.
Ask the pole maker or an engineer for the pole’s rated EPA (effective projected area). If you can’t find the original specs, budget for a structural check.
Check the Sun Like It’s Mid-Winter
A solid pole means nothing if the panel can’t charge. Pull winter peak sun hours from a solar resource database or PV design tool. Below about 3 hours in the worst month, you’ll need a much larger panel and battery.
Then trace the winter sun path at the planned panel height. Watch for trees, rooftops, signs, and nearby poles. Also confirm a bracket can aim the panel toward the equator, since existing arms usually point at the road.
Check What the Fixture Actually Draws
Most retrofit surprises hide inside the fixture head, so open it up.
- Confirm the lamp type. HPS, metal halide, and mercury vapor fixtures are out.
- Measure the real wattage. Read the driver nameplate or use a clamp meter. Don’t trust old work orders.
- Read the driver input. Many LED drivers accept only 100–277V AC, while solar systems supply 12V or 24V DC. That mismatch means a new DC driver or a new fixture. Inverters add losses and failure points, so I rarely recommend them.
Check Where the Battery Will Live
The battery usually fails first, so its home matters. Mount it at 3 m or higher, or use a lockable pole-top housing, to deter theft. Keep it out of afternoon sun and away from flood-prone ground. Make sure a technician can reach and test it with standard lift equipment.
Here is the screening sheet I leave with clients:
|
Check point |
Good sign |
Warning sign |
|---|---|---|
|
Pole |
Plumb, solid base, known EPA rating |
Pitting at base, lean, cracked footing |
|
Sun |
3+ winter sun hours, clear 9–3 window |
Trees, buildings, or signs in the sun path |
|
Fixture |
LED, 20–60W, DC-compatible driver |
HPS/MH lamp or AC-only driver |
|
Battery |
High, shaded, dry, easy to reach |
Ground-level, hot, flood-prone, hard to access |
If a sample pole shows three or more warning signs, I stop the retrofit study and price a full replacement.
What a Solar Street Light Retrofit Can Actually Look Like
“Retrofit” covers more ground than most people expect. Some projects keep only the pole. Others keep the fixture too. A few keep the grid connection running in the background.
These are the three approaches I quote most often.
Full Retrofit: Keep the Pole, Replace Everything Else
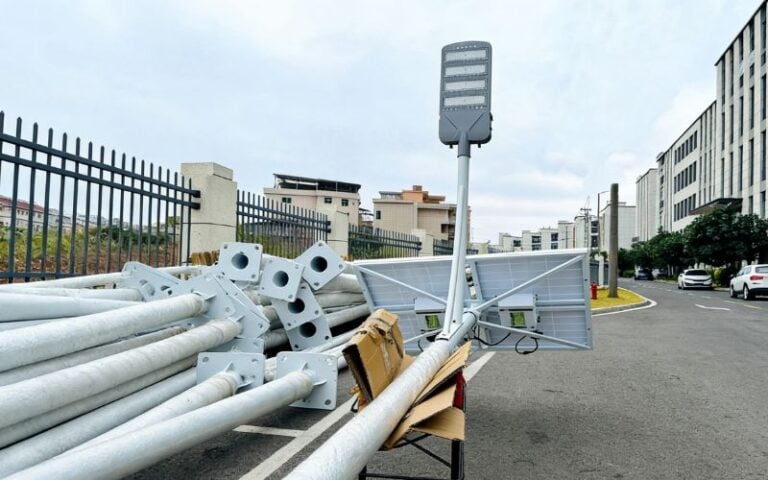
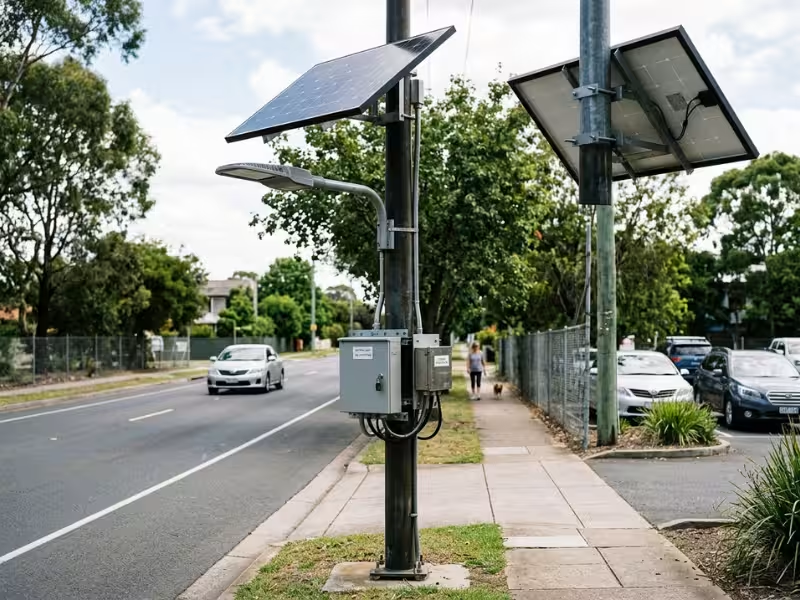
You keep the pole and footing, then add a new panel, battery, charge controller, and DC LED head. I recommend this when the old fixture runs HPS, metal halide, or an AC-only driver. A new matched head also lets you add dimming and motion control from day one.
The trade-off is clear. You only reuse the pole, so your savings depend on what that pole is worth.
Partial Retrofit: Keep the LED Fixture, Add the Power Side
If the site switched to LED recently, the existing head may stay. You add a panel, battery, and controller and wire them to the current fixture.
This only works when the load stays modest and the driver accepts low-voltage DC. Once you add a new driver and photocell, the savings shrink. Warranty also gets messy, so I bench-test the fixture on DC before committing.
Grid-Assisted Hybrid: Solar First, Grid as Backup
The existing grid circuit stays live. Solar runs the light most nights, and the controller switches to grid power when the battery runs low. Because the grid covers the worst weeks, you can size for typical conditions instead of the worst case.
You still pay for the grid connection, though. Your savings come from lower energy bills, not from avoiding trenching.
|
Retrofit type |
What stays |
What changes |
Best fit |
Main limitation |
|---|---|---|---|---|
|
Full retrofit |
Pole and footing |
Panel, battery, controller, LED head |
Old HPS/MH or AC-only fixtures |
Reuses only the pole |
|
Partial retrofit |
Pole and LED fixture |
Panel, battery, controller |
Low-wattage, DC-ready LEDs |
Driver and warranty gaps |
|
Grid-assisted hybrid |
Pole, fixture, grid circuit |
Panel, battery, hybrid controller |
Low-sun or critical roads |
Grid costs remain |
How to Choose Between Retrofit Options
Knowing the options is only half the job. Your budget is won or lost when you pick one.
I ask clients two questions. How much engineering do you want to own? And what happens if a light goes dark for one night? The first answer points to a kit or a component build. The second points to off-grid or hybrid.
Choose a Matched Kit When Speed and Simplicity Matter Most
In a matched kit, one supplier pairs the panel, battery, controller, and usually the LED head. I steer clients this way when the crew has limited solar experience, the timeline is tight, or the site has many identical poles. The owner also gets one warranty and one phone number.
Kits with plug-in connectors let a trained crew finish a pole in one to two hours. Still, ask the supplier for a runtime calculation based on your worst-month sun hours, not a generic “8 to 12 hours” claim. Confirm the bracket fits your pole top or arm tenon, too.
Go Component-Based When Reuse or Custom Loads Justify the Work
A component build makes sense when your LEDs are recent and good quality, or when the load is unusual, such as twin heads or a pole that also powers a camera.
That control comes with responsibility. You own controller sizing, voltage drop, and driver compatibility. You also juggle three warranties, and suppliers tend to blame each other when something fails.
My rule: if reusing the fixture saves less than about 20–25% per pole compared with a matched kit, buy the kit.
Pick Off-Grid or Hybrid Based on What “Dark” Costs You
A well-sized off-grid system rides through three to five cloudy nights. On a park path, a dim night is acceptable. At a hospital entrance or busy intersection, it isn’t, so those sites belong on hybrid.
Winter often decides for you. At higher latitudes, winter may bring 1.5–2 peak sun hours against 5 in summer, which can double or triple the panel size. Many existing poles can’t carry that wind load.
If you go hybrid, set the controller to switch to grid power well before the battery fully drains. Then add an alert for frequent switching, which usually signals shading or a fading battery.
The Technical Limits That Usually Decide the Project
Most retrofits can be installed. Far fewer keep running through their third winter.
When I review a failed retrofit, I rarely find a loose wire. I find a physical limit that someone ignored. Four limits decide most projects.
Design for the Worst Month, Not the Average
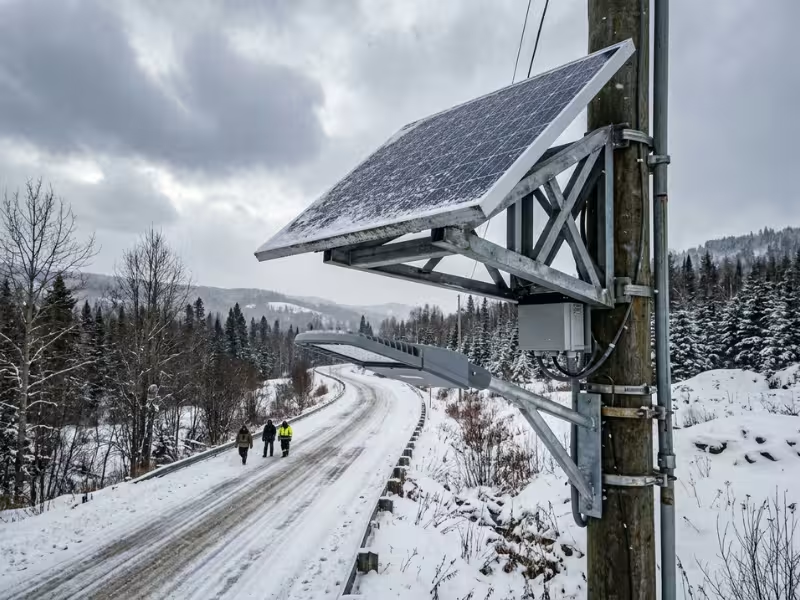
A site might average 4.5 peak sun hours a year but get only 2 in December. Size for 4.5, and the system starts losing ground the day winter arrives.
So I design around the worst month and add autonomy. Three nights works for most mild sites. For cloudy coastal areas, monsoon regions, or high latitudes, I plan for four to five. Climate-driven sizing shows up clearly in this solar street light project in Tanzania, where local conditions shaped panel, battery, and runtime choices from the start.
Remember recovery as well. After a cloudy spell, the panel must cover that night’s load and refill a drained battery. A panel sized only for daily use never catches up.
Respect What the Panel Does to the Pole
Engineers designed your pole for the fixture it already carries. A 150W panel covers close to 1 m², and at the top of a 7 m pole it puts far more bending stress on the base than the original fixture did.
I compare the pole’s rated EPA against the old fixture plus the new panel and battery box. If the total exceeds the rating, choose a smaller panel, a lower mount, or a new pole. Use brackets rated for your pole diameter and local wind speed. Also check local code, since many authorities require a stamped structural calculation.
Let the Fixture Load Set Realistic Expectations
A 100W fixture at full power for 12 hours uses 1,200 Wh per night. A 40W fixture with dimming uses about 300 Wh. The first needs four times the battery and panel, which explains why high-wattage roadway retrofits rarely work off-grid.
Dimming is your best tool. I often run lights at 100% for four hours, then 30–50% until dawn. Motion sensing on low-traffic sites can cut nightly energy use by 30–50%. Adaptive controllers also lower output as the battery drains, so the light stays on through long storms.
Match the Battery Chemistry to the Climate
Sealed lead-acid (SLA) costs less up front but often needs replacement in two to four years. LiFePO4 typically lasts 2,000–4,000 cycles, or five to eight years, depending on depth of discharge and conditions. On a per-year basis, lithium almost always wins, and its lighter weight helps the pole.
Heat ages both chemistries, so shade the enclosure and give it airflow. In cold regions, remember that charging LiFePO4 below 0°C can damage the cells. Specify built-in heating or low-temperature charge protection.
Retrofit vs Full Replacement: Which One Usually Wins?
Clients rarely want a retrofit for its own sake. They want the most reliable light for the least money. Sometimes that means a brand-new pole.
Where a Retrofit Pulls Ahead
- Sound poles. Every pole you keep saves a footing, excavation, removal, and disposal.
- LED fixtures worth keeping. Recent heads with good optics and DC-ready drivers carry real value.
- Expensive trenching. Solar on the existing pole often beats the cost of new grid power.
- Phased budgets. Campuses and towns can convert 10 poles this year and 10 next year.
Where Replacement Pulls Ahead
In these cases, I usually point clients toward a new solar street light system with matched components:
- Old or weak poles. You’d pay for a new pole plus custom adapter work anyway.
- Incompatible fixtures. Replacing HPS or AC-only heads means buying most of a new system.
- Poor mounting conditions. The panel can’t face the sun, or the battery has no safe home.
- Cleaner long-term maintenance. A new system brings matched parts and one warranty instead of components aging on different clocks.
A Simple Rule I Use on Every Project
|
What you can reuse |
What usually makes sense |
|---|---|
|
Only the pole |
Price a full replacement first |
|
Pole + LED fixture |
Retrofit is worth a serious look |
|
Pole + fixture + good mounting position |
Retrofit usually wins |
|
Nothing reliable |
Full replacement |
If you reuse only the pole, a new integrated light often costs about the same and carries far less risk. For anything in between, I quote both options and compare 10-year costs, not just the first invoice.
What Solar Street Light Retrofits Really Cost
Clients usually want one price per pole. That number means little until you know what drives it. Two retrofits with identical hardware can land far apart once labor, lift time, and permits enter the picture.
Where the Money Usually Goes
- Panel and mounting: Custom adapters for odd pole tops can cost as much as the panel.
- Battery and enclosure: Usually the largest hardware line, often 30–40% of equipment cost.
- Controller and rewiring: Pulling old AC cable, swapping drivers, and adding fuses take real electrician hours.
- Pole checks and labor: Structural reviews cost money up front but prevent failures later.
- Lift equipment and permitting: On busy roads, traffic control alone can rival the hardware cost.
Owners often budget carefully for hardware and underestimate field work. On small or scattered sites, labor and lift time can reach half the total. Group the work so twenty poles share one mobilization.
Why Trenching Often Changes the Answer
New grid power means saw-cutting pavement, boring under roads, laying conduit, and paying connection fees. When the nearest feed sits hundreds of meters away, a retrofit often costs less than the trench alone.
The reverse holds true too. If the pole already has a working circuit and power is cheap, payback stretches out, and a simple grid-powered LED upgrade may win.
Ongoing Costs That Catch Budgets Off Guard
- Battery replacement: Plan one LiFePO4 swap around years 5–8, including labor and lift time.
- Cleaning: Dusty sites may need panel cleaning one to four times a year.
- Inspections: Budget a check 60–90 days after install, then one visit a year.
- Component mismatch: An old LED driver may fail in year three. On component builds, I add a 5–10% contingency.
The Retrofit Process, Step by Step
Most retrofit trouble comes from doing the right things in the wrong order. Teams order 50 kits, then learn the poles need a structural review. These six steps keep the sequence straight.
1. Audit the Site and the Existing Light
Start with sample poles, one of each type. Check the base, the winter sun path, the fixture nameplate, and a battery location. Trust what you measure, not old drawings.
2. Choose the Retrofit Path
Let the audit decide. Choose a full retrofit for HPS or AC-only fixtures, a partial retrofit for low-wattage DC-ready LEDs, and hybrid for weak winter sun or sites that can’t go dark. If the audit points to replacement, accept it now, while changing course costs nothing.
3. Size the System
Use the measured load, dimming profile, worst-month sun hours, and autonomy target. Then check the panel size against the pole’s EPA rating. If it doesn’t fit, return to step 2.
4. Confirm Permits and Code Requirements
Take the design to the local authority before you order. You may need a structural calculation, an electrical permit, right-of-way approval, and written consent from the pole owner. Get every approval in writing.
5. Install and Commission One Test Pole
Mount the panel, connect components in the maker’s order, and program battery chemistry, low-voltage disconnect, and dimming. Measure midday charging current and test dusk-to-dawn switching. A test pole reveals bracket and driver problems before they multiply.
6. Verify Runtime and Maintenance Access
Let the pole run several nights, ideally including a cloudy one. Read the battery voltage each morning. Confirm a technician can reach and test the battery box. Then roll out the rest with confidence.
Where Retrofits Work Best in the Real World
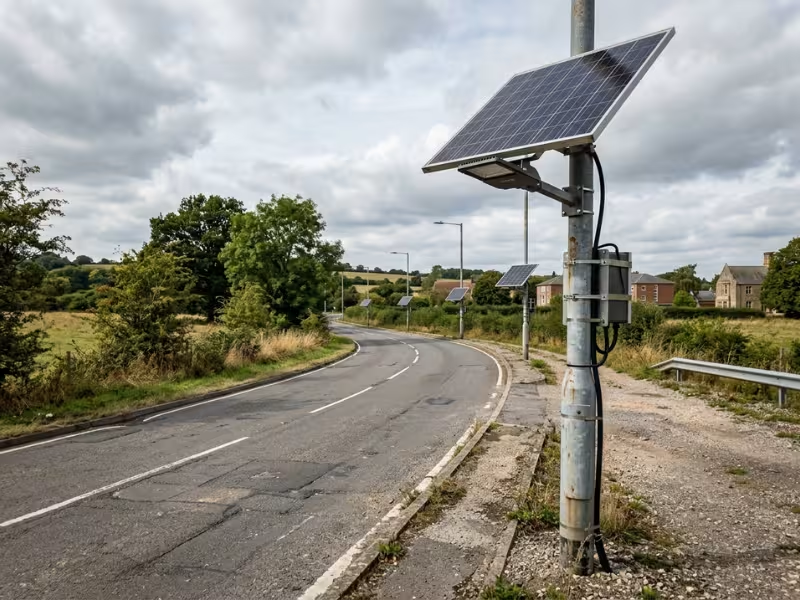
Checklists help, but real sites teach faster. A project like this solar LED streetlight retrofit in Punjab, Pakistan shows how existing poles can deliver value when the site, load, and mounting conditions line up.
Parking Lots and Campuses
Parking lots offer open sky, 6–9 m poles, and often recent LED heads. On one office campus, we kept 40 poles with 60W LED fixtures and added panels and batteries. The lights ran at 100% until 10 p.m. and 40% after that. Nobody noticed the dimming, and the campus converted one lot per budget cycle.
Watch landscaped islands, though. Trees grow faster than owners expect.
Parks, Pathways, and Remote Roads
A 20–30W pathway light on a 4 m pole needs only a modest system, and motion sensing cuts energy use further. On remote roads, off-grid retrofits also remove the utility account and a common failure point at the feed cabinet.
Sites Where Grid Extension Costs Too Much
On one rural access road, restoring a damaged feed meant boring under a highway and running about 600 m of cable. The trenching quote alone exceeded a solar retrofit for every pole on the road.
Retrofits That Looked Viable but Failed After Review
- Shade found too late. A town park passed a summer visit, but December’s sun path ran through mature oaks. We dropped six poles from the plan.
- One-night batteries. A coastal promenade went dark by 1 a.m. during winter storms. We installed three-night packs and adaptive dimming.
- AC-only “LED” heads. A business park’s fixtures all used 120–277V AC drivers, so we switched to a full retrofit.
- Pole load exceeded. A hilltop road needed a 200W panel that its 1990s poles couldn’t carry. It became a full replacement.
Each failure traced back to one skipped check.
FAQ
Can you convert an existing street light to solar without replacing the fixture?
Often, yes. The fixture must be LED, draw roughly 20–60W, and use a driver that accepts low-voltage DC. Many LED heads use AC-only drivers, so bench-test one fixture on DC before ordering parts.
How much does it cost to retrofit a street light with solar?
No honest per-pole price exists until you know the site. The battery usually makes up the largest hardware share, while brackets, rewiring, lift time, and permits can add as much again. Compare full quotes against the cost of trenching for grid power.
Do solar street light retrofits work in cloudy or snowy climates?
Yes, if you size for the worst month. Plan for three to five nights of autonomy, tilt panels steeper to shed snow, and specify LiFePO4 batteries with low-temperature charge protection. If winter sun drops below about two hours, consider a hybrid.
Can a solar retrofit power a high-wattage roadway light?
Rarely off-grid. A 150W fixture running 12 hours uses 1,800 Wh per night, so three nights of autonomy calls for over 6,000 Wh of battery. Use aggressive dimming, a hybrid setup, or new engineered poles.
Is it cheaper to retrofit or buy a new solar street light?
It depends on what you reuse. If only the pole stays, new lights often cost about the same with less risk. If the pole, a DC-ready LED fixture, and a good mounting position all stay, the retrofit usually wins.
What permits are usually required for a retrofit?
Expect a structural calculation for added pole load, an electrical permit, right-of-way approval on public roads, and written consent from the pole owner. Requirements vary, so confirm with your local authority first.
Conclusion
A solar retrofit succeeds when four conditions hold. The pole is sound. The panel gets real, year-round sun. The fixture load matches what solar can supply. And the battery has a safe, cool, reachable home.
When all four check out, you keep good hardware and skip expensive trenching. When one or two fall short, workarounds pile up, and full replacement usually becomes the cleaner long-term choice.
So start small. Audit one pole of each type and measure it honestly. It’s far cheaper to learn the answer before you order fifty kits.