
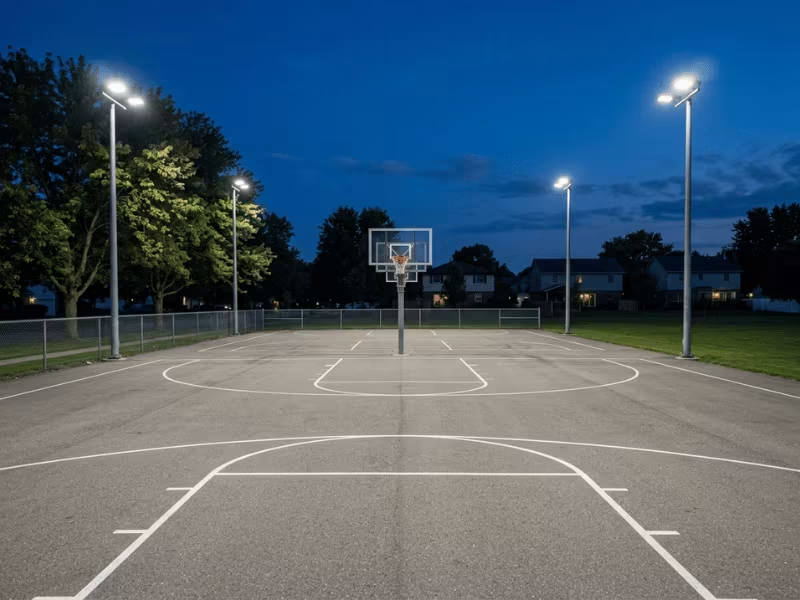
Bad basketball court lighting shows up fast. The court feels too dim in the corners. Or the lights glare straight into your eyes on a jump shot.
Shadows stretch across the paint. Your phone video flickers and looks cheap. And the whole project starts costing more than you planned.
I have helped plenty of people fix these exact problems. Most of the time, the issue isn’t the lights themselves. It’s how they were chosen and placed.
This guide skips the theory. Instead, it walks you through the real decisions that matter.
You’ll learn how bright your court should be, where to put the fixtures, which lights to buy, how to handle installation, and how to keep the budget under control.
Let’s get your court lit right.
What Good Basketball Court Lighting Actually Needs to Do
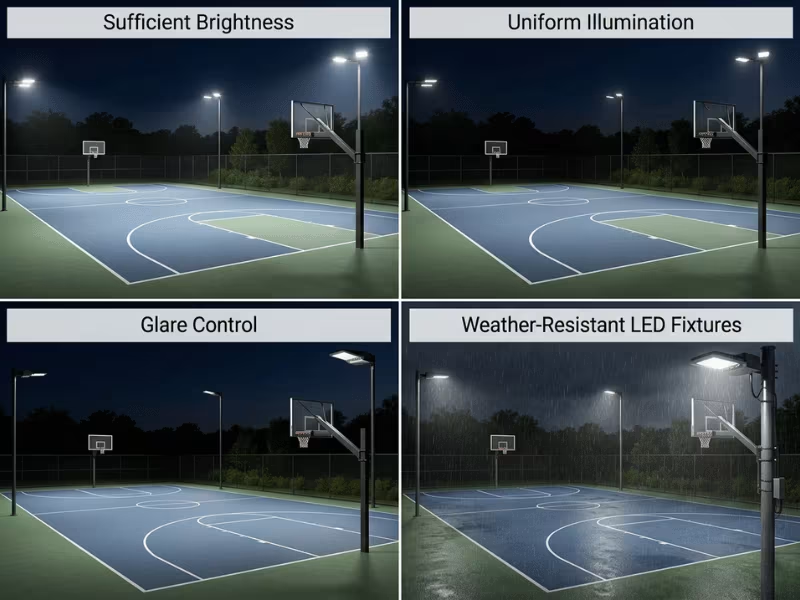
Court lighting isn’t about pouring on the most lumens you can afford. A well-lit outdoor court has to satisfy four separate requirements at once, and missing any one of them undermines the whole system.
A system that nails brightness but ignores uniformity or glare will still feel like bad lighting, no matter how many watts it draws. That principle runs underneath every recommendation in this guide, so it’s worth keeping in mind as you read on.
Start With Your Court Type and Use Case
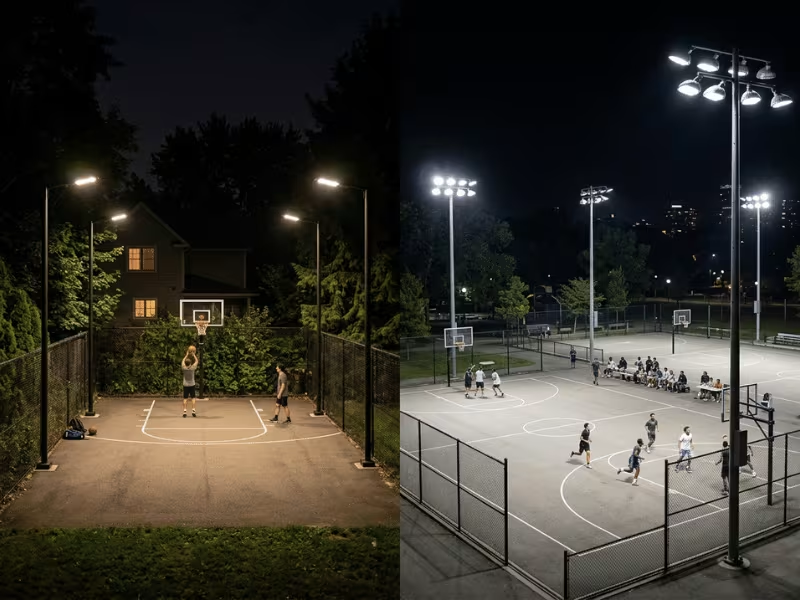
Before comparing specs, figure out which category your project falls into. Court type drives almost every other decision, from lux targets to whether professional installation is worth the money.
|
Court Type |
Recommended Lux Range |
Key Priorities |
Professional Installation? |
|---|---|---|---|
|
Backyard half court |
150–300 lux |
Budget, neighbor-friendly glare control |
Optional for basic setups |
|
Full outdoor court |
300–500 lux |
Uniformity, pole height, symmetrical layout |
Yes |
|
School/community/training |
300–500 lux |
Durability, energy efficiency, usage frequency |
Yes |
|
Night video recording |
300–500+ lux (uniformity-focused) |
Flicker-free output, multi-angle coverage |
Yes |
How Bright Should a Basketball Court Be?
This is the question almost every buyer starts with, and it’s also where most people get misled by product listings that only advertise lumens.
Lumens vs. Lux: Why the Difference Matters
Lumens measure the total light output of a fixture. Lux measures how much of that light actually lands on the court surface. Those are not the same thing, and confusing them costs people money. A 20,000-lumen fixture mounted 30 feet up and aimed poorly can deliver a lower lux reading on the court than a smaller fixture placed correctly. Buying lighting on lumens alone—without accounting for mounting height, beam angle, and fixture placement—is one of the most common and expensive mistakes in outdoor court lighting.
So when a listing shouts a big lumen number, treat it as raw potential, not a guarantee of performance. What reaches the ground is what you play under.
Recommended Lux Levels by Use
Think in ranges, not single figures. The right target depends on how hard the court gets played and whether anyone is filming.
- Recreational play: 200–300 lux is generally enough for casual games and pickup basketball.
- Practice, school, or community courts: 300–500 lux supports higher-intensity play and longer hours of use.
- Competition-level play: 500+ lux is appropriate where accuracy, spectator visibility, and officiating quality carry weight.
- Video recording use: Lux matters less than uniformity and flicker-free output. A court at 350 lux with even coverage will film better than one at 600 lux riddled with hot spots and shadows.
Why Uniformity Matters More Than Most Buyers Expect
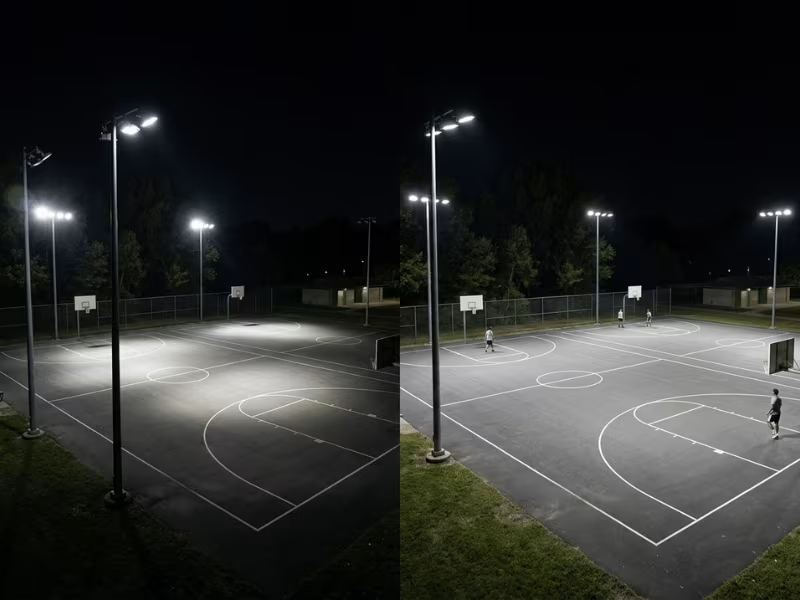
A court that averages the “right” lux number can still play poorly if that light isn’t distributed evenly. Bright zones near the fixtures and dim patches between them lead to real judgment errors—on ball reception, on positional awareness, on defensive reads—especially in fast-paced moments when there’s no time to squint and adjust.
This is why layout, not wattage, is usually the deciding factor in whether a lighting system actually performs. A court with more, lower-output fixtures spaced correctly will consistently beat a court with fewer, high-output fixtures placed too far apart. If you remember one thing from this section, make it that: even light beats bright light with holes in it.
The Lighting Specs That Matter Most
Once brightness and uniformity targets are set, the remaining specs decide how comfortable and reliable the system feels in day-to-day play.
Color Temperature
4000K–5000K is the sweet spot for outdoor basketball courts. Below 4000K, light takes on a warm, yellowish cast that can feel dim even at adequate lux levels. Above 5000K, it shifts toward a cool blue-white that increases perceived glare, particularly for players looking upward during shots. Somewhere in that 4000K–5000K band, you get a clean, natural white that reads well to both the eye and a camera.
CRI (Color Rendering Index)
A CRI of 80 or higher is the practical minimum. It ensures players can distinguish the ball, court lines, and jersey colors clearly at night. It matters even more for anyone recording video, since low-CRI lighting washes out skin tones and produces flat, lifeless footage. Higher CRI costs a little more but pays off every time the court is used after dark.
Glare Control
Two fixtures can produce identical lux readings and still feel completely different underfoot—one comfortable, one harsh. The difference usually comes down to glare shields, optical lens design, and mounting angle. Fixtures without proper glare control send light straight into players’ sightlines, which is fatiguing and, at higher intensities, genuinely distracting during play. Prioritize fixtures with shielded or cutoff optics, and pay attention to how they’re aimed. This is one of the biggest gaps between a court that merely lights up and a court that’s a pleasure to play on.
Beam Angle and Light Distribution
There’s no single correct beam angle for court lighting. Narrow beams work better for higher, more distant mounting positions, concentrating light onto the surface without excessive spill. Wider beams suit lower-mounted or more localized fixtures, like those on a backyard half court. Match the beam angle to your mounting height—get this wrong and you’ll end up with dark zones, glare, or both.
IP Rating, Surge Protection, and Corrosion Resistance
Outdoor fixtures should carry an IP65 rating at minimum, which protects against dust and water jets from any direction. Courts near the coast or in storm-prone regions deserve extra attention to corrosion-resistant housings and built-in surge protection, since salt air and power surges are two of the leading causes of premature fixture failure. Spending a little more on weather protection here is far cheaper than replacing failed fixtures in a year or two.
|
Spec |
Recommended Range |
Why It Matters |
If You Get It Wrong |
|
|---|---|---|---|---|
|
Color temperature |
4000K–5000K |
Balances visibility and comfort |
Too warm feels dim; too cool increases glare |
|
|
CRI |
80+ |
Accurate color for play and video |
Poor ball/line visibility, washed-out footage |
|
|
Glare control |
Shielded optics, correct aim |
Comfortable play, fewer visual errors |
Harsh, distracting light even at correct lux |
|
|
Beam angle |
Narrow (high mount) / wide (low mount) |
Matches distribution to height |
Dark zones or excessive spill |
|
|
IP rating |
IP65 minimum |
Withstands weather exposure |
Water ingress, early failure |
LED vs Other Basketball Court Lighting Options
For most outdoor courts built or upgraded today, LED has become the default—and for good reason.
Why LED Is the Default Choice Today
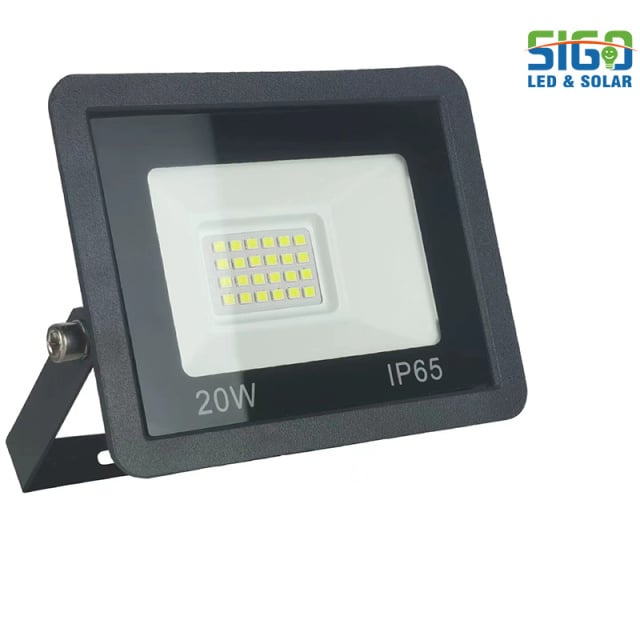
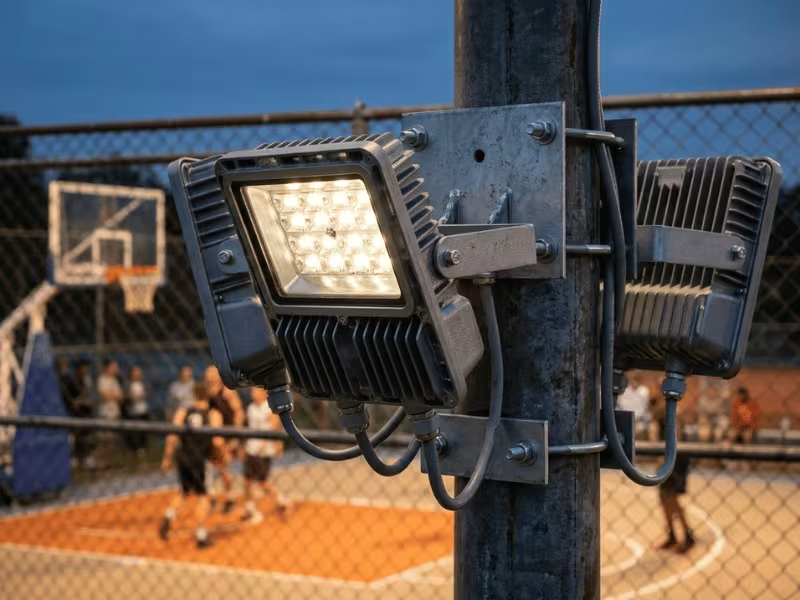
LED fixtures offer higher energy efficiency, longer operating lifespans, and instant-on performance with no warm-up delay. They also allow far more precise beam control than older technologies, which directly supports the uniformity and glare-control goals covered above. For anyone recording video, LED’s flicker-free output is a practical necessity, not a nice-to-have. If you’re weighing options for a permanent court, quality LED flood light fixtures with good optics and reliable drivers are the strongest starting point.
Where Metal Halide Still Comes Up
Metal halide mostly appears in conversations about replacing legacy systems already installed on older courts. It carries real limitations: a noticeable warm-up before reaching full brightness, higher energy consumption, and more frequent maintenance and bulb replacement than LED. There’s rarely a good reason to specify it for a new build.
When Solar or Portable Lighting Makes Sense
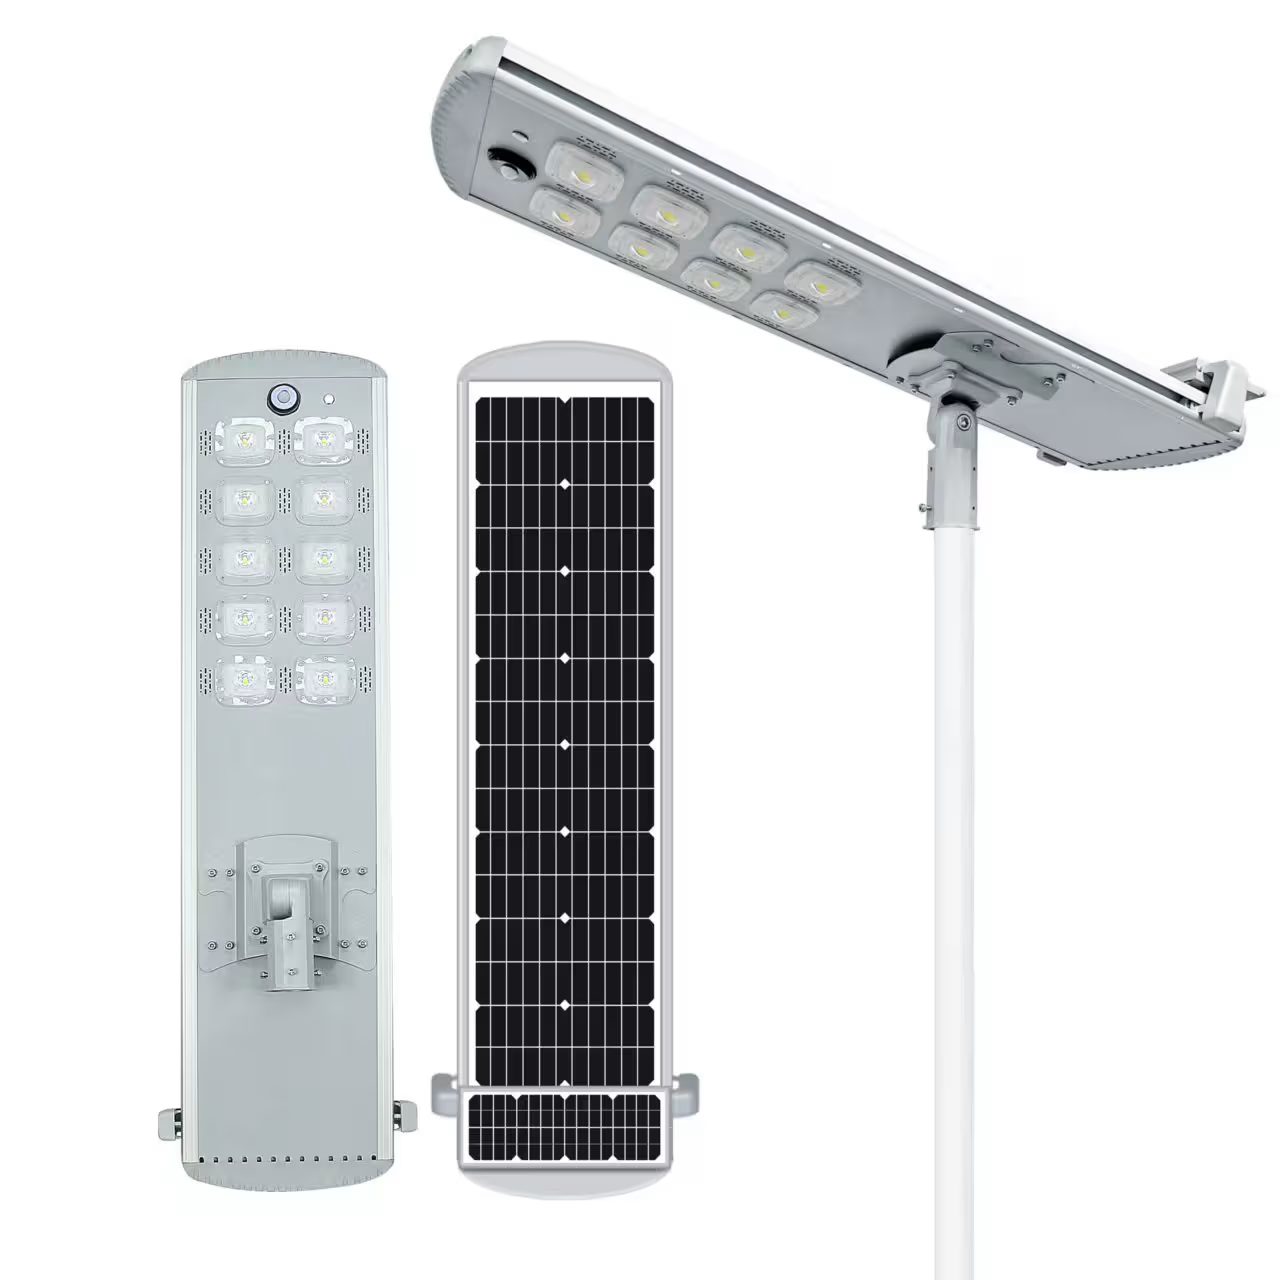
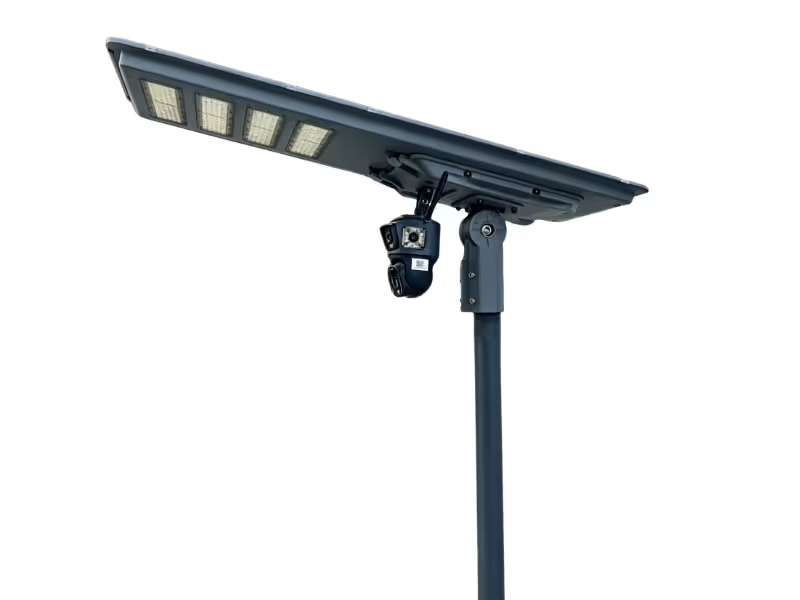
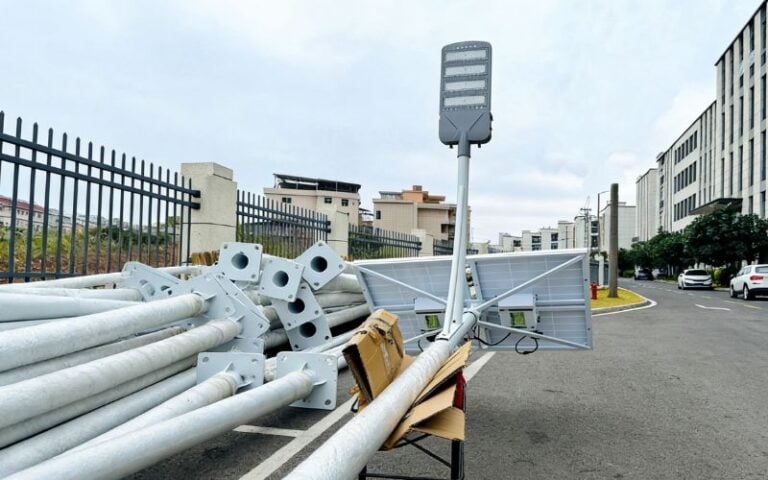
Solar and portable units fit specific situations—temporary events, courts without grid access, or projects on a tight upfront budget. In off-grid or hard-to-wire locations, a solar flood light setup can be the most practical way to get usable light onto a court without trenching power to the site. Just set expectations: output and uniformity from solar typically fall short of a wired LED system, so it’s better suited as a supplement or an off-grid solution than as the primary lighting on a court that’s played regularly.
Halogen lighting is largely obsolete for this application and rarely worth considering for a new installation.
How to Plan Fixture Placement and Pole Height
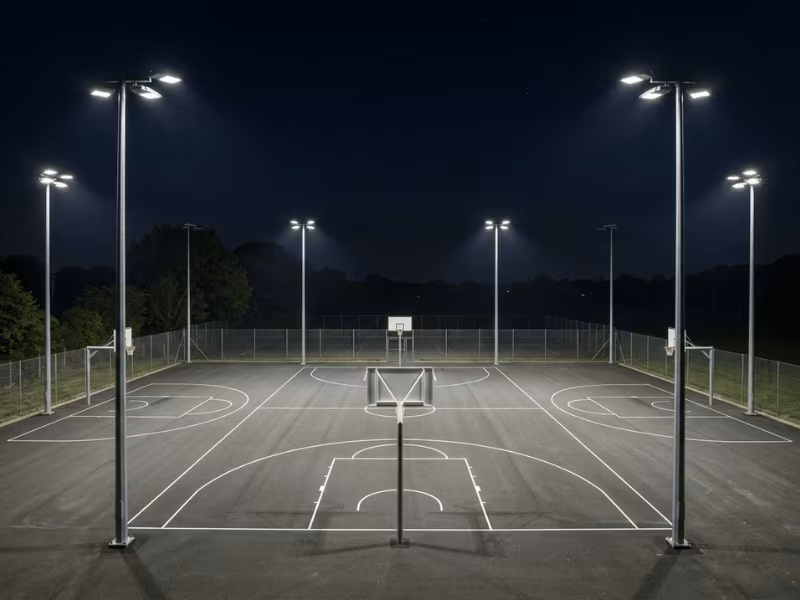
Specs only matter if the fixtures are positioned to deliver on them. This is where plenty of otherwise well-specified projects fall apart—the right lights in the wrong places still produce a bad court.
|
Court Type |
Common Mounting Method |
Typical Height Tendency |
Main Risk |
|---|---|---|---|
|
Backyard half court |
Wall or single pole |
Lower |
Glare if not shielded properly |
|
Full outdoor court |
Symmetrical multi-pole |
Higher (≈20–30 ft) |
Uneven coverage if under-poled |
|
School/community court |
Multi-pole, engineered layout |
Higher |
Cost overrun if layout is redesigned late |
How to Choose Lighting for Night Video Recording
Recording clean video at night runs on a different priority list than simply lighting the court for play, and it’s worth planning for from the start if filming is on your radar.
Stable, flicker-free output is the single most important factor. Camera sensors—especially at higher frame rates—will visibly register flicker from poorly driven LED fixtures or older technology, showing up as banding, scan bars, or pulsing brightness that ruins otherwise usable footage. Look specifically for fixtures advertised as flicker-free with low-flicker drivers and no visible PWM dimming.
High CRI (80+) is just as critical. It directly affects whether faces, jerseys, and the ball read clearly on camera rather than appearing flat or discolored. A color temperature around 5000K tends to work well for video, giving a crisp, neutral white that most cameras handle cleanly.
Placement is the last piece. Single-source lighting throws harsh shadows across players’ faces and can hide the ball at the top of its arc. Spreading the load across four or more fixtures at different angles softens those shadows and keeps the ball visible throughout its flight. And as with everything else in this guide, chase even coverage over the highest possible lux reading—consistency is what makes footage look professional.
This matters well beyond casual filming. Courts used for social media content, coach-led training review, or recorded events all depend on lighting quality that a basic “bright enough to play” setup won’t reliably deliver.
What a Basketball Court Lighting System Really Costs
Cost is where a lot of projects go sideways, usually because buyers price fixtures and forget everything else.
Equipment Cost
Fixture cost varies widely with wattage, brand, and features like glare shields or smart controls. As a rough benchmark, a DIY LED kit for a half court often lands somewhere in the low-to-mid hundreds, while a full-court fixture package runs higher. Higher-quality LED fixtures with better optics and driver components cost more upfront but head off problems down the line.
Installation Cost
Installation depends on pole requirements, electrical work, and whether trenching for wiring is needed. Full courts with multi-pole layouts involve far more labor than a backyard half court with wall-mounted fixtures. Professional installation can add a meaningful chunk to the total, particularly when new poles or high-voltage wiring are in play—which is exactly when hiring a licensed electrician is the right call rather than a plug-and-play kit.
Operating Cost
LED’s efficiency translates straight into lower electricity bills compared to metal halide, and the gap widens the more the court gets used. Swapping a 1000W metal halide fixture for a 300W LED, for example, can save meaningful money over a year of regular play—and many utilities offer rebates for energy-efficient lighting that sweeten the math further.
Long-Term ROI
Even though LED fixtures often cost more at purchase, their blend of lower energy use, longer lifespan, and reduced maintenance usually wins over a multi-year horizon. The bigger lesson: total installed cost matters far more than fixture price alone. A cheap fixture paired with the wrong layout tends to cost more in the long run—through poor performance, early replacement, or a redo of the whole installation—than a properly designed system built right the first time.
|
Cost Component |
Half Court Tendency |
Full Court Tendency |
Often Overlooked? |
|
|---|---|---|---|---|
|
Equipment |
Lower (fewer fixtures) |
Higher (more fixtures, poles) |
Sometimes—buyers fixate on price per fixture |
|
|
Installation |
Lower (simpler layout) |
Higher (trenching, multi-pole work) |
Yes—frequently underestimated |
|
|
Operating |
|
Lower usage-driven cost |
Higher due to more fixtures |
Rarely factored into the initial budget |
Common Basketball Court Lighting Mistakes
Most lighting regrets trace back to the same handful of errors. Avoid these and you’re most of the way to a court that works.
Quick Buying Checklist
Run through this list before you buy. Working it in order keeps you from locking in fixtures that won’t match your court or budget.
FAQs
Making the Final Call
The right outdoor court lighting always comes back to three things: how big your court is, how you’ll use it, and what you’re willing to spend. Once those are clear, the rest falls into place in a predictable order. Start with your court type, set a realistic lux target for how the space will actually be played, then plan your fixture layout and mounting height around that target. Confirm the specs that shape comfort and durability—color temperature, CRI, glare control, and weather resistance—and price the whole installation, not just the fixtures. For grid-connected courts, a well-designed system built on quality LED street light and flood fixtures will keep the surface bright, even, and reliable for years of play. Follow that path and you’ll spend once and play under it for a long time.