
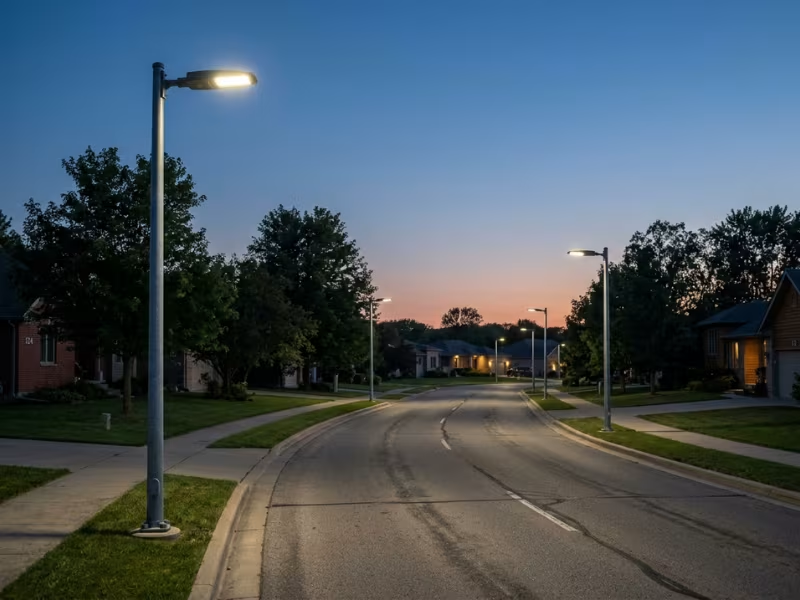
Two street light quotes land on a project manager’s desk. Both fixtures list about 10,000 lumens. Both cost about the same. Six months after installation, one road looks clear and even. The other has dark gaps between poles and glare on nearby houses.
I see this problem on many projects. Buyers see a high lumen figure and assume the road will be bright enough. But lumens only tell you what leaves the fixture. They don’t tell you what reaches the pavement.
That gap between output and result decides whether a project works. It applies to grid-powered and solar street light projects alike.
This guide shows how I use both units to judge street lighting. Lumens matter. Lux tells you what the road actually gets. And real results depend on three more things: optics, layout, and field verification.
The Short Answer: Lumens Describe Output, Lux Describes What the Road Gets
I explain this to clients with a garden hose. Lumens tell you how much water comes out of the nozzle. Lux tells you how much water lands on the patch of lawn you care about.
Lumens measure total output. A lumen rating counts all the visible light a fixture produces, in every direction. A 12,000-lumen fixture emits 12,000 lumens over a narrow lane or a six-lane road. That number describes the fixture, not your site.
Lux measures light on a surface. One lux equals one lumen spread over one square meter. You read it at specific points on the ground. Change the pole height, optic, or spacing, and the lux reading changes, even with the same fixture.
Light that spills into trees, windows, or the sky still counts toward the lumen rating. It does nothing for a driver or a pedestrian.
So I never stop at source output. Lumens help you compare fixtures, but lux tells you whether the project works.
Why Comparing Street Lights by Lumens Alone Backfires
Most supplier quotes I review look almost the same. They list wattage, lumens, efficacy, and color temperature. Very few show where the light goes. You rarely see a distribution type, a polar curve, or an IES file.
Without that data, you compare fixtures on output alone. That’s like comparing trucks by engine size without asking how much each one can carry.
On one residential project, a 10,000-lumen fixture with a Type II roadway optic lit a 7 m street evenly at 30 m spacing. A 12,000-lumen fixture with a round flood beam, on the same poles, left dark patches between them. It also lit up the fronts of nearby houses.
Lumen-only buying usually fails in one of two ways:
- Overbuilt projects. The buyer picks higher-lumen fixtures “to be safe.” The site gets more glare, higher energy bills, and, on solar projects, bigger panels and batteries than it needs.
- Underlit projects. The buyer picks a strong lumen figure with the wrong optic. The spec sheet looks fine, but drivers still pass through dark gaps.
When a quote shows only wattage and lumens, I ask for the distribution type and photometric file before I compare prices.
Lumens: Useful for Comparing Fixtures, but Easy to Misread
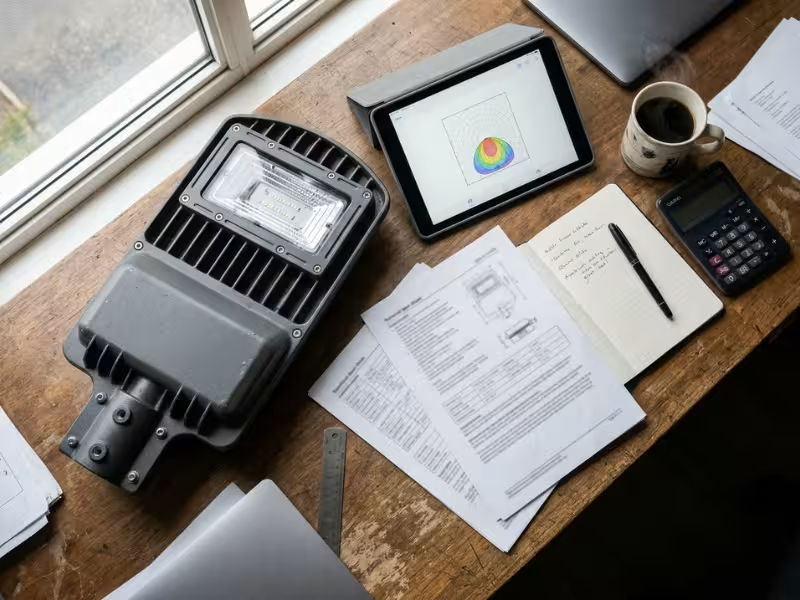
I don’t ignore lumens. I just keep them in their place. They work well as a screening tool, but they make a poor promise about the road.
Where lumens help. They let you compare the raw output of fixtures in the same class. Paired with wattage, they show efficiency. When I compare LED street light models, a 100W fixture at 15,000 lumens runs at 150 lm/W. Another at 12,000 lumens runs at 120 lm/W. On grid projects, that gap shows up on the energy bill. On solar projects, it shrinks the panel and battery you need.
Initial vs. maintained lumens. Most spec sheets show initial lumens, the output on day one. LEDs dim slowly with heat, age, and dirt on the lens. Maintained lumens estimate what the fixture still delivers years later. Many suppliers quote L70, the point where output falls to 70% of the original. I design around maintained output, because the road needs enough light in year eight, not just at handover.
Where lumens stop. A lumen figure says nothing about direction. Two 60W fixtures can both list 9,000 lumens. One uses a Type III roadway optic, and the other uses a wide symmetric beam. On paper they match. On the street, they look completely different.
Lux: The Number That Shows What Actually Lands on the Road
Lux measures illuminance, the light that falls on a surface. Unlike lumens, lux belongs to a specific point. Move your meter two meters along the curb, and the reading changes.
That point-by-point view makes lux the metric I trust for road visibility. Drivers need to see the pavement edge and obstacles ahead. Pedestrians need to see the curb, uneven paving, and the faces of people walking toward them. Lux shows whether those spots get enough light.
Average lux vs. minimum lux. A lighting plan usually reports two numbers. Average lux (Eav) shows the overall light level. Minimum lux (Emin) shows the darkest point. A street can average 10 lux and still drop near 1 lux between poles. The ratio between the two is called uniformity, and it tells you how even the light feels.
Targets depend on the site. As a rough guide:
- Residential streets: about 5–10 lux average
- Parking lots: about 10–20 lux average
- Pedestrian crossings: often 20–50 lux, with extra vertical light so drivers see people clearly
Always confirm the exact target with your local standard or municipal spec. US spec sheets may use foot-candles instead. One foot-candle equals about 10.76 lux.
Same Lumens, Different Road: What Changes the Lux
Two sites can install the same fixture, and one passes inspection while the other gets complaints. The fixture didn’t change. The layout did.
Four factors decide how much output turns into useful lux on the pavement. I check each one before I trust any lumen figure.
Mounting Height: Taller Poles Spread Light Thinner
A higher fixture spreads its light over a bigger area, so each square meter gets less.
The drop is steep. Directly below the fixture, lux falls with the square of the height. Move a fixture from a 6 m pole to a 10 m pole, and the light under it drops to roughly one-third.
Taller poles still have value. They can sit farther apart and often give smoother coverage. But they need more lumens or tighter optics to hold the same lux. If a supplier changes your pole height, ask them to recheck the light levels.
Beam Angle and Optics: Where the Light Actually Lands
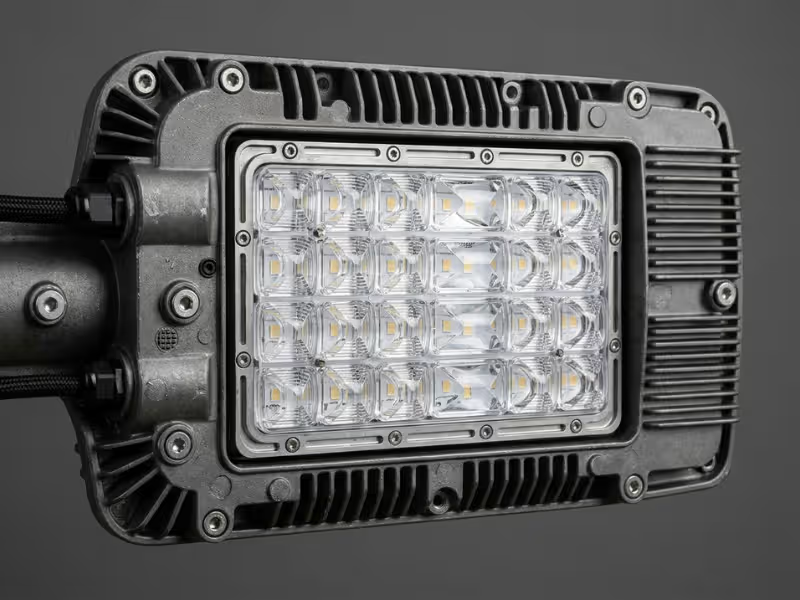
I rate optics as highly as raw output. A narrow beam creates a small, bright pool. A wide beam covers more ground at a lower level. The beam just has to match the space.
Roadway optics stretch light along the street in an oval pattern. Type II suits narrow streets. Type III throws farther across wider roads. Type IV pushes light forward from the edge of a large area.
A round flood pattern works poorly on streets. It sends light behind the pole into yards and windows. On many sites I’ve reviewed, switching to a proper roadway optic raised pavement lux by 20–30% without adding a single lumen.
Pole Spacing: Wide Gaps Create Dark Patches
Spacing affects both average lux and the darkest point between poles. Stretch spacing from 25 m to 40 m, and the average falls by more than a third. The midpoint usually suffers more, because it depends on the weak edges of two beams.
A higher-lumen fixture rarely fixes poor spacing. It brightens the area under each pole, so the gaps look even darker by contrast.
As a starting point, I keep spacing at three to four times the mounting height for most roadway optics. Then I confirm it with a photometric calculation.
Road Width: Will the Fixture Fit the Street?
A 10,000-lumen fixture with a Type II optic covers a 6 m residential lane and its sidewalk well. Put it on a 14 m four-lane arterial, and the far lanes fall into shadow.
The reverse also happens. A wide Type III optic on a narrow lane throws light onto lawns and bedroom windows. For wide roads, I switch to a wider optic or place poles on both sides, opposite or staggered.
Uniformity: Why a Bright Street Can Still Fail
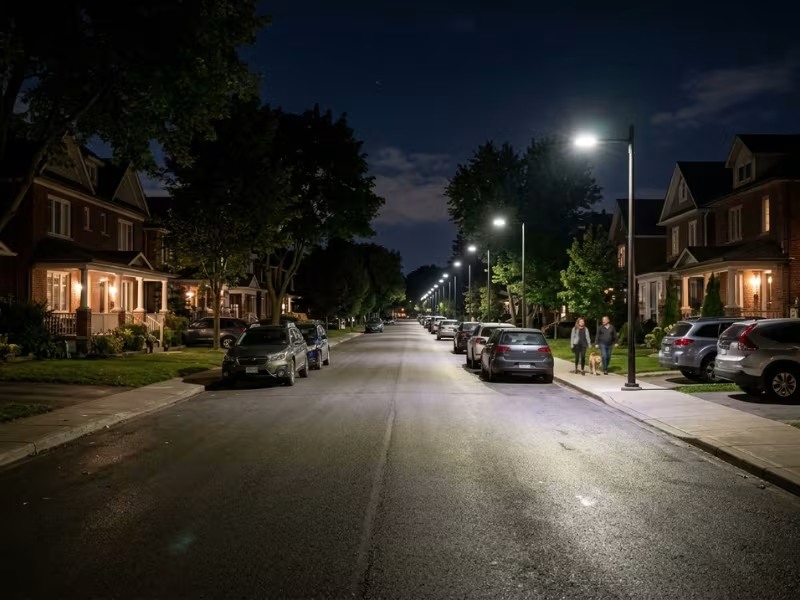
Some streets look impressive from a distance. Each pole throws a bright pool onto the asphalt. Walk the road at night, though, and you hit a dark stretch between every pair of poles.
Your eyes adjust to the bright pools. When you step into a gap, they can’t adapt fast enough. A pothole, a curb, or a person in dark clothes can disappear there.
Two layouts can both average 10 lux. One spreads that light evenly. The other packs it under the poles and leaves 1–2 lux in between. On paper, they tie. On the street, only one feels safe.
Spacing and optics drive most of that difference. A good roadway optic at the right spacing lets neighboring beams overlap, so light flows evenly from pole to pole.
Many road standards expect the darkest point to reach roughly 25–40% of the average. If a supplier quotes only the average, ask what happens between the poles.
How to Judge Brightness at Each Project Stage
Brightness questions change as a project moves forward. I use a different metric at each stage, and I don’t let one stage do another’s job.
Early Product Comparison
Lumens, efficacy, and fixture type do the sorting here. I drop any fixture below about 130 lm/W and any model without a true roadway optic. That trims ten suppliers to three or four. But a shortlist isn’t a decision.
Design and Layout
Now lux takes the lead. Start with your lux target, then add the real mounting height, spacing, road width, and optic. Ask each supplier for an IES or LDT file, and have your designer run your actual layout in DIALux or a similar tool. If a supplier can’t send a file within a few days, I treat that as the answer.
Procurement and Approval
Check the quote against the simulation line by line. The model, wattage, optic, and color temperature must match the file. Some suppliers swap in a cheaper optic or lower drive current after approval. Also confirm the design uses a maintenance factor, often 0.8 or lower, rather than day-one lumens.
Installation and Field Check
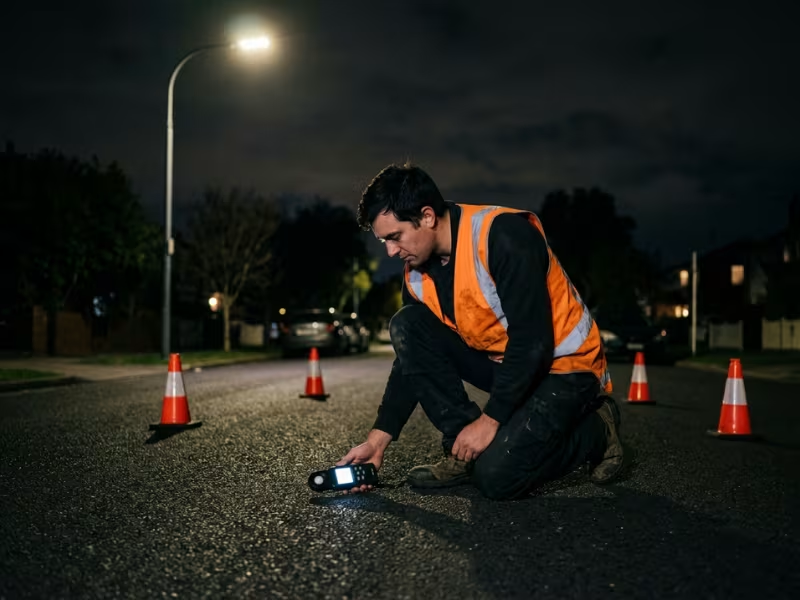
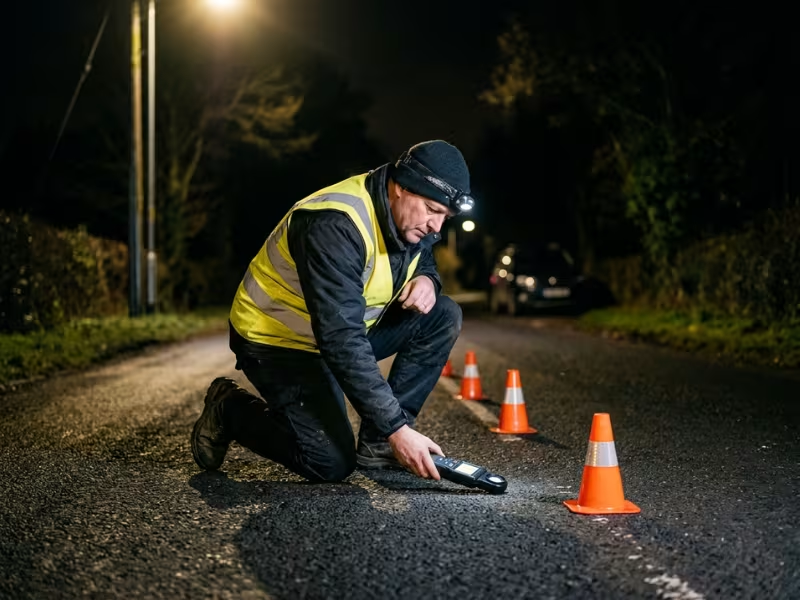
The road gets the final vote. Take night readings with a calibrated meter on a grid between two typical poles. Compare them with the simulation. A 10–15% gap is normal. Larger gaps usually point to the wrong tilt, height, or optic.
A Six-Step Workflow for Your Next Street Lighting Project
When a client hands me a new street project, I don’t open a catalog first. I follow these six steps in order.
- Define the road. Record the type, width, traffic level, and nighttime foot traffic. A 6 m cul-de-sac and a 14 m bus route need very different answers.
- Set the lux target in writing. Pull it from your local standard, such as EN 13201 or IES RP-8. Record average lux and minimum uniformity, for example “7.5 lux average, uniformity 0.4.” Send the same target to every supplier.
- Ask for data, not brochures. Request the IES or LDT file, distribution type, and maintained output for the exact model quoted.
- Test your real layout. Use the pole height and spacing your site actually allows. If existing poles stand 35 m apart, test 35 m. Then try one or two variations to find the lowest overall cost.
- Read three numbers together. Check average lux, minimum lux, and uniformity side by side. I reject any design that meets the average but misses the midpoint, even when it’s the cheapest bid.
- Measure the finished road. Compare night readings with the simulation. If results fall more than 15% short, check tilt, height, and optic before you accept the job.
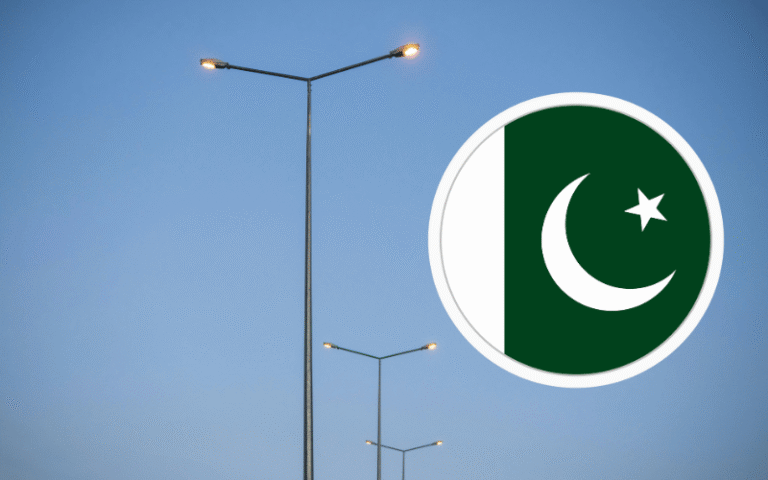
Our Solar LED Streetlight Retrofit in Punjab, Pakistan shows how this kind of planning works on a real retrofit. Keep all results on one shared sheet. That single page settles most contractor disputes.
Common Buying Mistakes That Leave Streets Too Dark or Too Bright
Most problems I get called in to fix start with the purchase order.
- Buying by wattage. A 60W fixture at 160 lm/W gives 9,600 lumens. An 80W fixture at 110 lm/W gives only 8,800. The bigger number on the box loses.
- Buying by lumens. Lumens can’t tell you whether light lands on the pavement or a bedroom wall.
- Ignoring optics. A cheap round flood beam can waste half its light on hedges.
- Stretching pole spacing. Push 30 m spacing to 45 m, and no lumen upgrade will fill the gaps.
- Ignoring maintained output. A design that only works with day-one lumens falls short as LEDs age.
- Chasing high lux. Overbright fixtures cause glare and deepen the contrast with dark gaps. I’d choose an even 8 lux over a patchy 15.
- Trusting quotes without a layout. A price sheet without a calculation only gives you a guess.
When to Focus on Lumens, and When to Focus on Lux
Each unit has its job.
Use lumens for early screening. They help you compare output and efficiency across a shortlist.
Use lux for project outcomes. It tells you whether the pavement, sidewalk, and crossings get enough light.
Use both for the final decision. The right fixture delivers efficient output and meets the lux target on your actual road.
Neither number works well without layout context. Height, spacing, optics, and road width connect the two.
Quick Comparison Table: Lux vs. Lumens
This table puts the two units side by side.
|
Metric |
What It Measures |
Best Use in Street Lighting |
Main Limitation |
|---|---|---|---|
|
Lumens |
Total visible light a fixture emits in all directions |
Screening fixtures and comparing efficiency (lm/W) |
Says nothing about where the light lands |
|
Lux |
Light falling on one square meter of a surface |
Checking road, sidewalk, and crossing performance |
Changes with layout, so it means little without site data |
Practical Street Lighting Brightness Checklist
Run through this list before you approve any design or quote.
|
Item to Check |
What to Confirm |
|---|---|
|
Fixture lumens |
Output and efficacy for the exact model |
|
Maintained output |
L70 rating and maintenance factor in the design |
|
Beam distribution |
Roadway optic type matched to the road |
|
Mounting height |
Real height the site allows |
|
Pole spacing |
Tested spacing, not ideal spacing |
|
Road width |
Full width, sidewalks, and crossings covered |
|
Target lux |
Written target from the local standard |
|
Uniformity |
Minimum-to-average ratio meets the standard |
|
Photometric files |
IES or LDT file for the quoted model |
|
Field verification |
Night grid readings planned before handover |
FAQs
What is the difference between lux and lumens?
Lumens measure the total light a fixture emits. Lux measures how much of that light falls on each square meter of a surface. One describes the fixture, and the other describes the result on the ground.
Is lux or lumens more important for street lighting?
Lux matters more for the final result, because it shows what the road receives. Lumens still help you shortlist fixtures. Use both, but judge the project on lux.
Can two street lights with the same lumens produce different road brightness?
Yes. Optics, mounting height, pole spacing, and road width all change how much light reaches the pavement. A proper roadway optic can raise pavement lux by 20–30% at the same lumen output.
Can I convert lumens to lux directly?
Not reliably. The simple formula assumes all light spreads evenly over a known area, which never happens on a real road. Only a photometric calculation of your actual layout gives you trustworthy lux values.
What lux level is typical for a residential street?
Most residential streets need about 5–10 lux on average, with reasonable uniformity. Exact targets vary by country and road class, so confirm them with your local standard.
Why do I need a photometric simulation before buying street lights?
A simulation shows average lux, minimum lux, and uniformity for your specific road before you spend money. It catches poor spacing and wrong optics on screen instead of on site.
Conclusion
Lumens describe what a fixture emits. Lux describes what actually reaches the road. Both numbers matter, but only lux tells you whether drivers and pedestrians get enough light.
Real results also depend on the details around the fixture. Optics, mounting height, pole spacing, and field verification decide whether a good spec sheet turns into a well-lit street.
So don’t approve a quote on lumens or wattage alone. Ask every supplier for the photometric file of the exact model. Then have your designer run your real road and pole layout and check average lux, minimum lux, and uniformity. If a quote can’t pass that test on screen, it won’t pass on the road.