
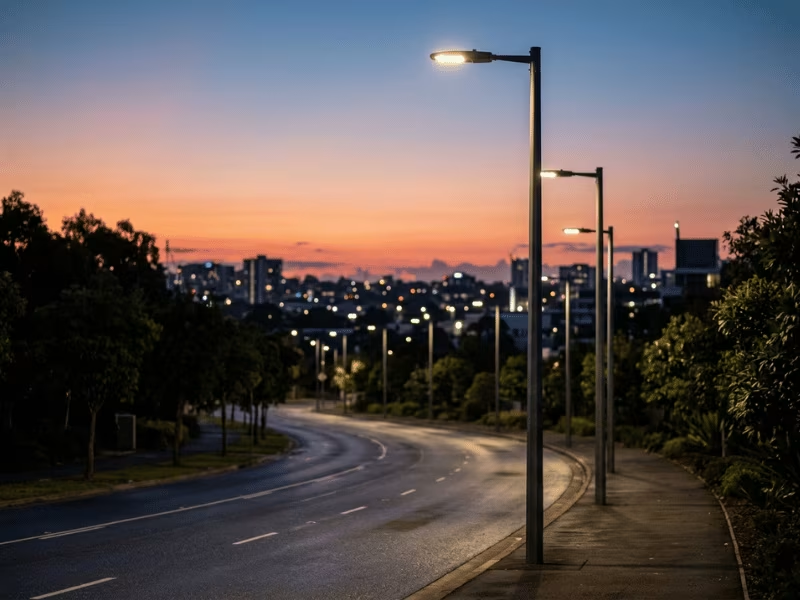
Many people search this question because they want a clear number fast. They see street lights on local roads, parking lots, and highways, and they assume one standard height fits all. It does not.
Most street lights stand somewhere between 15 and 40 feet tall. But that range only gives you the starting point. A neighborhood street, a busy main road, and a highway interchange often need very different heights.
What matters is not only the number itself. What matters is why that number was chosen. In real projects, height affects light spread, glare, spacing, cost, and maintenance.
This guide will help you understand three things clearly: the common height ranges, the reasons those ranges change, and the practical way to judge whether a street light height makes sense.
Street Light Height: The Short Answer
Most street lights stand between 15 and 40 feet tall. That covers the vast majority of what you see on everyday roads. A smaller group, mainly high-mast poles on highways and large interchanges, climbs to 100 feet or more.
Here’s a detail people often miss. When someone quotes a height, they usually mean the mounting height, which is the distance from the ground to the center of the luminaire. The pole itself typically runs 2 to 4 feet taller than that. So a 30-foot mounting height often sits on a pole closer to 33 feet.
Those towering high-mast poles grab attention, but treat them as the exception. Engineers reserve them for wide, open areas where a handful of tall poles light more ground than a long row of shorter ones. Most roads never need that. Instead, the right height depends on the setting, and that’s exactly why residential streets, main roads, and highways each land in their own range.
Typical Street Light Heights by Road Type
After years of walking job sites and reviewing lighting plans, I can usually guess a pole’s height just by looking at the road it serves. The road type sets the pace, and the height follows. Here’s what you’ll typically find.
| Setting | Typical Mounting Height | Typical Use Case | Why This Range Is Common |
|---|---|---|---|
| Residential streets | 15–25 ft | Neighborhood roads, side streets | Keeps light on the pavement and out of windows |
| Main streets & collector roads | 25–30 ft | Downtowns, commercial strips | Balances car traffic with foot traffic |
| Arterial roads | 30–40 ft | Multi-lane through routes | Higher speeds need wider, even coverage |
| Highways & interchanges | 40–100+ ft | Freeways, large junctions | Few tall poles light huge areas |
| Parking, parks & paths | 10–40 ft | Lots, trails, walkways | Height scales with the space |
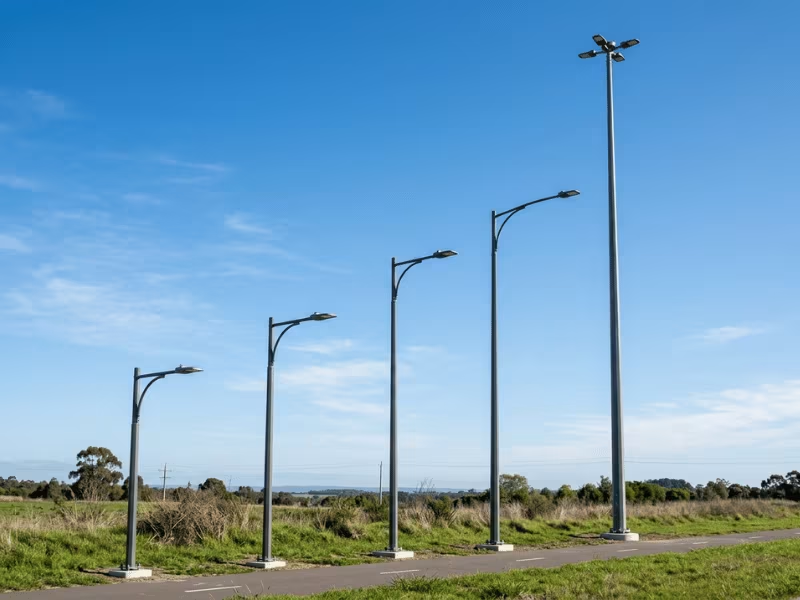
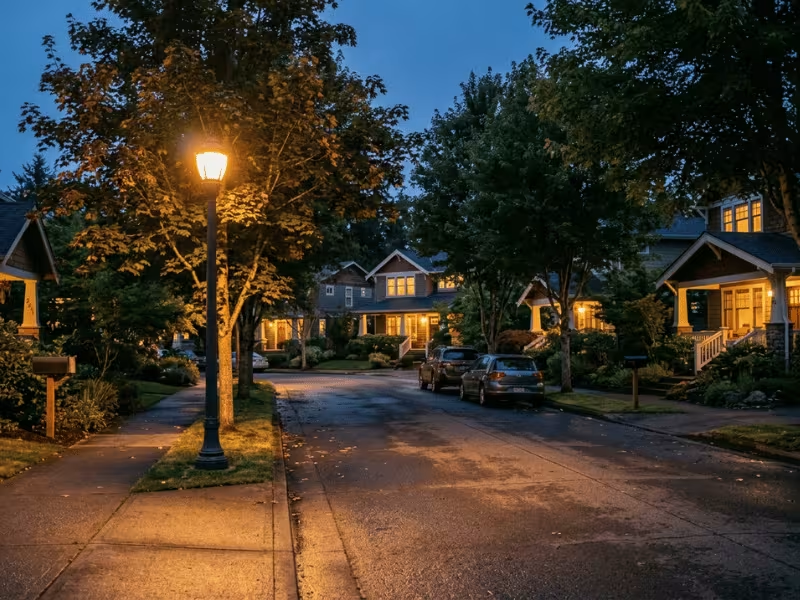
Residential streets: 15–25 ft
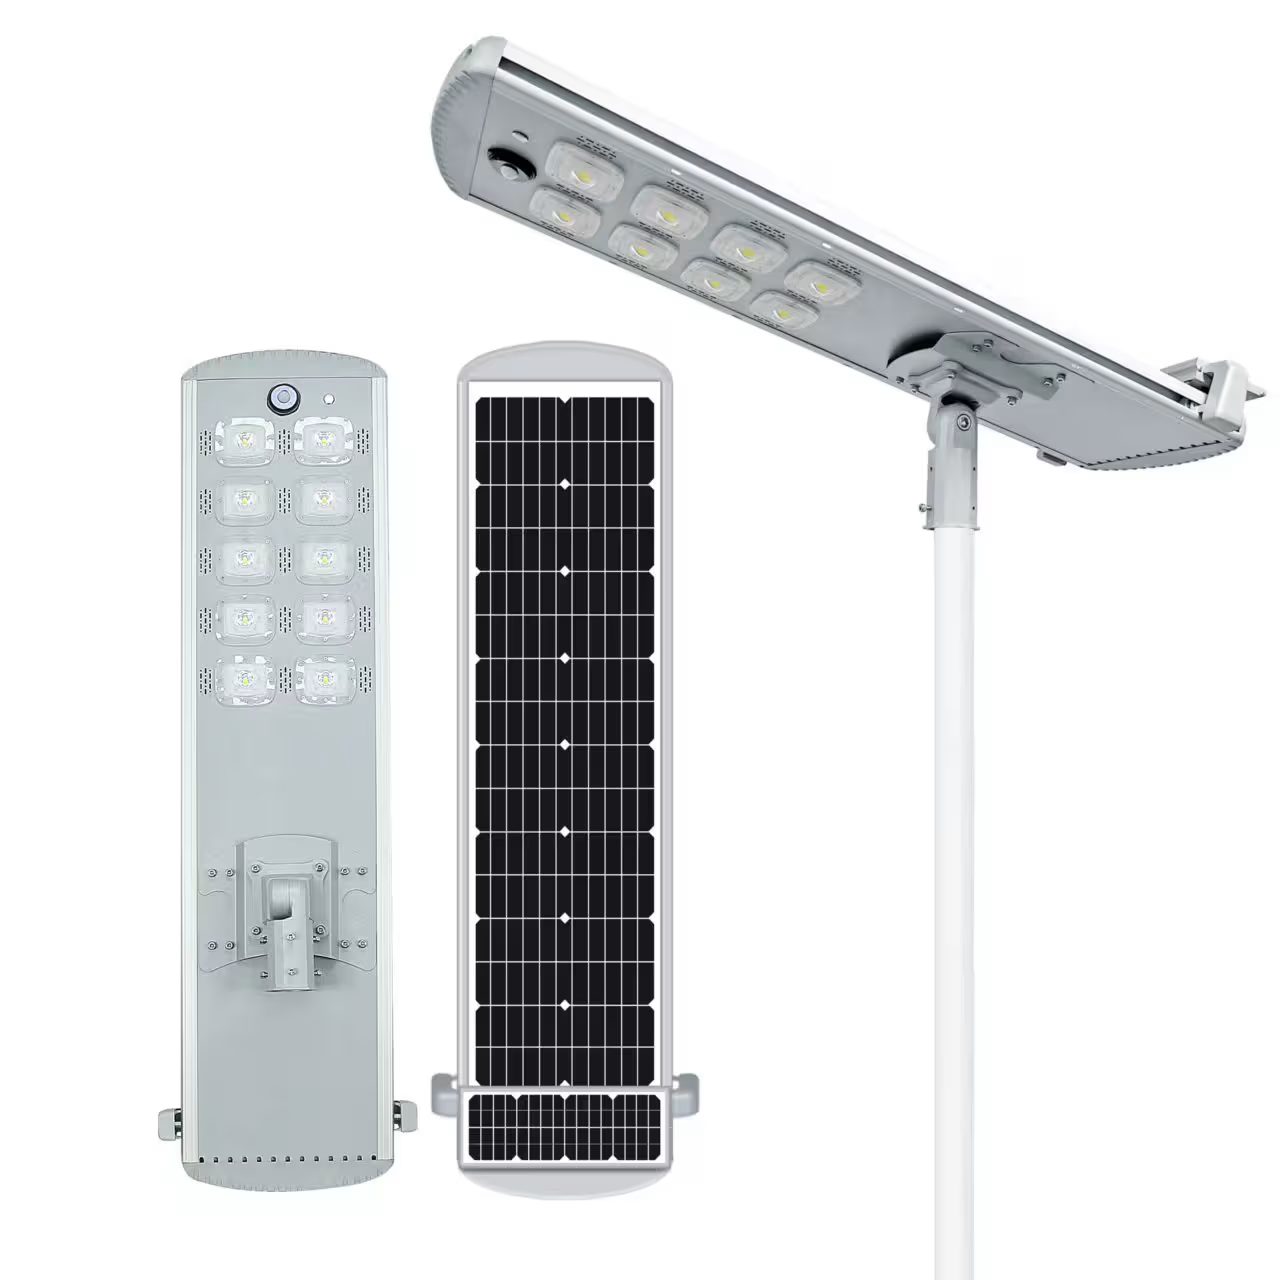
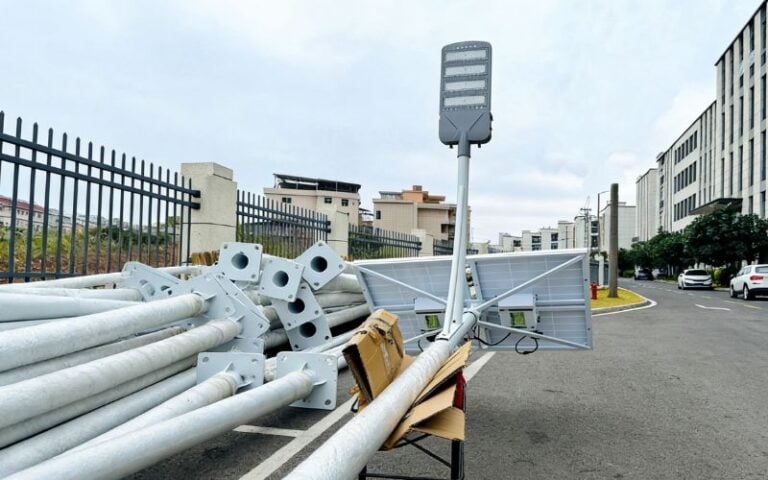
Neighborhoods stay low on purpose. A 20-foot pole spreads enough light for slow traffic and sidewalks without flooding bedroom windows. Go taller here and you invite complaints about glare. This is also where compact solar street lights shine, since lower poles pair well with panel-and-battery designs.
Main streets and collector roads: 25–30 ft
These roads juggle cars, cyclists, and pedestrians. I aim for around 28 feet, which lights the roadway while still feeling human-scaled at the curb. Many downtowns pair this with shorter pedestrian fixtures on the same block.
Arterial roads: 30–40 ft
Speeds climb, lanes multiply, and drivers need to see farther ahead. Taller poles push light across all lanes evenly and let you space poles wider without dark gaps between them.
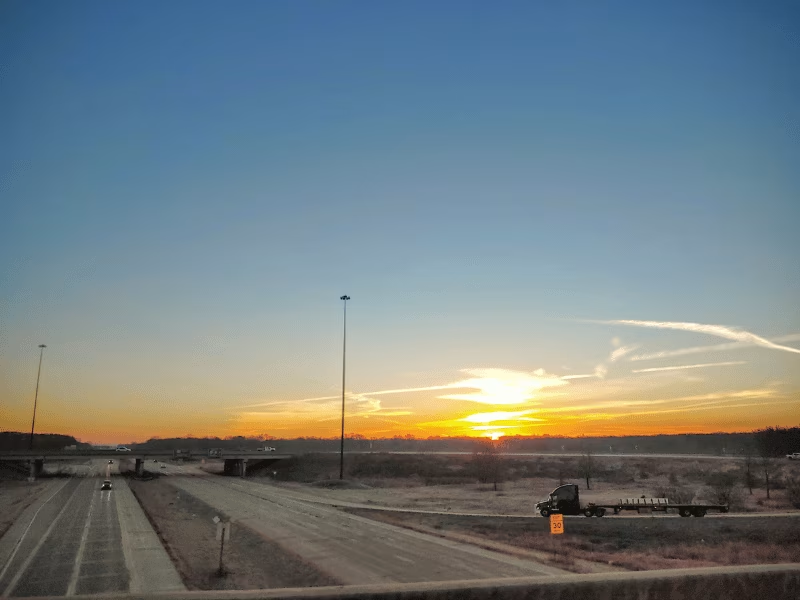
Highways and interchanges: 40–100+ ft
This is where high-mast lighting earns its keep. Instead of lining a ramp with dozens of poles, I’ll specify a few 80- to 100-foot towers that blanket the whole conflict zone. Fewer poles also mean fewer roadside hazards.
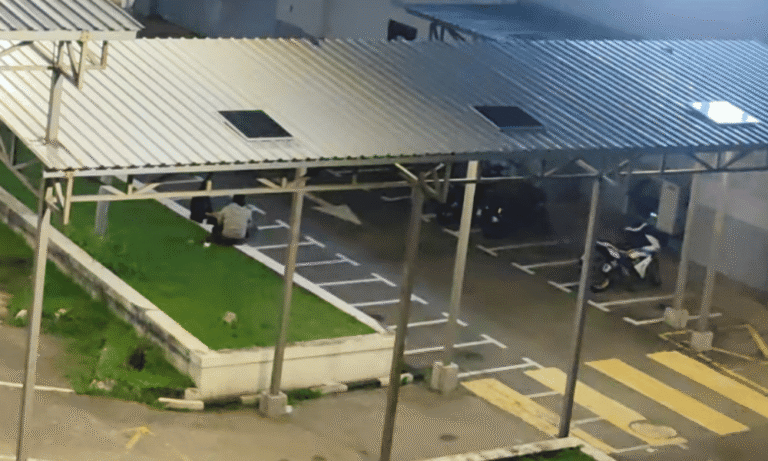
Parking areas, parks, and pedestrian paths: 10–40 ft
This group swings the widest. A big-box parking lot might run 30 to 40 feet for broad coverage, while a park trail sits closer to 12 feet, where a solar garden light often does the job. The rule I follow: match the height to how people move through the space, not the other way around.
Why Street Light Height Varies So Much
Height is never a style decision. It’s the answer to a math problem. Engineers don’t pick a number because it looks right. They land on it because the road, the light targets, and the site all demand it.
That’s why the range is so wide. Four forces pull the number in different directions at once. The road type sets a baseline. The lighting goals push it up or down. Site constraints trim it back. Local standards draw the final line.
Sometimes these forces agree. Often they don’t. A tall pole might light more ground but break a dark-sky rule. A short one might please the neighbors but leave gaps. The right height sits where all four settle. Let’s look at each one.
The 4 Factors That Actually Decide Street Light Height
When I sit down with a lighting plan, I’m really weighing four things at once. Each one tugs the height in its own direction, and the final number is where they balance out.
Road type, lane width, and traffic speed
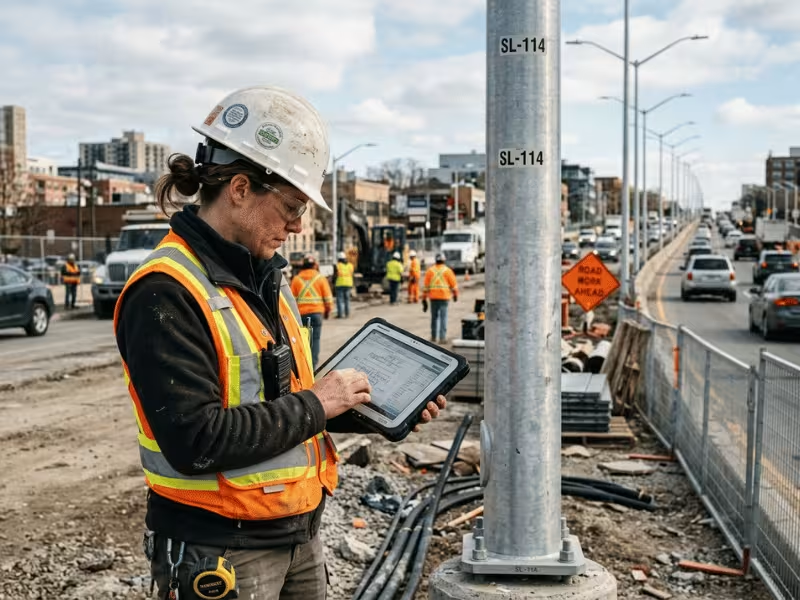
The road tells me most of what I need to know before I even measure anything.
A local street moves slowly. Drivers scan a short distance ahead, so a low pole lights just enough pavement to feel safe. A 20-foot pole does the job.
Move up to a collector or arterial, and everything stretches. More lanes to cover. Faster cars. Drivers now need to see hundreds of feet down the road, not a few dozen.
Here’s why speed matters so much. At higher speeds, a driver’s eyes look farther ahead. Light has to land there, evenly, before the car arrives. A short pole can’t throw light that far without going harsh right underneath it.
So I go taller. A taller pole lifts the light source and spreads the beam across a wider patch of road. That lets me place poles farther apart while still filling the gaps between them.
Wider lanes push the same way. More width means more ground to cover from each pole. Raising the mounting height widens the pool of light so it reaches the far lane.
Highways take this to the extreme. That’s where high-mast poles come in, lighting whole interchanges from a few tall points.
Lighting goals: coverage, uniformity, and glare
This is where height stops being simple. Most people think a taller pole just throws light farther. It does more than that. It changes how the light lands.
Three goals fight for attention here, and height sits in the middle of all three.
Coverage is the easy one. Raise the pole and the pool of light grows wider. Good so far.
Uniformity is trickier. I don’t just want light on the road. I want it spread evenly, with no bright spots and no dark pockets between poles. Uneven light is dangerous. A driver’s eyes adjust to the bright patch, then hit a shadow and see nothing. A taller pole smooths those transitions, which is why arterials use them.
Glare is the goal people forget. Push a pole too high or aim it wrong, and the light source starts shining into eyes instead of onto pavement. That’s disability glare, and it makes drivers see less, not more.
Now the trade-off. Go too low, and coverage shrinks. You get bright circles under each pole and dark gaps between them.
Go too high without matching the optics, and something surprising happens. The same light spreads over a bigger area, so less of it actually reaches the pavement. Effective illuminance drops. You’ve added height and made the road dimmer.
That’s the balance I chase every time. Enough height for even coverage, but not so much that glare climbs and useful light thins out. The pole, the wattage, and the lens all have to move together.
Site constraints: trees, utilities, nearby homes, and dark-sky limits
The plan on paper meets the real world here, and the site always has opinions.
Trees are the quiet troublemaker. A tall canopy can swallow the light from a pole before it reaches the road. Sometimes I raise the pole above the branches. Sometimes I move it. Either way, the trees decide.
Overhead power lines set hard limits. Utilities require clearance above their lines, so the pole often has to clear that height whether I like it or not. Bridges and low structures work the opposite way, capping how tall I can go.
Building setbacks matter too. A pole close to a wall lights differently than one out in the open.
Homes change everything. Near houses, I have to control light trespass, which is stray light spilling into yards and windows. That usually means keeping poles lower and choosing optics that aim light down and forward, not sideways.
Dark-sky rules add another layer. These ordinances limit how much light escapes upward into the night sky. They restrict both height and fixture type. A tall pole with an open lens rarely passes. So I drop the height and pick full-cutoff optics that keep light where it belongs.
Cost, maintenance, and local standards
Money and rules close out every decision, and they’re rarely flexible.
Taller poles cost more in ways that add up fast. They need bigger foundations to stay standing in wind. They need thicker walls. And every extra foot raises the price of the pole itself.
Service is the part people overlook. A 40-foot pole needs a bigger bucket truck or crane than a 25-foot one. That means slower repairs and higher bills every time a fixture fails. Cities weigh this over decades, not just at install day.
So there’s always a quiet math problem: more short poles, or fewer tall ones? Sometimes fewer tall poles win on total cost. Sometimes they don’t.
Then come the rules. Local DOT manuals, utility requirements, and city standards all set caps and minimums. I can design the perfect height, but if the local standard says otherwise, the standard wins.
This is why the same road can wear different heights in neighboring towns. One city’s public works department writes one number. The city next door writes another. Both roads look identical. The poles don’t.
That’s the part I always tell clients to check first.
How Engineers Turn Requirements Into a Real Height
By now you’ve seen the four forces at play. Here’s how I pull them together into one number.
I work through five steps, in order. Skip one, and the height falls apart.
First, I classify the road. A local street, a collector, an arterial, and a highway do not start from the same height range, so this step sets the baseline for everything that follows.
Next, I define the lighting targets. I need to know how much light should reach the pavement, how even the distribution must be, and how tightly glare has to be controlled near homes, sidewalks, or mixed-use areas.
Then I choose the luminaire and its distribution. A narrow beam reaches farther down the road, while a wider distribution covers more area. The optics have to support the intended mounting height rather than work against it. Whether you run a solar street light or an LED street light, the distribution still has to fit the pole.
After that, I test spacing and mounting height together. These two variables always move together. I adjust the distance between poles, recalculate the height, and keep refining until the roadway gets smooth coverage without obvious dark gaps.
Last, I verify the real-world limits. That means checking glare, power-line clearance, roadside safety requirements, and the local code. A height that looks perfect on paper still fails if the site or the standard will not allow it.
If any of those checks fail, I loop back and adjust the fixture choice, spacing, or mounting height until the design holds together.
That’s the whole process. No guessing. The road speaks first, the numbers follow, and the code has the final word.
A Quick Way to Judge Whether a Street Light Height Looks Reasonable
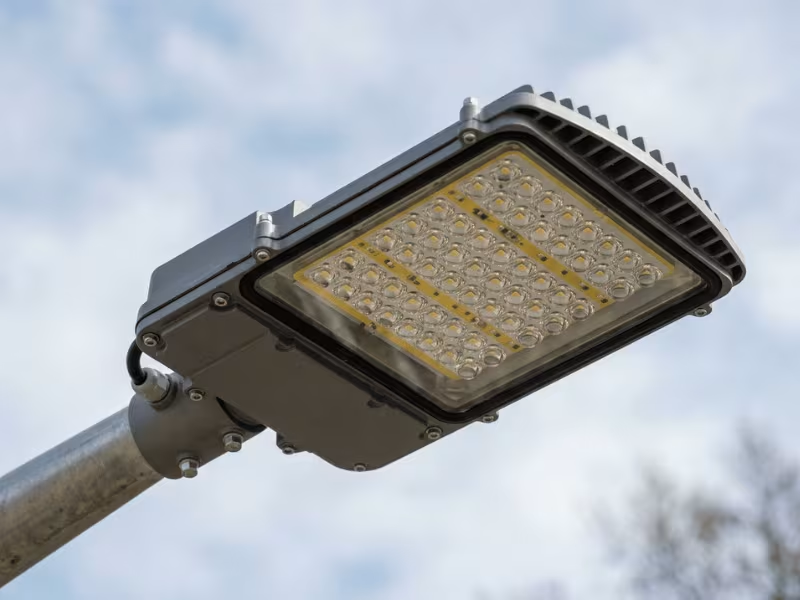
You don’t need a lighting degree to spot a pole that’s off. I do this by eye all the time, and it comes down to four quick questions.
1. Does the height match the road’s width and speed?
Picture the road. A fast, wide arterial with 20-foot poles will feel dim and patchy. A quiet residential street with 40-foot poles feels like overkill. When the pole height and the road don’t fit, you can usually sense it right away.
2. How does the spacing look at night?
Walk or drive the stretch after dark. Do you see smooth, even light? Or bright circles under each pole with black gaps between them? Dark gaps often mean the poles sit too far apart for their height. That’s a red flag.
3. Are homes or sidewalks close by?
Look for light spilling where it shouldn’t go. If you stand on a sidewalk and the fixture glares straight into your eyes, or if light pours into a bedroom window across the street, the height or the optics missed the mark.
4. Is the glare worse than the coverage it buys?
This one settles the rest. Squint at the pole. If the light source stabs your eyes before you notice the pavement it lights, glare is winning. Good lighting puts light on the ground, not in your face.
Run through these four and you’ll form a solid opinion fast.
None of this replaces a real design review. But it tells you whether a height deserves a second look, or whether someone should ask the city or a lighting designer a few pointed questions.
Common Mistakes People Make About Street Light Height
I hear the same wrong assumptions on almost every project. Here are the four that cause the most trouble.
Get these four straight and you’ll dodge the mistakes I clean up most often.
If You Need to Choose or Verify a Street Light Height
When a client hands me a project, I don’t guess. I run the same checklist every time. Work through these six steps in order.
Follow these six, and your height will hold up.
FAQ
Getting the Height Right
So how tall should a street light be? There’s no single answer. It always depends on context.
The height comes down to four things working together. The road type sets the baseline. The lighting target decides how much light you need on the pavement. Site constraints, like trees, homes, and power lines, trim your options. And local standards draw the final line.
Get those four right, and the pole puts light where people drive and walk, not in the sky or through bedroom windows.
Here’s your next step. Before you order or approve any pole, check your local DOT or public works standard. If the project is big, bring in a lighting designer. That one call saves you from replacing a pole later.