
A solar street light can stand beside a road all day with no grid connection and still switch on at night. That simple result makes many buyers curious. They want to know what sits inside the system, how it charges, and how it keeps working after sunset.
I hear the same concerns on almost every project. People like the lower wiring costs and faster installation. But they worry about gray weather, battery life, and real brightness. Those worries make sense. A solar street light performs well only when the system matches the site.
This guide walks through the parts that matter most and explains what really happens from sunrise to sunrise.
What a Solar Street Light Really Is
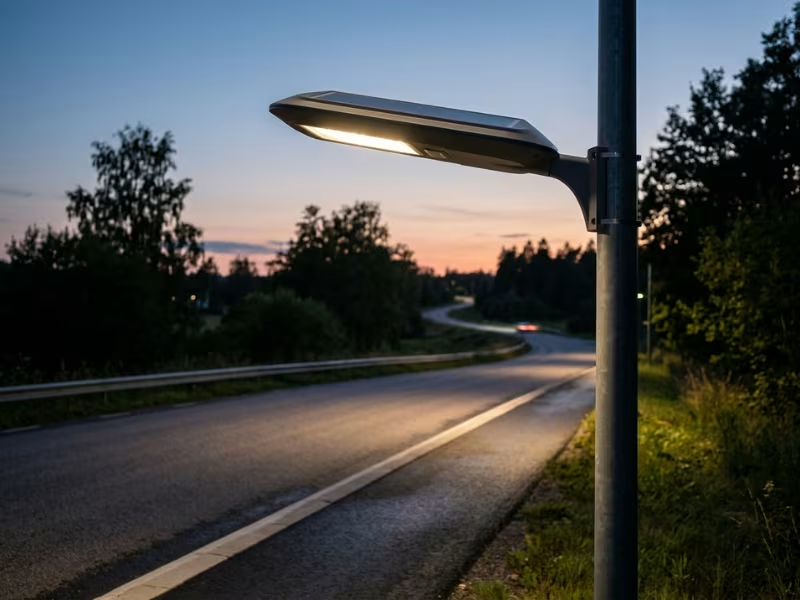
A solar street light is a self-contained, off-grid lighting system. It collects sunlight during the day, stores that energy in a battery, and powers an LED lamp at night. It never connects to the utility grid.
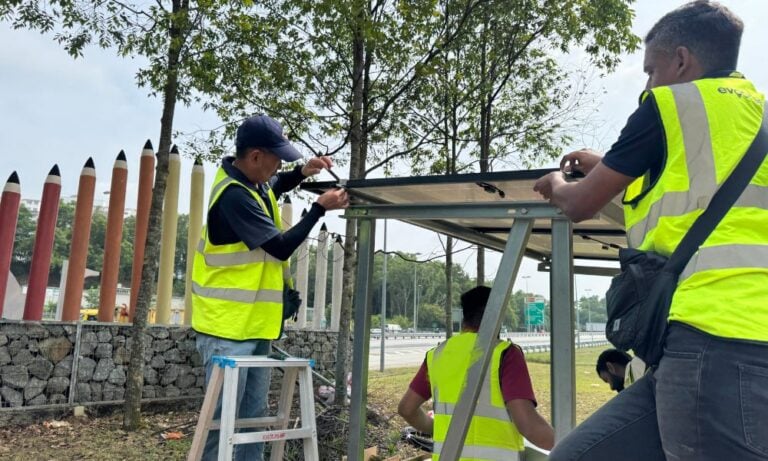
That one difference reshapes the whole project. A grid light needs trenching, underground cables, permits, and a monthly power bill. A solar light skips all of that. A crew can often set the pole and mount the fixture in a few hours.
You will find these lights on rural roads, residential streets, parking lots, pathways, campuses, and parks. They make the most sense where running cable would cost too much or take too long.
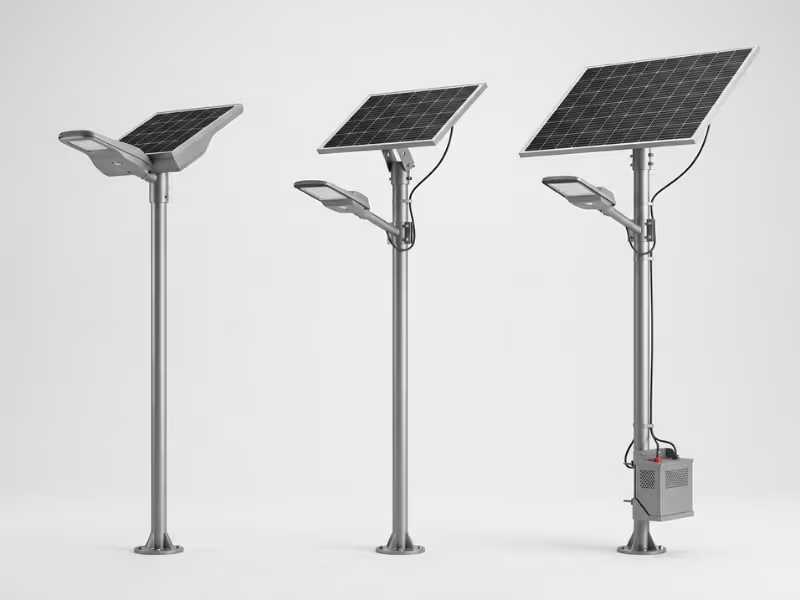
Most solar street lights use one of three structures:
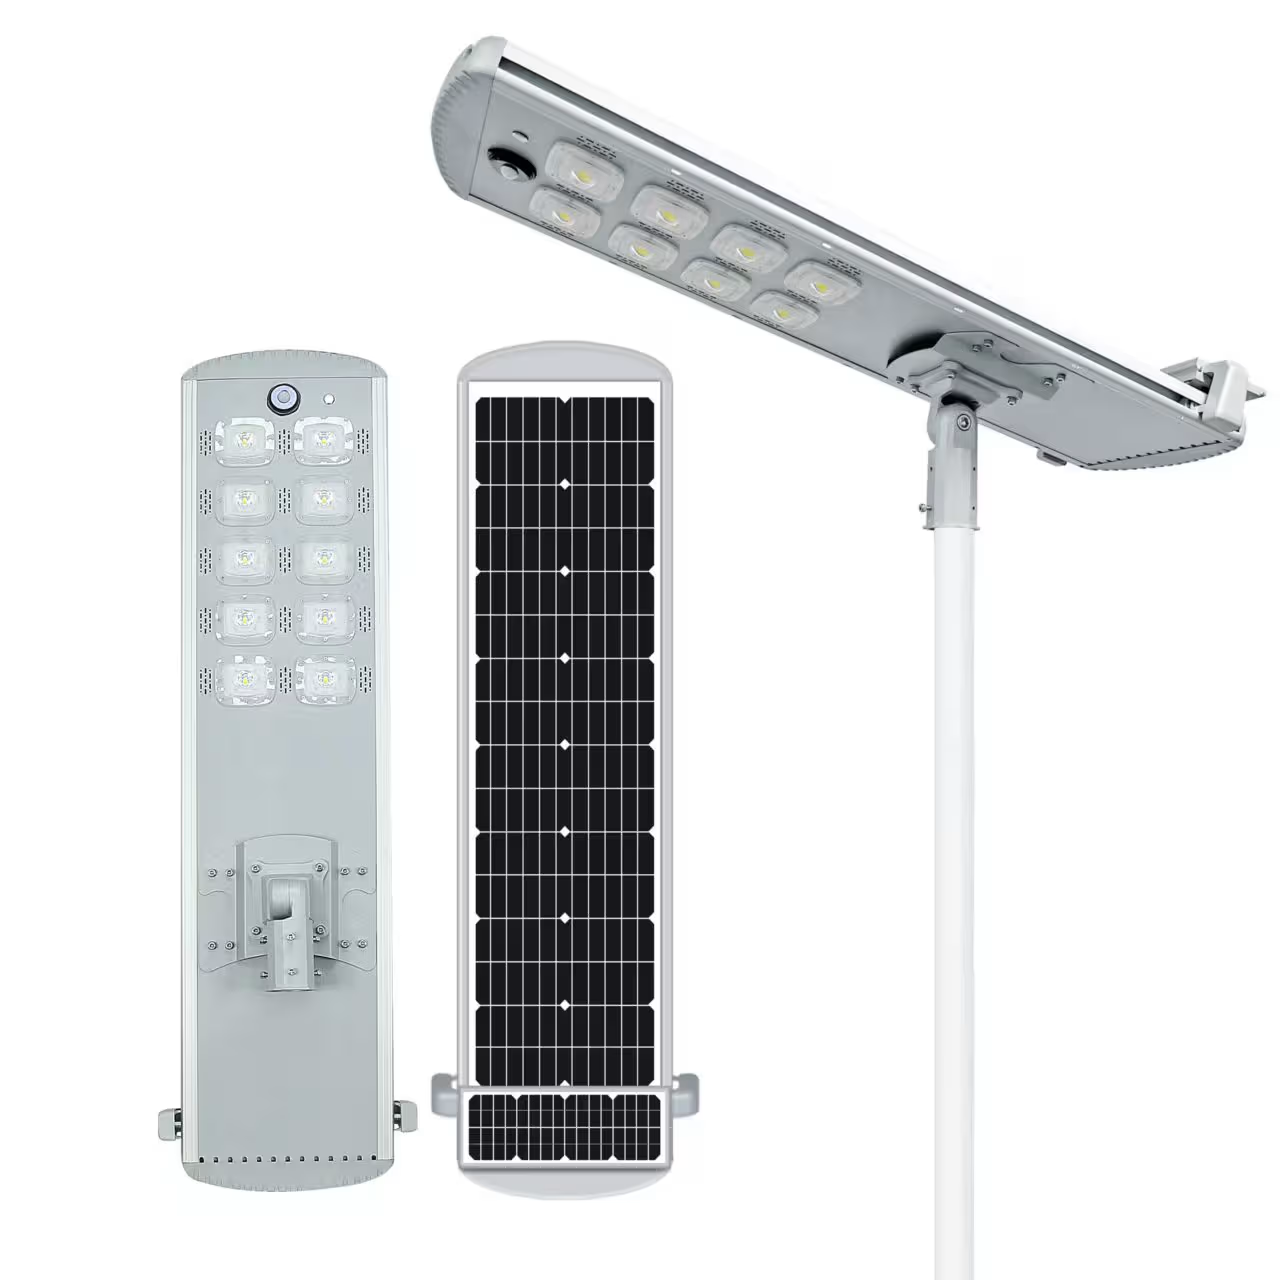
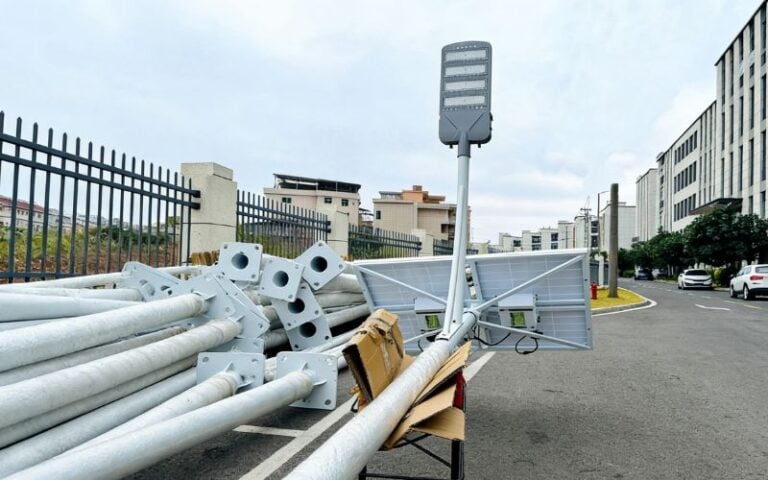
- All-in-one (integrated): The panel, battery, controller, and LED share one compact housing.
- Semi-integrated: The battery and LED stay together, while the panel mounts separately for better sun angle.
- Split system: Every major part sits apart. This suits larger, higher-output projects.
The structure matters, but the energy balance inside it matters more.
How the System Works as a Whole
I like to describe a solar street light as a small team. Each member has one job, and the light only performs well when everyone does that job on time.
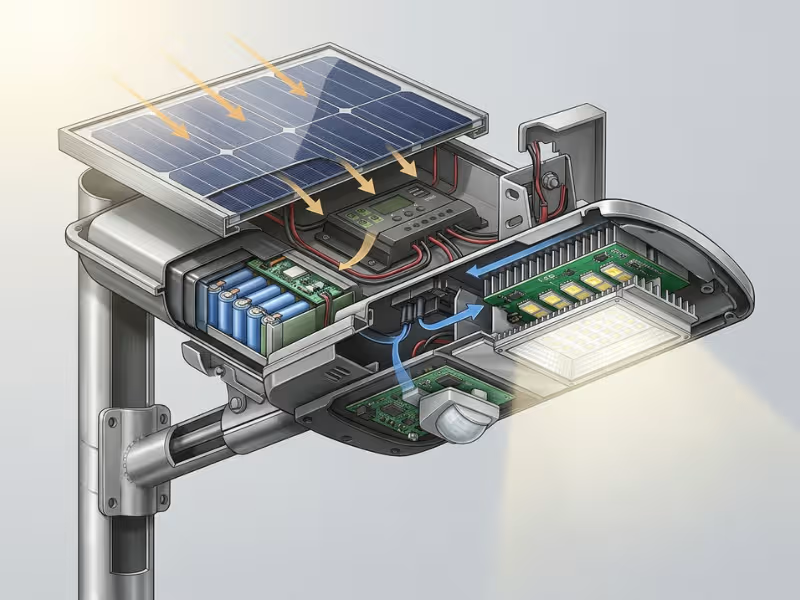
The solar panel starts the day. It turns sunlight into DC electricity. It lights nothing directly. Its only task is to gather as much energy as the weather allows.
That power flows to the charge controller, which I call the traffic manager. It decides how much current enters the battery and stops charging once the battery is full.
The battery acts as the energy bank. It holds the day’s harvest and keeps a reserve for dull weather.
At dusk, a light sensor tells the controller that night has arrived. The controller stops charging and sends stored power to the LED.
A motion sensor adds one more layer. The LED idles at a low level, then brightens when a person or vehicle approaches. This small step can add hours of runtime.
At dawn, the cycle resets. Once you see this loop, a weak link becomes easy to spot. It usually shows up as a dim light or a short night.
The Four Parts That Decide Real Performance
A solar street light contains many small parts, but four of them decide whether it stays bright until morning. When a project fails, the cause almost always traces back to one of these.
Solar Panel: The Energy Collector
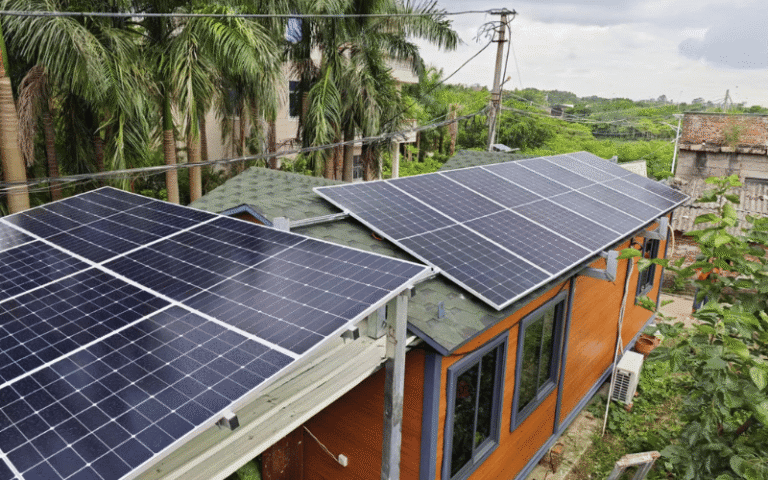
Monocrystalline panels are now the practical default. They convert about 20–23% of sunlight into electricity, while polycrystalline panels reach about 15–18%. On a compact pole-mounted fixture, that extra yield from the same space matters.
Keep one point clear. Panel wattage controls how much energy the light collects each day. It does not control how bright the lamp looks at night.
Shade also hits harder than most buyers expect. Cells connect in series, so a branch shadow across one corner can cut output far beyond its size.
Battery: Your Buffer Against Bad Weather
If the panel collects, the battery protects. It decides how the light behaves on the third gray day in a row.
Most quality products now use lithium iron phosphate (LiFePO4). It handles roughly 2,000–4,000 cycles, safely uses 80–90% of its capacity, and often lasts 5–8 years. Lead-acid and gel batteries cost less up front, but they usually need replacing within 2–3 years and weigh far more.
Every buyer should know one term: autonomy. It means how many nights the light can run on stored energy without a full recharge. I recommend at least 2–3 nights for sunny sites and 3–5 for rainy or northern ones.
LED Light Source: Turning Stored Energy Into Useful Light
Skip the big wattage number on the listing. Look for lumens, which measure the light the fixture actually produces.
Efficiency matters more here than in a grid light, because every wasted watt drains your battery. A good fixture delivers 150–180 lumens per watt. A cheap one may manage only 90–110.
Beam shape decides where the light lands. A street optic labeled Type II or Type III spreads light along the road. A narrow round beam leaves dark gaps between poles.
Controller and Sensors: The Brain Behind Every Decision
The controller decides when to charge, when to discharge, and how much power the LED receives.
MPPT controllers track the panel’s best operating point and usually harvest 10–30% more energy than PWM controllers, especially in cold weather or weak morning light. PWM works for small, low-output lights. For most street projects, I choose MPPT.
Then check the protection functions:
- Overcharge protection stops charging at full capacity.
- Over-discharge protection prevents deep draining.
- Low-voltage cutoff switches the light off before damage occurs.
- Low-temperature charge protection matters where winters drop below 0°C (32°F).
If a spec sheet skips these, treat it as a warning sign.
What Happens During the Day: Charging in Real Conditions
On paper, daytime charging looks simple. The panel produces DC power, the controller feeds it into the battery safely, and the battery holds it until dusk. In good sun, a well-matched system reaches full charge in about 6–10 hours.
Real sites rarely offer perfect conditions. I have seen two lights from the same batch perform very differently on two projects. The hardware matched. The sunlight did not.
Overcast skies. A panel still charges under clouds, but heavy overcast can cut output to 10–30% of its rating. So “it charges on cloudy days” is true but incomplete. The battery’s stored reserve, not that weak trickle, carries the light through a gray week.
Winter. Shorter days and a lower sun can halve daily energy at higher latitudes. Plan around your darkest month, not your average one.
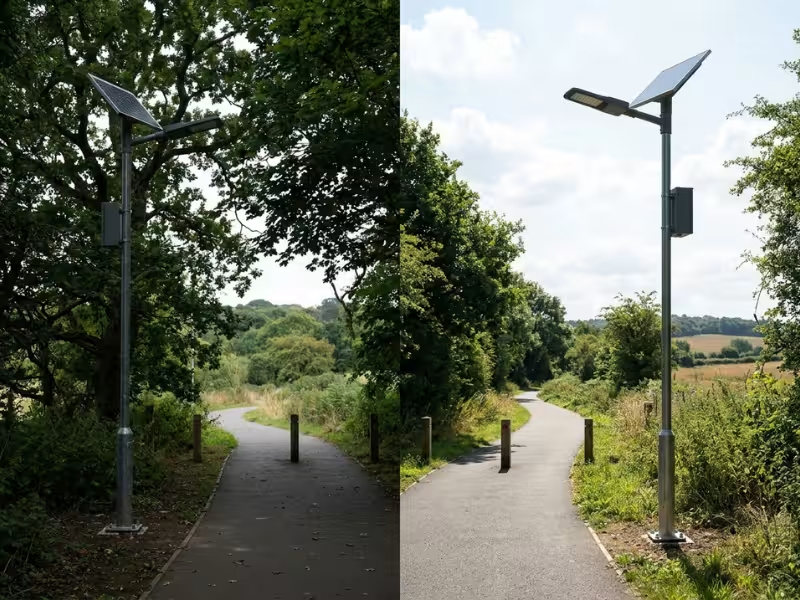
Shade. Check the site at 9 a.m., noon, and 3 p.m. A tree that looks harmless at midday may block the panel all morning, and trees keep growing.
Angle and orientation. Tilt the panel close to the site’s latitude and face it toward the equator: south in the Northern Hemisphere, north in the Southern.
Strong projects share three traits: enough panel capacity for local sun hours, a clear view of the sky, and a healthy battery reserve. Local climate shapes all three. Our solar street light project in Tanzania shows how we matched panels and batteries to East Africa’s rainy seasons.
What Happens at Night: Runtime, Dimming, and Motion Modes
When daylight fades, the controller doesn’t rely on a clock. A photocell, or the panel itself, tracks the falling light. Once panel voltage stays low for a few minutes, the controller reads it as nightfall. That short delay keeps a passing cloud or a car’s headlights from fooling the system.
The controller then switches roles. It stops charging, opens the path to the LED driver, and the battery starts spending what the sun stored.
How fast it spends that energy depends on the mode:
Full power all night. The LED runs at 100% until dawn. It drains the battery fastest and needs the largest components. I only suggest it for steady all-night traffic, like a busy junction.
Timed dimming. A common profile runs 100% for 4 hours, 50% for 2 hours, then 30% until sunrise. This alone can cut nightly energy use by 30–40%.
Motion-triggered brightening. The light idles at 20–30%. When a PIR or radar sensor spots movement within about 8–10 meters, it jumps to full power, then fades back after 20–30 seconds.
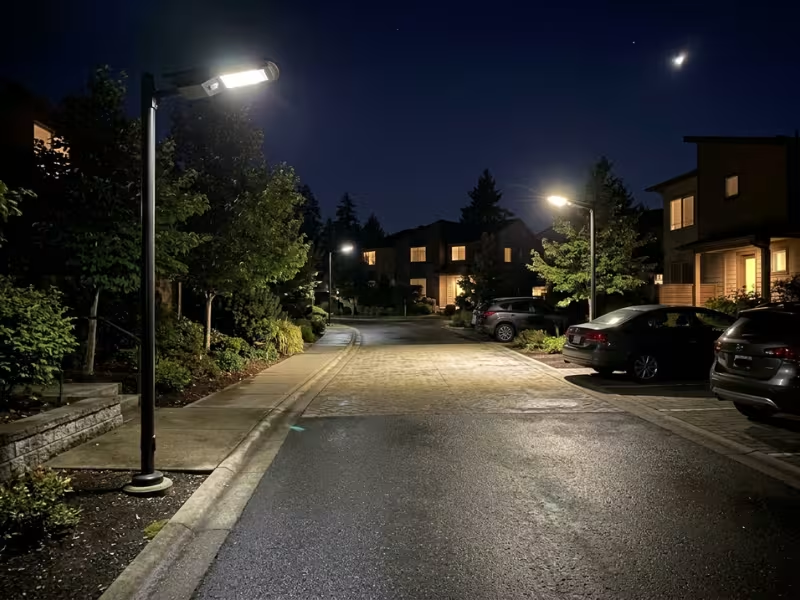
For parks, residential streets, compounds, and parking lots, motion mode usually strikes the best balance. A quiet road may see only a few dozen passes after midnight. Lighting empty asphalt at full power gains nothing, and the energy you save becomes extra reserve.
The controller also watches battery voltage. During a long gray spell, many controllers lower brightness first. If voltage keeps falling, the low-voltage cutoff turns the LED off. One dark night frustrates people, but it saves a battery that would otherwise age years early.
Why Some Solar Street Lights Disappoint
When a client calls about a light that fades by 10 p.m., I rarely blame the sun. I usually find a setup problem someone could have caught before ordering.
- Undersized panel. A panel that keeps up in Arizona can fall behind every winter day in Seattle. The battery never fully recovers, and the light weakens week by week.
- Thin battery reserve. If a site needs 12 hours of light and the battery holds barely 8, one gray afternoon can trigger cutoff.
- Ignored shade. Someone picks a pole spot at noon in spring. By summer, new leaves block the panel half the morning.
- Inflated lumen claims. A lamp promising 20,000 lumens from a tiny panel can’t deliver. The stored energy simply isn’t there.
- Pole too tall. A modest light on a 9-meter pole spreads so thin that the ground looks dim, even at rated output.
- Wrong mode. Full power on a quiet lane wastes energy. Deep dimming at a busy gate frustrates users.
Most disappointments trace back to these six choices, not to solar technology itself.
How to Judge Brightness Without Falling for Marketing Numbers
Many listings put “100W” or “300W” right in the title. That number rarely reflects brightness on the ground. Some sellers quote chip ratings. Others quote “equivalent” figures. Few list the real draw.
A quick math check exposes most claims. A 30W panel with a small battery can’t run a true 100W load for 12 hours.
So I tell clients to check lumens, then test them against efficiency. At 150–180 lumens per watt, 6,000 lumens needs roughly 35–40 watts. If the numbers don’t line up, trust neither.
Height changes everything too. The same fixture on a 9-meter pole puts only about one-third as much light on the road as it does at 5 meters. Beam spread matters as well, so ask for a light distribution chart, not just a product photo.
Then match output to the job:
- Pathways: 1,000–3,000 lumens on 3–4 m poles
- Parking lots: 6,000–12,000 lumens on 6–8 m poles, with wide coverage
- Rural roads: 4,000–8,000 lumens with a beam that stretches along the road
Lumen output, beam distribution, and runtime profile tell you far more than any wattage label.
Solar vs. Grid-Powered Street Lights: Where Each Makes Sense
Clients often ask me which option is “better.” I answer with a question: how far is the nearest power connection? That detail often settles more than any spec sheet.
|
Factor |
Solar Street Light |
Grid-Powered Street Light |
|---|---|---|
|
Fixture cost |
Higher per unit |
Lower per unit |
|
Site work |
Pole and foundation only |
Trenching, conduit, cabling, utility connection |
|
Installation time |
A few hours per pole |
Days to weeks, including permits |
|
Electricity bills |
None |
Ongoing for the life of the light |
|
Main maintenance |
Battery swap every 5–8 years (LiFePO4) |
Wiring faults and driver repairs |
|
Power outages |
Keeps running on stored energy |
Goes dark without backup power |
|
Best fit |
Remote, new, or hard-to-wire sites |
Dense urban roads with existing lines |
Look at the Whole Project Cost
A solar fixture costs more, but trenching and cabling on a grid project can easily exceed the price of the lights. Once poles sit more than 50–100 meters from a power point, solar often wins on day one.
Running costs widen the gap. A 100W grid light on for 12 hours a night uses about 440 kWh a year, roughly $65 at $0.15 per kWh. Across 40 poles and 15 years, that adds up fast.
Solar also keeps gates and exits lit when storms knock out the grid, since each light runs as its own small power plant.
Where Each Option Fits
Solar usually wins on rural roads, parks, trails, campuses, parking lots, industrial compounds, and new developments without grid access.
Grid lighting still makes sense in three cases. First, on urban streets with cables already in the ground, where an LED retrofit costs far less. Second, on wide arterial roads that need 20,000+ lumens all night. Third, on streets under heavy shade from buildings or mature trees.
How to Choose the Right Solar Street Light
Most buyers open a catalog first. I ask them to close it for now. Good choices follow a clear order, and the site always leads.
Step 1: Read the Site First
Gather these facts before you look at any product:
- Peak sun hours for your worst month
- Weather pattern, including how many gray days usually come in a row
- Shade at 9 a.m., noon, and 3 p.m.
- Pole height: 3–4 m for pathways, 6–8 m for roads and parking lots
- Road width or area size
Step 2: Define the Nightly Target
Write down how many hours the light must run. In winter, that can reach 13–14 hours. Pick a mode: motion mode for most sites, full power only for constant traffic. Then set your backup nights: 2–3 in sunny regions, 3–5 in rainy or northern ones.
Step 3: Compare the Spec Sheet to Your Targets
Now open the catalog and look for hard numbers: monocrystalline panel wattage, LiFePO4 capacity in Wh, stated backup nights for a specific mode, measured lumens, IP65 or higher, an MPPT controller with full protection, and a recommended mounting height.
One quick test helps. Multiply the nightly power draw by the run hours. The battery should cover that figure, plus your backup nights.
Step 4: Walk Away From Red Flags
I pass on any listing that shows:
- A “300W” claim beside a panel smaller than a laptop lid
- A battery described only as “lithium” or “high capacity”
- No backup-night data
- No controller or protection details
- No light distribution chart
If a seller can’t answer these points, the light probably can’t deliver on them.
Practical Spec Sheet Checklist
A spec sheet can run to 30 lines. Only nine decide whether the light still works in January. I check them in this order.
|
Spec |
Why It Matters |
What to Watch For |
|---|---|---|
|
Solar panel wattage |
Sets daily energy collection |
Match it to winter sun hours |
|
Battery chemistry |
Drives lifespan and cold performance |
Choose LiFePO4 |
|
Battery capacity |
Sets nightly runtime |
Look for Wh, or Ah plus voltage |
|
Lumens |
Shows real light output |
Expect 150–180 lm/W |
|
Backup nights |
Covers gray stretches |
2–3 minimum; 3–5 for rainy sites |
|
Charging time |
Shows recovery speed |
About 6–10 hours of strong sun |
|
IP rating |
Blocks rain and dust |
IP65 minimum; IP66 near the coast |
|
Sensor mode |
Controls nightly energy use |
Adjustable motion dimming |
|
Mounting height |
Links output to ground brightness |
Must match your actual poles |
If a listing leaves three or more blank, ask the seller to fill them in. If they can’t, move on.
FAQs
Do solar street lights work on cloudy days?
Yes. The light runs on energy stored on earlier days. Gray weather mostly affects how well it performs over the next few nights. Ask the seller how many nights it runs in your chosen mode, and how many sunny days it needs to recover fully.
How long do solar street lights stay on at night?
A well-matched light runs dusk to dawn: about 10–12 hours in summer and up to 15 in winter at higher latitudes. Some budget models shut off on a fixed 6–8 hour timer, so check the fine print.
Do solar street lights need direct sunlight?
Panels collect diffuse daylight too, but direct sun produces most of the energy. Aim for at least 4–6 unshaded hours around midday. Dust and bird droppings also cut output, so clean the panel two to four times a year. On dusty or hard-to-reach sites, a self-cleaning solar street light can save you repeated maintenance trips.
How bright are solar street lights really?
Judge brightness on the ground. Residential streets usually need 5–10 lux, and parking lots need 10–20. Remember that in motion mode, a 6,000-lumen light may idle at 1,200–1,800 lumens until someone approaches.
How long do solar street light batteries last?
LiFePO4 typically lasts 5–8 years, ternary lithium 2–4 years, and lead-acid or gel 2–3 years. Heat shortens life fastest. Before buying, ask whether you can replace the battery alone.
Are solar street lights cheaper than regular street lights?
The fixture costs more, but the full project often costs less. Compare 10-year totals, including one battery swap for solar and site work plus electricity for grid. Far from power, solar often pays back within 3–7 years.
Conclusion
A solar street light follows a simple daily loop. The panel collects energy by day. The controller directs that energy and protects the battery. The battery stores it, and the LED spends it after dark.
But the word “solar” on the box does not guarantee results. The right energy balance does. A panel matched to your winter sun, a battery with enough reserve, and an operating mode that fits the site decide whether the light stays bright in January.
So before you compare prices or lumen claims, check three things first: your local sunlight hours, the battery type, and the backup nights. Get those right, and the rest of the choice becomes much easier.