
AGi32 can feel overwhelming. Most people open it, click through menus with no goal, and give up before AGi32 parking lot lighting ever makes sense.
Here’s the fix. Pick one real parking lot and build it end to end. Every step you take hands you a number you can check.
That single project pulls together the tools that matter most: grids, poles, uniformity, and code checks.
So let’s walk through it, from a blank file to a report you could hand a reviewer.
Why a Parking Lot Beats Every Other AGi32 Practice Project
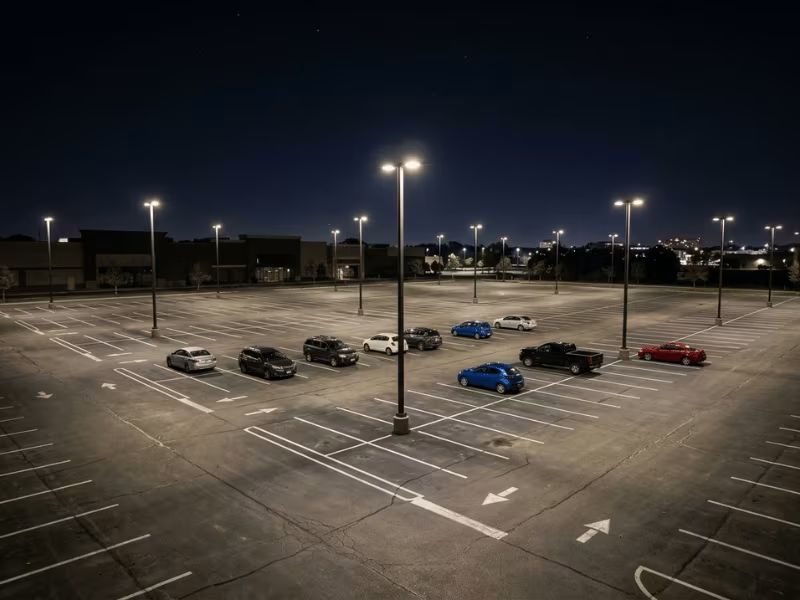
A parking lot puts nearly every core tool in your hands at once. You draw grids, set pole placement, check uniformity ratios, watch for glare, and add vertical illuminance at the building face. Few projects make you use all of that in one file.
The scope also stays small enough to finish. You have a boundary, a few islands, some poles, and a clear pass-or-fail standard. That means you always know whether your design works or not.
And the feedback is instant. Shift a pole two feet, rerun the calculation, and watch the uniformity number move. You learn cause and effect in seconds, not hours.
Terrain barely factors in here. Most lots sit flat, so you skip ground modeling almost entirely. Your practice hours go where they count: photometry and layout, the two skills that carry over to every other project.
That mix is the whole point. You touch the tools that matter, stay inside a finishable scope, and get a number back at every step.

A project with a scoreboard beats a tutorial with none.
What to Have Ready Before You Open AGi32
Gather these seven things once, and you won’t stall halfway through your model. Chasing a missing file after you’ve placed twenty poles wastes more time than the prep ever would.
Heads-up: That last row deserves a second look. Vendors ship files with the wrong multiplier more often than you’d expect, so verify it before you trust any number.
Setting Up the Project and Importing the Site Plan
A few choices at the start decide whether your numbers hold up. Get them right before you draw a single line, and the rest of the project stays clean.
Set the file up before you draw
Open a new file and pick your calculation type first. For exterior nighttime work, choose luminaires only. Leave daylight off. You don’t need the sun in a parking lot model, and it just adds runtime.
Then set your grid spacing, grid type, and photometric units. Lock these in before you touch the drawing tools. Change them later, and you risk scrambling a grid you already built.
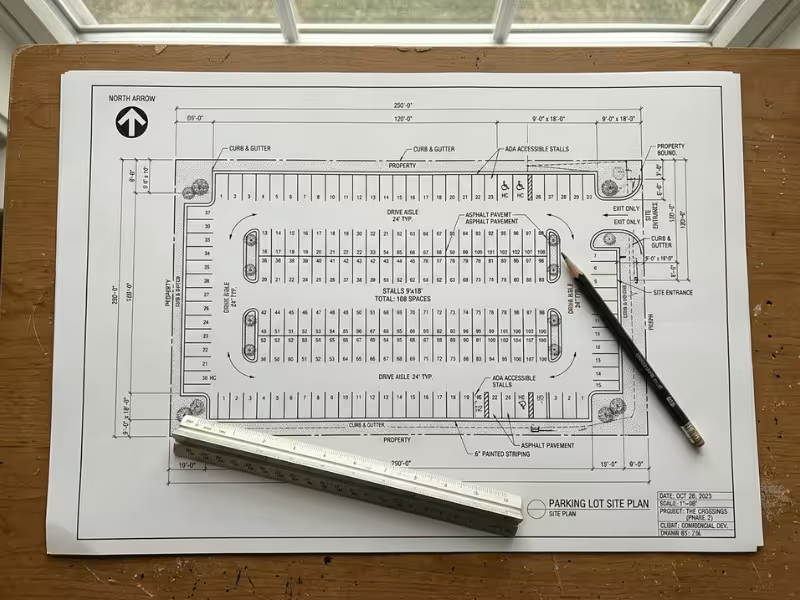
Scale the plan, or nothing else matters
Import your site plan as a DWG, DXF, or raster image. AGi32 takes all three.
Now the step people skip: scale it. Pick two points a known distance apart on the plan and set that dimension. This is the single most common beginner failure. An unscaled background throws off every area, average, and uniformity figure you calculate. The math looks fine. The results are junk.
Once it’s scaled, lock the background layer. That keeps it from shifting while you model on top of it.
Set the origin and point north
Drop your origin at a lot corner or a survey benchmark. Pick a spot you can reference later.
Then align north with the plan’s arrow. Your drawings and your calculations need to agree, and this is what keeps them in sync.
Modeling the Lot Geometry
Your model is only as honest as the shapes you draw. A few geometry choices decide whether your numbers reflect the real site or drift into fiction.
Draw a closed, accurate boundary
Start with the pavement edge. Draw it as a closed polyline so AGi32 can calculate area and lay a grid inside it. An open loop breaks the grid, and your calculation either fails or returns garbage.
Trace the real curb line, too. Cutting a corner to save a click shrinks the area. That smaller area inflates your average illuminance and makes a weak design look like it passes.
Model what blocks or bounces light
Light doesn’t ignore the objects in a lot, so your model shouldn’t either.
Raised islands and planters both block light and shift where grid points land. Model them at their real height, not flat on the pavement. Storefront overhangs and canopies bounce light back onto the lot, which lifts values near the building.
If you plan to check light trespass or wall illuminance, assign reflectance to the walls. A blank surface returns no bounced light, and your trespass numbers come out low.
Flag the areas with their own rules
Some zones carry stricter targets than the open lot. Give entrances, walkways, and accessible routes their own boundaries so each gets a dedicated grid.
Accessible routes often need a higher footcandle level than the general parking area. Draw them separately now, and you can check them against the right standard later without redrawing anything.
Placing Poles and Luminaires
This is where design judgment takes over from data entry. The lot decides where light needs to land. Your job is to place poles that put it there without wasting a watt or spilling light off the property.
Add fixtures and set the real mounting values
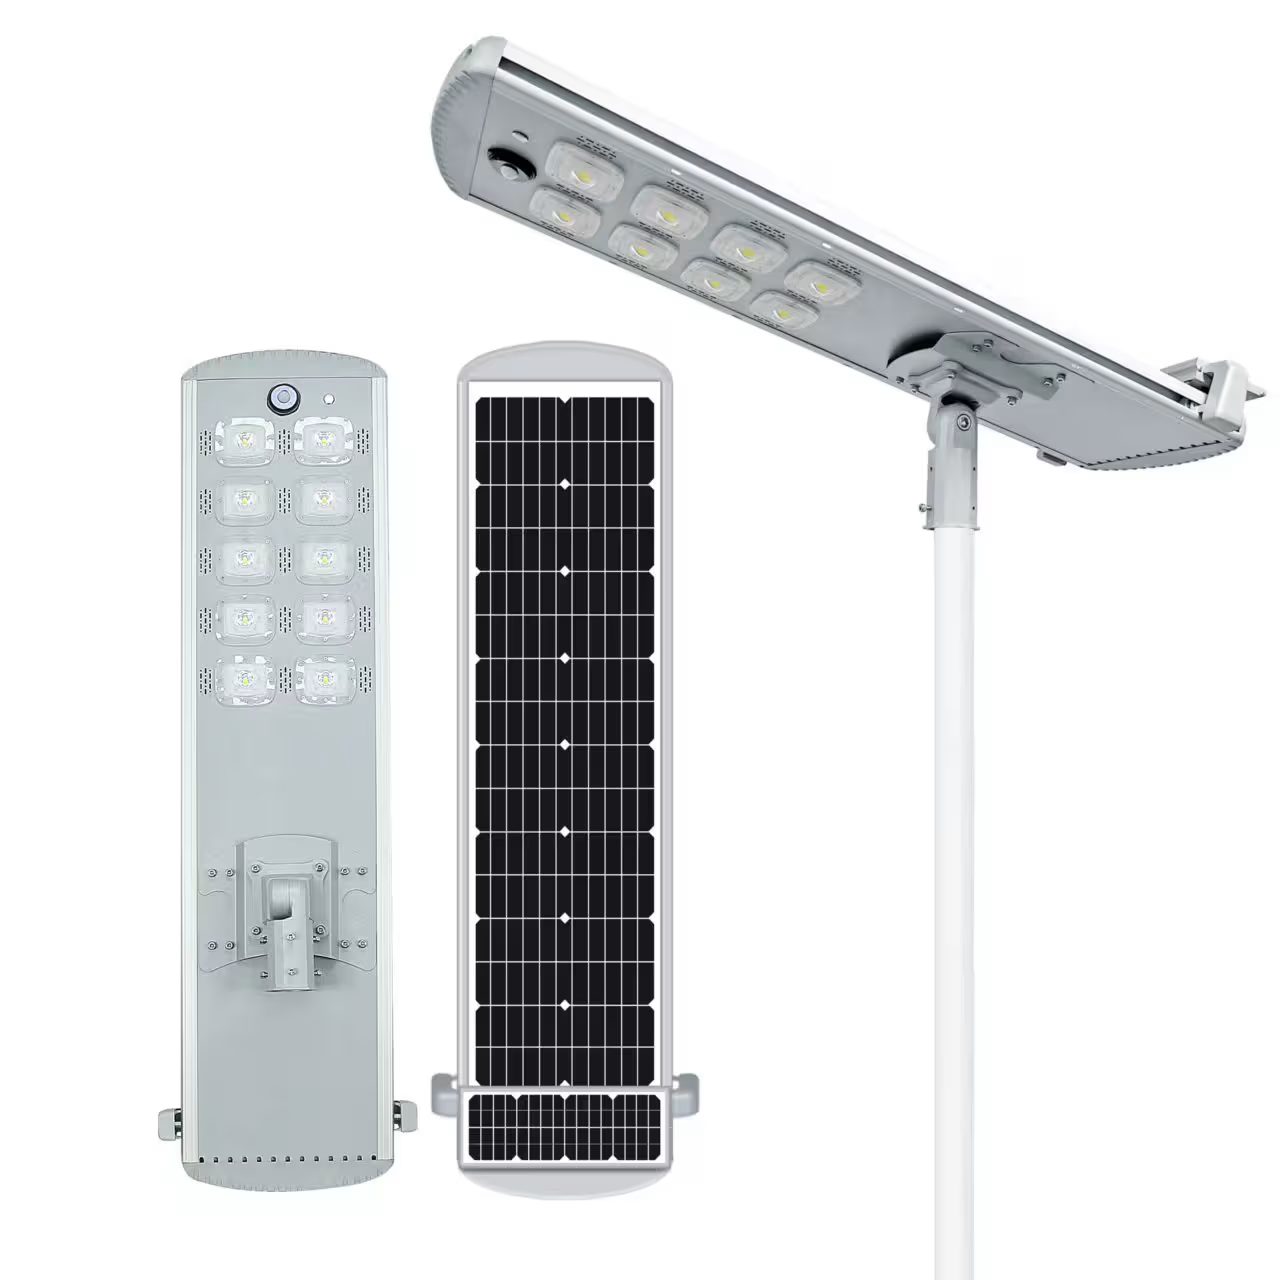
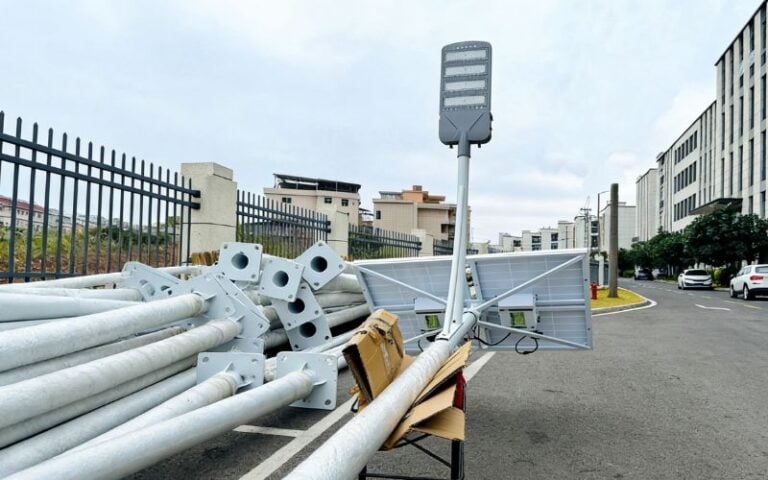
Before you drop a single pole, import your manufacturer IES files into the project library. Bring in only the fixtures you plan to use. A cluttered library slows you down and invites the wrong pick later. Most modern lots run on LED street lights, so start from the cut sheets for the fixtures you actually plan to install.
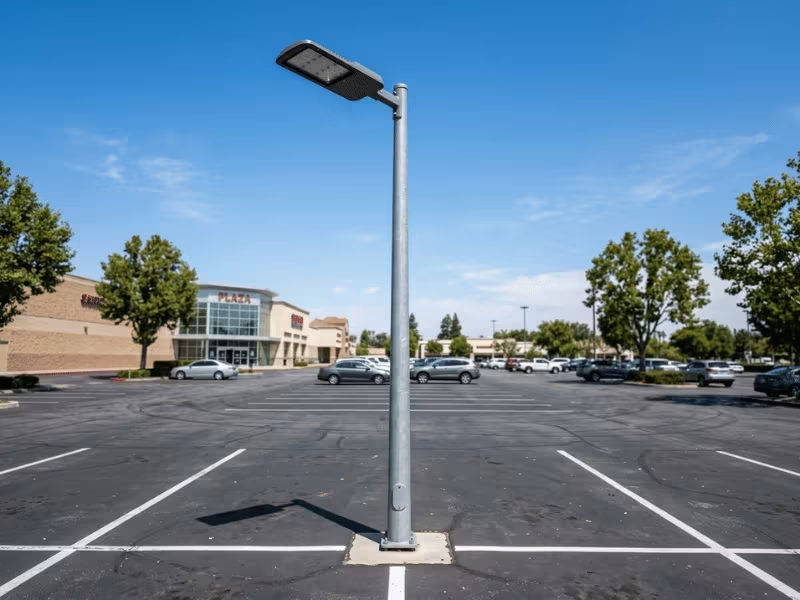
Now set the mounting values for each fixture. This is where beginners lose accuracy, because the defaults are almost never right.
Four values shape every result:
Set all four by hand for each fixture. Trust nothing the software fills in for you. A default 25-foot mounting height on a lot you spec at 30 feet will throw off every value you calculate.
A pole layout strategy that holds up
Start simple. Lay poles in an even grid across the lot. This gives you a clean baseline and a fast first calculation.
Then adjust to the real site. Move poles around islands so a planter doesn’t cast a dead zone. Shift them to line up with drive aisles, since that’s where the traffic and the sightlines are. Pull them clear of storefront views so a pole never blocks a display window.
Watch your property line setbacks. Many codes require a minimum distance from the lot edge, and a pole placed too close can fail the design or the permit. Check the setback before you commit the layout, not after.
For symmetrical rows, use arrays and mirroring instead of placing each head by hand. A row of eight identical poles takes one array, not eight clicks.
Pro tip: One habit that saves rework — verify spacing after every array or mirror. These tools copy fast, but they also copy an error fast. A quarter-foot gap in the source pole becomes a quarter-foot gap eight times over. Measure two or three poles against the plan before you move on.
Match distribution to the space
The distribution type controls the shape of the light on the ground. Pick the wrong one, and no amount of pole shuffling fixes it. Match the pattern to the space it has to cover.
|
Distribution |
Best Use |
|---|---|
|
Type II |
Narrow aisles and long, thin areas |
|
Type III / IV |
Forward throw along drive lanes and perimeter poles |
|
Type V |
Open lots where light spreads evenly in all directions |
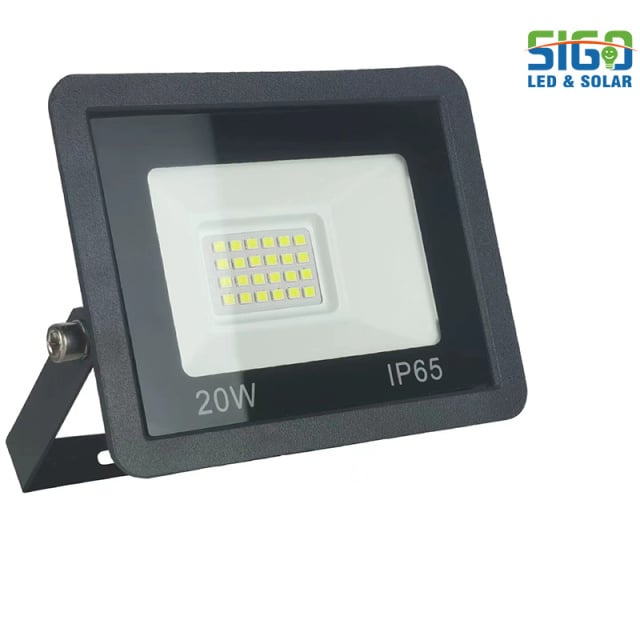
A quick way to picture it: Type II hugs a line, Type III and IV push light forward and out, and Type V opens up in a full circle. Set poles at the lot edge with a Type III or IV facing inward, and reserve Type V for poles that sit out in the open with parking on every side. When a wall or building face needs its own wash, a dedicated LED flood light often does that job better than stretching a pole-mounted head to reach it.
One caution before you tilt anything: adjust tilt with care. A few degrees of uplift raises glare and uplight fast. What looks like a small correction on screen can push light past your property line and light up the sky instead of the pavement. When a design runs a little short, reach for a wider distribution or a small spacing change first. Leave tilt near zero unless the fixture and the code both give you room to move it.
Building Calculation Grids
Your grid is the scoreboard. If you space it wrong, the numbers lie to you. So set it with care before you trust a single reading.
For the general lot, a 10 ft × 10 ft grid works well. It gives you enough detail without bogging down the calculation. But tighten it near entries, walkways, and accessible routes. Drop to 5 ft or less in those spots, where small dark patches actually matter.
The rule I lean on most: keep your spacing at or below one-fifth the mounting height. Set poles at 25 feet, and your grid points should sit no more than 5 feet apart. Space them wider, and your uniformity reading drifts away from reality.
Grid height matters just as much. Use ground level for pavement. Move up to 5 feet for pedestrian paths, or whatever height the local code names. Then add vertical grids at facades, signs, and ATM pads, since those surfaces face the light head-on.
Where the ordinance names a specific location, drop a discrete calculation point right there. It proves compliance at the exact spot a reviewer will check.
One last habit: use the smallest grid that covers each area. Oversized grids slow the calc and add noise you don’t need.
Running the Calc and Reading the Results
You’ve built the model. Now comes the moment of truth: the calculation. But before you hit run, a few settings decide how fast it finishes and how much you can trust what comes back.
Pick the right calculation settings
Start with the calculation mode. For most exterior parking lots, direct-only is your friend. It skips the bounced light between surfaces, runs fast, and gives you numbers you can rely on across open pavement.
Full interreflection is a different tool for a different job. It tracks light that bounces off walls, ceilings, and canopies before it lands. That extra accuracy matters under a fuel canopy or right against a storefront. But it costs you runtime, and on a big lot that adds up.
So pick with intent. Run direct-only for the open lot. Switch to full interreflection only where bounced light actually changes the result.
One more toggle before you run: turn off daylight. You’re modeling a nighttime lot. Leaving the sun in the calculation slows it down and clouds the values you actually care about.
Read the results three ways
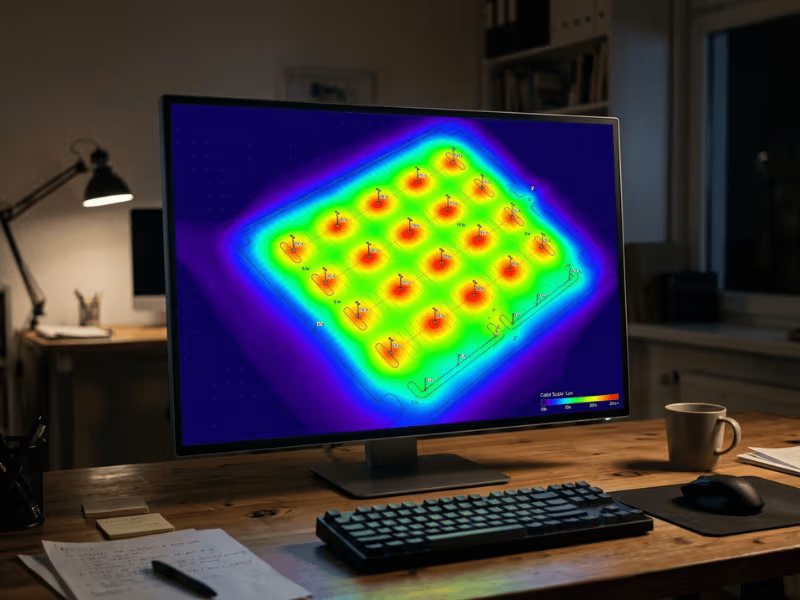
Once the calc finishes, don’t stare at one number. AGi32 shows you the same data three ways, and each one answers a different question.
Use all three in order. False color for the gut check, contours for the diagnosis, the table for the proof.
The numbers to record
The views tell the story. But a handful of numbers decide whether the design passes. Pull these from every calculation and log them.
|
Metric |
What It Tells You |
|---|---|
|
Average / max / min illuminance |
Overall light levels across the lot, and whether the darkest spot clears the minimum |
|
Max-to-min and average-to-min ratios |
Uniformity — how evenly light spreads, and whether hot spots and dead zones fall within code limits |
|
Lighting power density (W/sq ft) |
Energy code check — confirms your fixture load stays under the allowance |
Read these together, not one at a time. A high average means little if the min drops to zero in a corner. A tight uniformity ratio means little if the power density blows past the energy code. The design has to clear all three at once.
Watch the min value most closely on a parking lot. A single dark node at the far edge can sink an otherwise strong layout, and the average will happily hide it from you.
Once the numbers check out, get them out of the software. Export to CSV for quick spreadsheet checks and side-by-side comparisons between design options. Then use the report builder for client packages, where a clean, labeled summary carries far more weight than a screenshot ever will.
Checking the Design Against Code
A model that looks good on screen still has to clear the code. This is the step that turns a pretty picture into a real submittal. Run each check on purpose.
Fixing the Problems That Come Up Every Time
Most parking lot models fail in the same few ways, so learn the fixes once and you’ll clear them fast.
|
Problem |
Likely Cause |
Fix First |
|---|---|---|
|
Uniformity reads too low |
Spacing or distribution |
Tighten pole spacing 10–15%, widen the distribution, or re-aim heads toward the aisle ends where values drop |
|
Bright at the building, dark in the lot |
Over-reliance on wall packs |
Cut wall-pack output, add interior lot poles, and swap Type V for Type III along drive lanes |
|
Hot spots under poles |
Mounting too low |
Raise the mounting height, widen the distribution, and spread lower wattage across more poles |
|
Light trespass at the property line |
Tilt, not distribution |
Zero the tilt before you buy shields; move the pole inboard if the spill won’t clear |
Calculation won’t run
File or geometry error
Check the IES multiplier, confirm every grid sits inside a closed boundary, and verify luminaires sit above grid height
Work these in order. Tilt and spacing fix more problems than new fixtures ever will.
Documenting the Design
Your model means nothing until it lives on paper a reviewer can read. Package it well, and the design speaks for itself.
Start with the plan sheet. Show pole locations, mounting heights, fixture types, and aiming for each head. A reviewer should read the layout at a glance.
Put your iso-footcandle plot and the point-by-point table on the same sheet. The picture and the proof belong side by side.
Add a summary page too. List the standard you designed against, the AGi32 version you ran, and the IES file names. That record settles questions before they start.
Then export both a PDF and a DXF for the engineer, architect, or plan reviewer.
A clean report is what turns your model into something a reviewer will actually stamp.
Drills That Build Real Speed
Skill comes from reps, not tutorials. Run these four drills, and the software starts to feel routine.
Bottom line: Do this twice with different distributions, and the software stops feeling complicated.
FAQs
The Bottom Line
A parking lot works because every step gives you a number you can check. Nothing stays vague. You draw, you run the calc, and the result tells you if it passed.
So pick one real lot. Build it end to end. Then compare your numbers against the standard or a stamped plan.
Do that, and the process sticks. Your next project stops feeling new. It becomes a variation on a workflow you already trust, and the software fades into the background where it belongs.