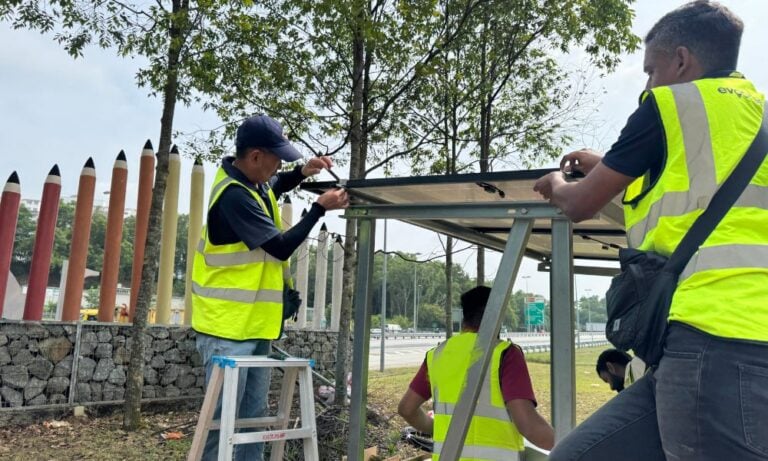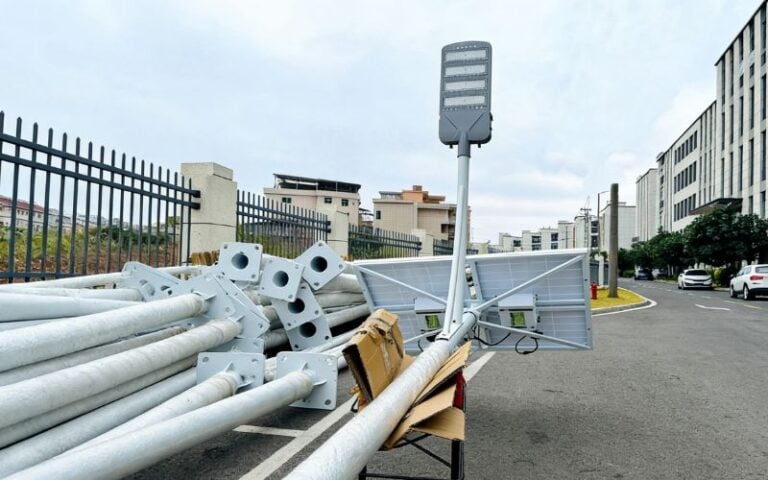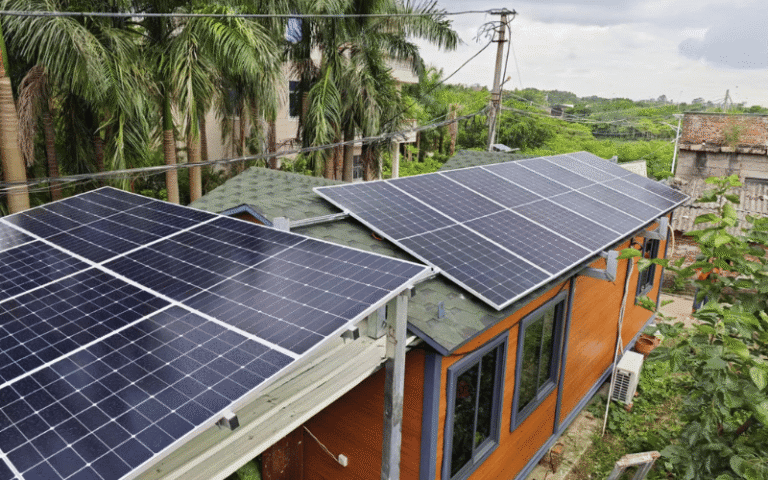


Highway lights have to work all night, every night. Many highway sites sit far from stable grid power. Repair crews also get very limited time to fix a dark pole safely.
That makes highway lighting a different kind of project decision. A light that works well in a parking lot can leave dangerous gaps on a fast, wide road.
I have helped many project teams choose solar street light systems for highways. In this guide, I show you how to:
- Judge whether the brightness is enough
- Check whether a system can run all night
- Spot proposals that look fine on paper but will not hold up on a highway
Why Highway Solar Lights Are Different
A highway is not a big parking lot. When clients ask me to “just use the same light, but stronger,” I push back. Highways change every part of the design.
Speed changes what drivers need to see. At 100 km/h, a driver covers about 28 meters every second. They need to spot debris, stalled cars, and lane edges far ahead. Even light across the full road width matters more than a few bright spots under each pole.
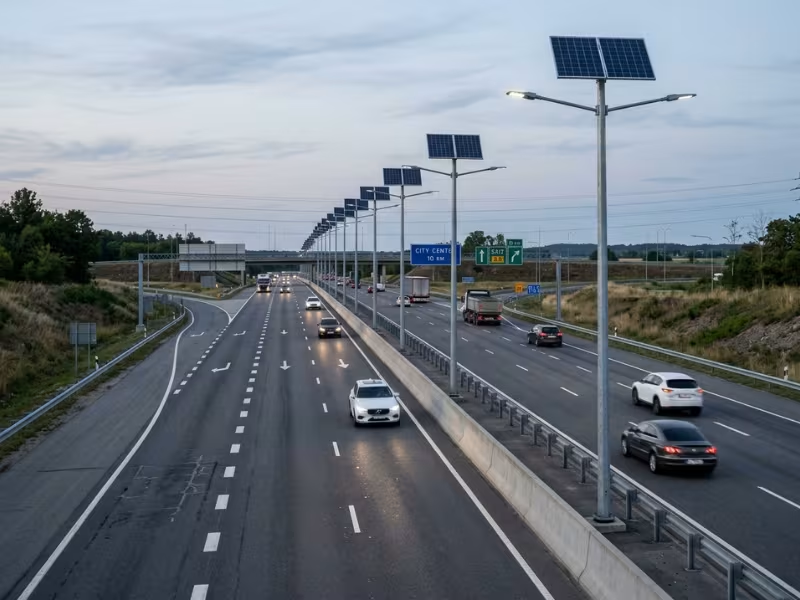
Wide roads need a different layout, not just a bigger lamp. Three or four lanes plus shoulders often push poles to 10–12 meters or higher. At that height, the optics must throw light forward and across the road with precise control. A high-lumen fixture with the wrong beam pattern can still leave dark lanes.
All-night operation leaves no room for weak sizing. A park light can dim at midnight and nobody complains. A highway light has to hold its output through long winter nights and cloudy weeks. That takes more panel capacity and more battery reserve than most small projects need.
Failure costs far more. A dark stretch can contribute to a crash. It can create liability issues, compliance problems, or penalties from the local road authority. Fixing it often means lane closures and night crews, which can cost more than the light itself.
That is why I treat every highway project as a safety system first and a lighting product second. Brightness, durability, and safety all build on that idea.
Start With the Lighting Performance, Not the Wattage
Most quotes I review open with one number: 150W, 200W, or 300W. Buyers compare those figures and pick the biggest one they can afford. On a highway, that habit often leads to the wrong choice.
Wattage tells you how much power a fixture draws. It does not tell you how much light reaches the road. Two 150W lights can perform very differently because LED efficacy and optics vary.
Lumens get you closer, but they still miss the point. A lumen rating measures the total light leaving the fixture. Drivers never see that number. They see how much light lands on the pavement and how evenly it spreads across each lane.
So I ask clients to define the result first. Before we discuss any product, we pin down five things:
- Road-level illuminance: the average lux the lanes need for that road class
- Uniformity ratio: how close the darkest spot comes to the average
- Pole height: how far the light must travel before it hits the road
- Spacing: how much road each pole has to cover
- Beam distribution: where the optics actually send the light
Once you set these targets, the right wattage and lumen output follow from the design. You stop buying a number and start buying a lighting result you can verify.
Brightness Requirements: What Actually Matters
Once you set the lighting result as your target, you need to know which numbers define it. Four factors decide whether a highway looks safe or just looks lit. Here is how I check each one on real projects.
Illuminance and Uniformity: Why Even Light Matters More Than Bright Light
Lumens describe the light that leaves the fixture. Illuminance describes the light that lands on the road, measured in lux. Drivers only benefit from the second number.
Uniformity matters just as much. It compares the darkest point on the road to the average. In many projects, designers work toward an average-to-minimum ratio around 3:1 or 4:1, depending on the road class and the local standard.
I often see the same problem on site visits. Each pole throws a bright pool of light directly below it, and the road goes dark between poles. On paper, the average lux looks fine. On the road, drivers’ eyes keep adjusting from bright to dark. That makes it harder to spot a tire, a pedestrian, or a stalled car in the gap.
A bright spot under every pole does not make a safe road. A steady, even carpet of light does.
Your exact targets depend on where you build and what kind of road you light. In North America, check ANSI/IES RP-8 and local DOT specifications. In Europe, check EN 13201 road classes. In other markets, follow the relevant national road lighting standard or the project owner’s specification.
Many highway standards use luminance (cd/m²) rather than illuminance. Confirm which metric your project requires before asking any vendor to run a simulation.
Pole Height, Spacing, and Road Width: The Layout Decides the Result
You can put the same fixture on two different layouts and get two very different roads.
Raise the pole and the light spreads wider, but less of it reaches the pavement. Lower the pole and you get more intensity in a smaller area, plus more poles to buy. Widen the road and the optics must push light farther across the lanes.
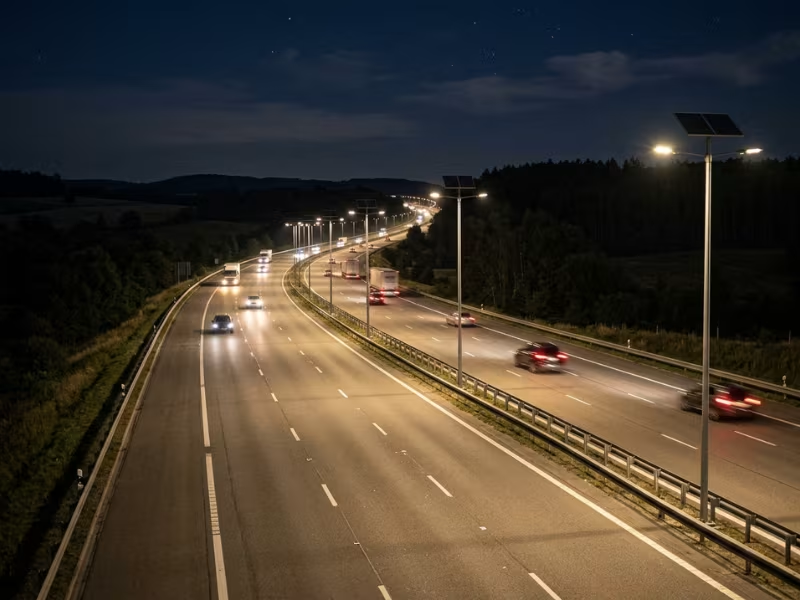
Spacing has the biggest effect on cost. In many highway layouts, designers set spacing at about 3 to 4 times the mounting height. A 10-meter pole often lands somewhere between 30 and 40 meters apart, depending on the optics and road width.
Every extra meter of spacing forces each light to do more work. That work needs more lumens, a bigger battery, and a bigger panel.
Here is a pattern I see often in low-cost proposals. The fixture itself is decent. The vendor simply stretches the spacing to 45 or 50 meters to cut the pole count and win the bid. The lights are not dim. The gaps between them are.
When you compare quotes, compare the cost per kilometer at the same lighting result, not the cost per pole.
Beam Distribution and Glare Control: Where the Light Goes
Optics shape the light into a pattern. Many buyers skip this detail, but it often separates a good highway job from a poor one.
Different road sections need different beam patterns:
- Main lanes: Type II or Type III patterns push light forward and across the lanes. Type III often suits wider roads with poles on one side.
- Ramps and curves: These need optics that follow the curve and keep light on the merge zone, not in the ditch.
- Interchanges and intersections: Type V or wide asymmetric patterns can cover open areas where traffic moves in several directions.
Glare deserves extra attention at highway speeds. A bright, poorly shielded fixture can briefly blind a driver traveling at 100 km/h. In that half-second, the car covers about 14 meters.
I ask vendors for the BUG rating (Backlight, Uplight, Glare) or, under EN 13201, the threshold increment (TI) value. Lower glare values usually mean drivers can see past the light, not just the light itself.
Color Temperature: Practical, Not Decorative
On highways, color temperature affects how well drivers see. It is not about style.
Here is what I focus on in practice:
- Contrast: Neutral white light, around 4000K, helps drivers pick out road markings, signs, and objects against dark pavement.
- Glare: Cooler light at 5000K to 5700K contains more blue. Many drivers find it harsher, especially in rain or fog.
- Eye adaptation: Drivers move from dark rural stretches into lit zones and back again. Moderate color temperatures make those shifts feel easier on the eyes.
For most highway projects, I recommend 4000K as a balanced starting point. I suggest 3000K near homes or wildlife areas, where the local authority may require warmer light.
Can It Stay On All Night? Solar and Battery Sizing
A highway light that dims at 3 a.m. or dies after two cloudy days has failed, no matter how bright it looked on day one. Runtime is where I see the most expensive mistakes. Let’s look at how to judge it before you sign anything.
Runtime Depends on the Whole System
Many buyers think a bigger battery solves runtime. It does not. A large battery with a small panel never fully recharges, so it slowly drains week after week.
Runtime depends on five parts working together:
- Generation: how much energy the panel produces
- Storage: how much usable energy the battery holds
- Load: how much power the fixture actually draws
- Local sunlight: how much solar energy the site gets in its worst month
- Control strategy: how the controller charges, dims, and protects the battery
When one part falls short, the others cannot make up for it. I review sizing as one chain, and I look for the weakest link first.
How I Judge Panel and Battery Sizing
Sizing follows a clear order. Here is the logic I use on highway proposals.
1. Use the longest night. Size for winter, not the yearly average. At many latitudes, winter nights run 12 to 14 hours.
2. Use real load, not the label. A “120W” fixture may draw more at the driver input. Add controller and wiring losses, often 5–10%. A system that looks efficient on paper can miss the target once you count the real losses.
3. Set autonomy days. Autonomy is how many nights the system runs without useful sun. For highways, I usually specify 3 to 5 nights. Rainy or high-latitude sites often need the upper end.
4. Convert to battery capacity. LiFePO4 batteries usually allow about 80% depth of discharge. That means the nominal battery size has to sit above the usable energy target. I also add margin for battery aging.
5. Size the panel from worst-month sun. Pull peak sun hours from reliable local weather or solar resources. A system that works in the best month may still fail in winter if the panel area is too small.
That is why serious highway systems often look oversized next to street-light catalogs. The math simply demands it.
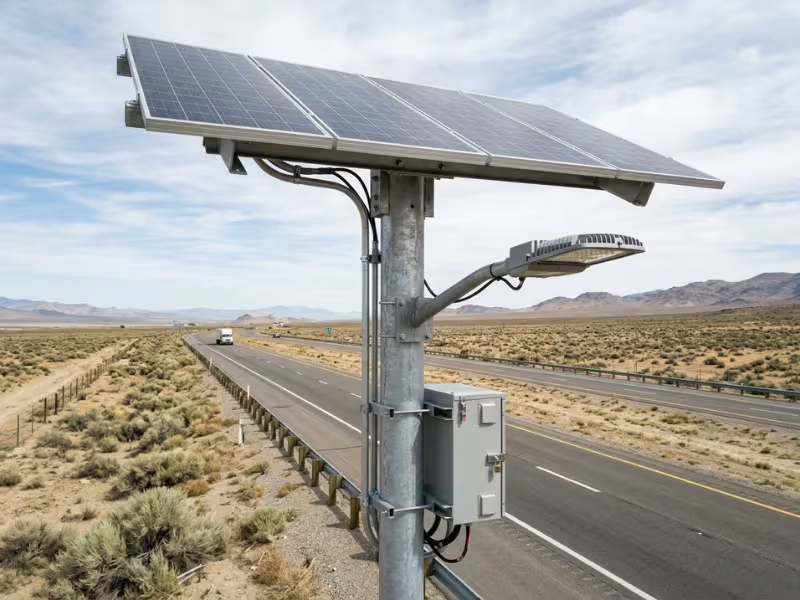
MPPT, Dimming, and Control Strategy
Even a well-sized system can fall short if the controller wastes energy or dims in the wrong place.
MPPT beats PWM on highway jobs. A PWM controller pulls the panel down to battery voltage and throws away the difference. An MPPT controller tracks the panel’s best operating point. It often harvests noticeably more energy, especially in cold weather and low light. On a large panel, that gap matters every single day.
Dimming needs clear rules. I accept time-based dimming on low-traffic rural stretches if the road authority approves it. In some projects, a light can drop to 50–70% output after midnight without creating a safety issue.
Motion sensors work poorly at highway speeds. A car at 100 km/h covers 28 meters per second. It often reaches the light before the fixture ramps up.
I keep full-night constant output on main lanes with steady traffic, ramps, merge zones, interchanges, and toll areas. These spots carry the highest crash risk, so I never let energy savings control the lighting result.
Common Undersizing Mistakes
Most undersized systems I inspect share the same few errors:
- Sizing for sunny days only
- Ignoring winter conditions
- Forgetting battery aging
- Using marketing claims instead of deliverable runtime
“Up to 7 rainy days” often assumes heavy dimming. Ask for runtime at the required output level.
If a vendor cannot show you the sizing calculations, treat the runtime claim as unverified.
Durability: The System Must Survive the Site
A highway light faces rain, road spray, de-icing salt, truck gusts, and summer heat for years without a break. Most systems I inspect fail at the weakest component, and that weak point is rarely the LED. I check four areas in this order: the enclosures, the pole, the battery, and the panel and fixture.
Weather Protection and Corrosion Resistance
Many vendors quote one IP rating for the whole product, such as “IP65” or “IP66.” That single number hides a lot. I ask for a separate rating for each enclosure, because each one faces different risks:
- Lamp head: IP66 at minimum
- Controller: IP67, or fully protected electronics
- Battery enclosure: IP65 or higher on the pole, and more if the site floods or collects runoff
Dust also matters on desert and rural corridors. Fine dust gets past weak seals and coats panels. Ask how the vendor tests the gaskets, not just the housing.
In dusty regions, some buyers also consider a self-cleaning solar street light design to reduce panel soiling and maintenance visits.
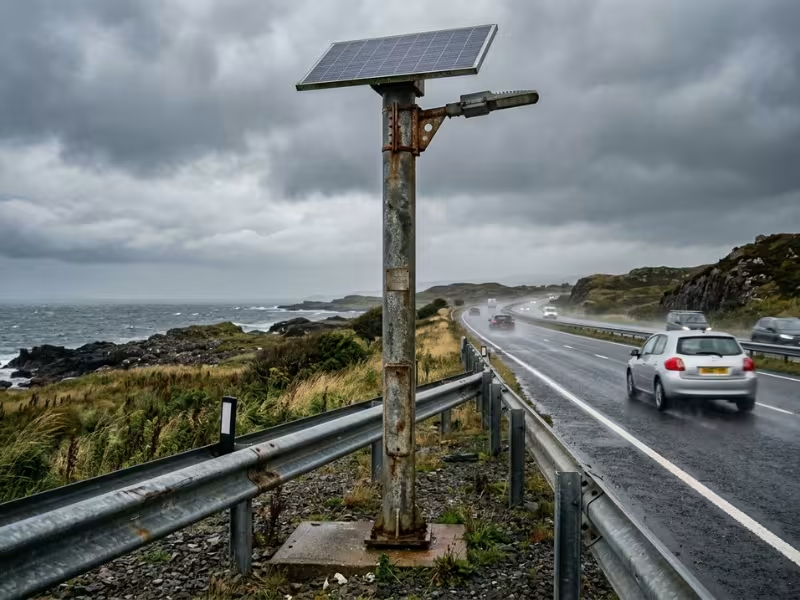
Corrosion is the slower problem, and often the more expensive one. Coastal salt spray and de-icing salt attack metal fastest. Road spray carries chloride up to about 2 meters on the pole. That makes the base, handhole, and anchor bolts the critical zone.
For these sites, I usually specify:
- Hot-dip galvanized steel poles with a suitable protective finish
- Stainless steel fasteners, especially near the coast
- Salt-spray test reports for harsh environments
- Low-copper aluminum for fixture housings, because it resists salt corrosion better
A paint finish alone rarely lasts on a salted highway. You need stronger corrosion protection underneath.
Wind Load, Pole Structure, and Anchoring
When a highway solar light comes down, the pole or the foundation usually gives way first, and the LED is still working. Solar adds a problem that grid lighting does not have. A large panel works like a sail mounted high above the road.
Here is what I verify before I approve any pole design:
- Wind load rating for the site
- Wall thickness and taper
- Base plate and anchoring details
- Vibration and fatigue resistance
A common mistake I see is a vendor upgrading the panel to fix runtime without rechecking the pole. More panel area means more wind load. The structural numbers must change with it.
I also like to re-check anchor nuts after the first season. Bolts settle, and a loose base speeds up fatigue.
Battery Life and Maintenance Reality
A “LiFePO4” label tells you the chemistry. It does not tell you how long the battery will last on your highway. I look at four things instead:
- Cycle life at a stated depth of discharge
- Daily depth of discharge in actual use
- Temperature limits
- Replacement access
Every battery wears out eventually. The real question is how hard the swap will be.
A battery packed behind a sun-baked panel can run much hotter than one in a shaded box. In an all-in-one unit, a battery swap often means a bucket truck and a lane closure. Split systems often place the battery in a pole-mounted or ground-level box. That keeps the battery cooler and makes replacement much simpler.
Panel and Fixture Build Quality
These parts usually fail less often, but a few checks still matter:
- Panels: ask about efficiency and degradation warranty
- LED driver: ask for the brand, surge rating, and operating temperature
- Fixture lifespan: a good L70 rating only matters if the housing controls heat properly
A durable system protects the road surface it lights. It also needs to protect the drivers and crews around it, and that leads directly to safety design.
Safety Requirements for Highway Use
On a highway, safety covers more than the light itself. The system has to protect its own electronics, the drivers who pass it, and the crews who maintain it. I review safety in three layers: electrical, structural, and failure behavior.
Electrical and Surge Protection
Solar lights run on low-voltage DC, which lowers shock risk. Even so, a tall pole on an open corridor still makes a strong lightning target.
Here is what I check:
- Battery protection: overcharge, over-discharge, overcurrent, and short-circuit protection
- Surge protection: suitable protection on both the panel input and the LED driver side
- Grounding: proper bonding of the pole, panel frame, and enclosures
- Connectors and fuses: no taped splices, and proper protection close to the battery terminal
A common mistake is skipping the grounding test because “it’s only 24V.” Lightning does not care about system voltage.
Structural and Traffic Safety
A pole beside a highway is a fixed object at the edge of fast traffic. The design has to account for the car that leaves the road.
That means checking:
- Setback and clear zone requirements
- Whether the pole should sit behind a barrier
- Whether breakaway design is appropriate for the site
- Sightlines, merge views, and vertical clearance
Solar adds another problem here. A large panel and battery make the pole top-heavy. If the system uses a breakaway approach, you need to know whether that design was evaluated with the full solar load, not just a bare pole.
Remote highway sites also make batteries and panels easy theft targets. I often specify tamper-resistant fasteners, better enclosure security, and remote alerts on higher-risk routes.
Failure Behavior Matters More Than Marketing Claims
Every solar system eventually hits a bad stretch of weather. What matters most is what the light does next.
A poorly designed system runs at full power until the battery cuts out. Then the road goes dark without warning.
A stronger design behaves differently:
- It dims in controlled steps
- It protects a minimum baseline output
- It sends fault alerts before the site becomes a problem
Ask every vendor one direct question: What does this light do on night four of a storm? A credible supplier will show you the dimming curve and a sample alert log. A weak one will only repeat the lumen rating.
Best Configurations for Different Highway Scenarios
A highway is not one lighting problem. It is a chain of different road sections, and each one stresses the system in its own way. The setup that suits a quiet rural stretch can fail badly at a busy interchange.
Long Rural Highway Sections
Rural corridors test endurance more than brightness. Traffic may run lighter, but a crew may drive an hour to reach a single dark pole.
For these stretches, I focus on four things:
- Generous autonomy
- Strong wind resistance
- Remote monitoring
- Long service intervals
Time-based dimming after midnight often makes sense here, if the road authority approves it.
Ramps and Interchanges
Drivers change speed, lane, and direction within a few seconds on ramps. That makes these sections much less forgiving.
I light the critical points first: the gore area, the merge taper, and the start of each curve. Then I fill the gaps between them.
Three details matter most:
- Tighter uniformity
- Curve-matched optics
- Strict glare control
I keep these sections at full output all night.
Toll Roads, Junction Areas, and Service Connectors
At these sites, traffic moves in several directions at once. Cars slow down, trucks swing wide, and in some cases staff may move through the area.
Average lux can fool you here. A plaza can hit its average target and still hide a person or an obstacle in a shadow cast by a truck. In these zones, I also pay attention to vertical visibility, not just pavement lighting.
A few practical rules help:
- Light from more than one side
- Use wider distributions where needed
- Step the light down gradually as drivers leave the bright zone
These loads run high. In some projects, the main toll area may use grid power while solar supports the approaches and connectors.
All-in-One vs. Split Systems
Buyers often ask me which type is better. That is the wrong question. The right one is which type fits the load and maintenance needs of each road section.
| Factor | All-in-One | Split System |
|---|---|---|
| Panel and battery size | Limited by fixture size | Sized more freely to the load |
| Best load range | Modest real loads | High loads, long winter nights |
| Installation | Fast, fewer parts | More parts, more labor |
| Battery replacement | Bucket truck at the lamp head | Pole box or ground-level access |
| Battery temperature | Runs hotter behind the panel | Cooler in a shaded box |
| Typical fit | Rural stretches, sunny sites | Interchanges, ramps, high latitudes |
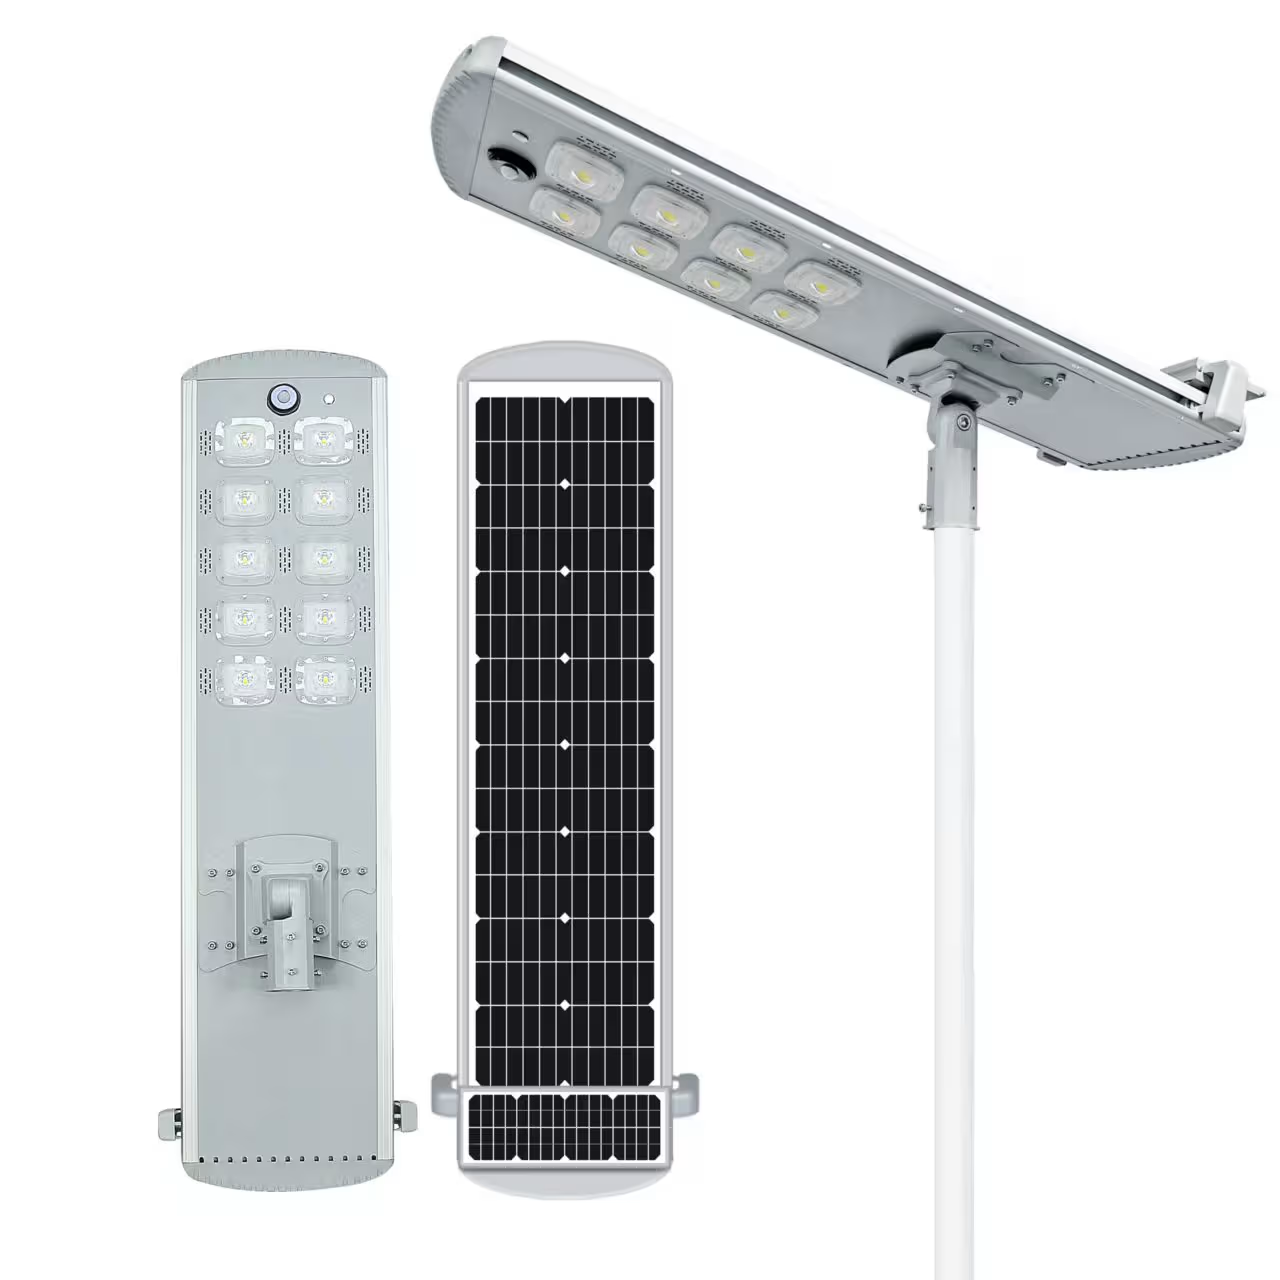
In my projects, all-in-one units work well when the real load stays modest and the site gets good winter sun. Once the sizing math calls for a large panel or a large battery bank, a split system is usually the safer choice.
Many highways end up with both types, and that is a sound outcome. Match each section to the system that fits its demands.
How to Evaluate Vendors Without Getting Misled
Most highway solar quotes look alike on paper. The real differences show up later, when the first long winter tests the sizing and the first big storm tests the pole. I screen every vendor with one simple rule: each claim needs a document behind it.
Red Flags That Should Slow You Down
You can spot some warning signs on the first page of a quote.
I look closely when I see:
- Very high lumens at a very low price
- Vague battery language
- Wattage with no lighting simulation
- No local sunlight basis for runtime claims
- Short or unclear warranty terms
One red flag does not always end a deal. Two or three usually should.
Documents You Should Ask For
A credible vendor sends these without a fight. A weak one sends another brochure.
| Document | What It Proves | What I Check |
|---|---|---|
| Photometric report and lighting simulation | Real road-level performance | Road width, pole height, spacing, lux or luminance, uniformity |
| Battery specification sheet | Usable storage and lifespan | Chemistry, Wh, DoD, cycle life, temperature limits |
| Solar panel specification | Real energy generation | Wattage, efficiency, degradation warranty |
| Controller datasheet | Charging efficiency and protection | MPPT or PWM, cutoff voltages, dimming profile |
| Autonomy calculation | All-night runtime in bad weather | Worst-month sun hours, real load, nights of autonomy |
| Wind load and structural calculations | Pole survival | Design wind speed, panel area, wall thickness, anchors |
| Corrosion or salt-spray evidence | Coating durability | Test method and result level |
| Warranty terms | Real support scope | Coverage by component, exclusions, labor |
| Project references | Similar real-world performance | Similar climate, similar road type, service history |
Two quick checks save a lot of trouble. First, confirm that the reports come from credible third-party labs and match the exact model you plan to buy. Second, ask for similar project references. A completed project in a comparable climate tells you far more than a polished gallery page.
What a Credible Proposal Looks Like
A data sheet describes a product. A real proposal explains how that product fits your road.
A strong proposal should clearly show:
- The scenario — road class, lanes, width, traffic, and climate
- The target — required lighting result and operating hours
- The configuration — optics, pole height, spacing, panel, battery, and controller
- The proof — simulations, sizing logic, structural calculations, and test reports
If you can trace every figure back to your road, you are looking at a real design. If you cannot, you are looking at a catalog.
Highway Solar Street Light Specification Checklist
I give a version of this checklist to every client before they request quotes. It turns a loose request into a spec that vendors must answer line by line. Fill it in for each road section, not once for the whole highway.
| Item | What to Specify | Proof to Request |
|---|---|---|
| Road class and lighting targets | Road class, average lux or luminance, uniformity ratio, glare limit | Lighting simulation built on your road |
| Layout | Road width, number of lanes, pole height, spacing, setback | Layout drawing with spacing for each section |
| Beam distribution | Optic type for main lanes, ramps, and open zones | Photometric file for the exact optic |
| Autonomy nights | 3–5 nights at the required output, depending on climate | Autonomy calculation using worst-month sun hours |
| Battery | Chemistry, usable Wh, DoD, cycle life, low-temperature protection | Battery spec sheet |
| Controller | MPPT or equivalent, cutoff voltages, dimming profile | Controller datasheet |
| Environment | IP rating, corrosion protection, wind resistance | Test reports and structural details |
| Lightning and grounding | Surge protection and grounding design | Grounding test record after installation |
| Maintenance and monitoring | Battery location, replacement method, remote alerts | Monitoring details or demo |
| Test reports and warranty | Reports for the exact model, warranty by component | Written warranty terms and references |
Here is how I use it in practice. Send this table to each vendor and ask them to fill it in clearly. Then compare the answers side by side.
A vendor who fills every row with real documents has designed a system for your road. A vendor who leaves gaps is still selling a catalog product.
FAQs
What brightness do highway solar street lights need?
No single lumen number fits every highway. Your road class sets the target, so start with the local standard.
As a rough guide, many highway sections target average lighting levels in the range often used for major roads, with uniformity as important as brightness. On 10–12 meter poles, that may lead to fixtures in the 12,000–30,000 lumen range.
But that range is only a starting point. The final answer depends on your road width, spacing, pole height, and beam distribution.
Can solar street lights stay on all night in cloudy weather?
Yes, if the system is sized for the worst month rather than the yearly average.
That usually means:
- a panel large enough to recover after cloudy periods
- enough battery reserve for several nights of autonomy
- a controller that manages energy well
- a dimming strategy that protects baseline output when needed
Ask for the autonomy calculation before you trust the claim.
Are all-in-one solar lights suitable for highways?
Sometimes.
They can work well on rural stretches with modest loads and good winter sun. They install quickly and keep the system simple.
They are less suitable for interchanges, ramps, and sites that need larger panels or larger battery reserves. Once the sizing math gets too demanding, a split system usually becomes the better fit.
How long do highway solar light batteries last?
A quality LiFePO4 battery often lasts 5–8 years in highway service. In mild climates with shallow daily cycles, it can last longer.
What matters most is not just the chemistry. You also need to check heat exposure, cycle depth, and how easy the battery is to replace.
What certifications or test reports should buyers ask for?
Ask for reports that cover each major component, not just a mark on the brochure.
That usually includes:
- fixture test data
- battery transport and safety documents
- solar panel test reports
- ingress protection test reports
- corrosion evidence for harsh sites
- structural or wind load calculations for the pole
Also make sure the reports match the exact model you plan to buy.
How much do highway solar street lights cost?
Prices vary widely. In general, highway-grade solar systems cost more than small street or garden products because they need stronger poles, larger batteries, larger panels, and better control logic.
Solar can still save money at project level because you may avoid trenching, cabling, transformers, and ongoing electricity costs. On remote corridors, those savings can become significant.
When comparing with a conventional LED street light solution, compare cost per kilometer at the same lighting result, not just cost per unit.
Choose the Result, Not Just the Light
When I review a highway solar project, I ask three questions in order.
First, does the lighting result meet the road requirement? Check the lux or luminance, uniformity, and glare on the real layout.
Second, can the solar panel and battery support that result all night, even through the difficult season?
Third, will the pole, foundation, and safety design survive the site conditions?
If a system fails any one of these checks, it is not ready for a highway.
Before you sign, ask every vendor for the test reports and sizing logic behind their numbers. Good suppliers can show that work clearly.
In the end, a highway solar project is not just about buying a light. It is about choosing a system that can keep a road safely lit, night after night, for years.