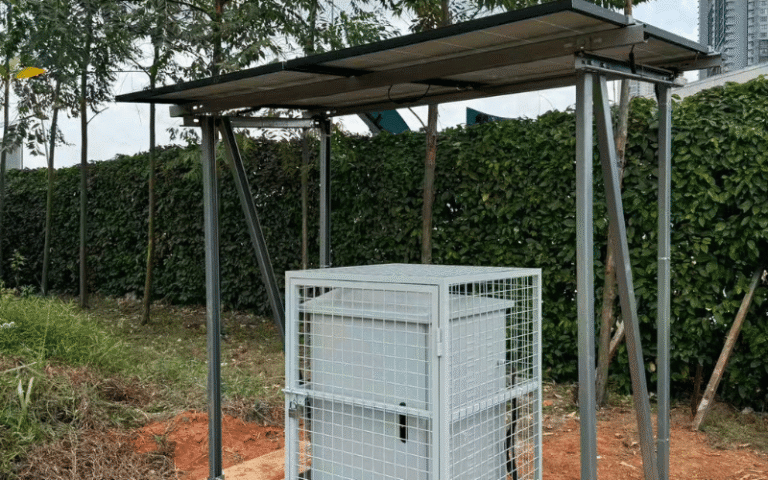


Many property managers and contractors need parking lot lighting in places where power is hard to reach. The fixture is only part of the bill. Trenching, conduit, wiring, and utility work can push a simple project far over budget.
This is when solar parking lot lights get a serious look. They promise faster installation, less site disruption, and no monthly power bills. But not every product holds up in winter, and not every spec tells the truth. A low upfront price can also turn into a costly purchase.
This guide shows you how experienced buyers judge solar parking lot lights. You’ll see where the costs really come from, which specs matter on real projects, and how to tell whether a system fits your site. It covers what property managers, contractors, HOA boards, and municipal buyers need to choose with fewer surprises.
Are Solar Parking Lot Lights a Good Fit for Your Site?
Before you compare prices or specs, ask one question: can your site support solar? A poor site will undercut even a well-built fixture. No spec sheet can fix bad sun or the wrong expectations.
Start with the sites where solar tends to perform well.
When Solar Makes Sense
Solar earns its place when bringing grid power to the pole costs more than the light itself. That commonly happens in five situations:
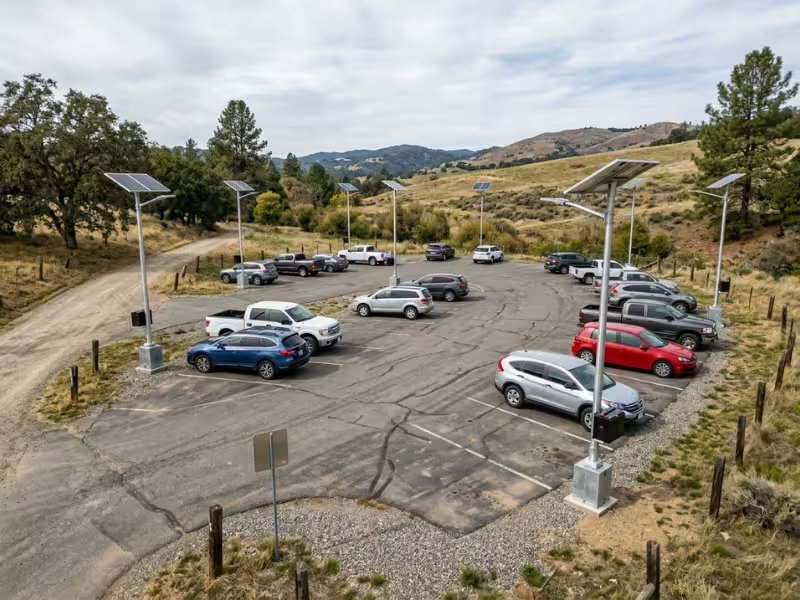
- Remote lots. Trailheads, park-and-ride lots, rural churches, and storage yards often sit hundreds of feet from the nearest power source. Every foot of trench adds cost. A solar pole needs no cable run at all.
- New sites without wiring. Before the asphalt goes down, you can skip conduit runs. That simplifies the site plan and shortens the schedule.
- Existing paved lots. Grid lights on a finished lot mean cutting asphalt, patching it, and often restriping. On some projects, these steps can double the lighting budget.
- Temporary or fast-deployment projects. Construction staging areas, event parking, and seasonal lots benefit from poles that install quickly and move later.
- Sites that need light during outages. Each solar pole runs on its own battery, so the lot stays lit when the grid goes down.
When Solar May Not Be the Best Choice
Some sites work against the system. Watch for these warning signs:
- Heavy shade. Trees or tall buildings that block the panel around midday will starve the battery. Shade on even part of a panel can drag down its whole output.
- Short winter sun hours. Northern sites with low December sun need much larger panels and batteries. The system can still work, but cost per pole climbs fast.
- High code-driven light levels. Solar handles moderate targets well. Holding high, uniform output from dusk to dawn every night pushes the hardware hard.
- Easy grid access. If power sits 30 feet away and the contractor already has the ground open, grid-tied lighting often costs less.
- Zero-maintenance expectations. Solar needs less care than grid lighting, not none. Quality lithium batteries commonly need replacement every 5 to 8 years. Dusty sites also need regular panel cleaning.
Quick Site Check
Use this table to sort your site before you request quotes.
|
Site Condition |
Solar Fit |
Why |
|---|---|---|
|
No power within a few hundred feet |
Strong |
Avoids long trench and cable runs |
|
New construction, no conduit installed |
Strong |
Simplifies site plan and schedule |
|
Existing paved lot, power far away |
Strong |
Skips asphalt cutting and repair |
|
Temporary or relocatable parking |
Strong |
Poles install fast and move later |
|
Lighting needed during outages |
Strong |
Each pole runs independently |
|
Heavy tree or building shade |
Poor |
Panels can’t fully charge the battery |
|
Very low winter sun hours |
Conditional |
Works with larger, costlier systems |
|
High code light levels all night |
Conditional |
Needs careful sizing and photometric proof |
|
Grid power close and easy to reach |
Weak |
Grid-tied usually costs less |
If most of your answers land in the “Strong” rows, solar deserves a serious look. If several land in “Poor” or “Conditional,” don’t rule solar out yet. Ask suppliers to prove their sizing for your exact site before you commit.
How Solar Parking Lot Lights Work: What Buyers Actually Need
You don’t need an engineering background to buy solar lighting. You just need enough knowledge to spot a weak system.
Four Parts, One Daily Cycle
Every solar parking lot light depends on four components:
- Solar panel: turns sunlight into electricity.
- Battery: stores that energy for the night.
- LED fixture: puts light on the pavement.
- Charge controller: manages charging, protects the battery, and sets when and how brightly the light runs.
The cycle is simple. The panel charges the battery during the day. At dusk, the controller switches the LED on, and the battery powers it until dawn or until the schedule ends.
The same logic runs through most off-grid solar lighting systems. Parking lots, though, put heavier demands on the panel and battery. Taller poles, wider spacing, and long nightly runtimes all draw more energy.
What matters most for buyers is that the panel must replace what the light uses every day, even in December. If it falls short, the battery drains a little more each night. Most “dim by midnight” complaints start right here.
All-in-One vs. Split Systems
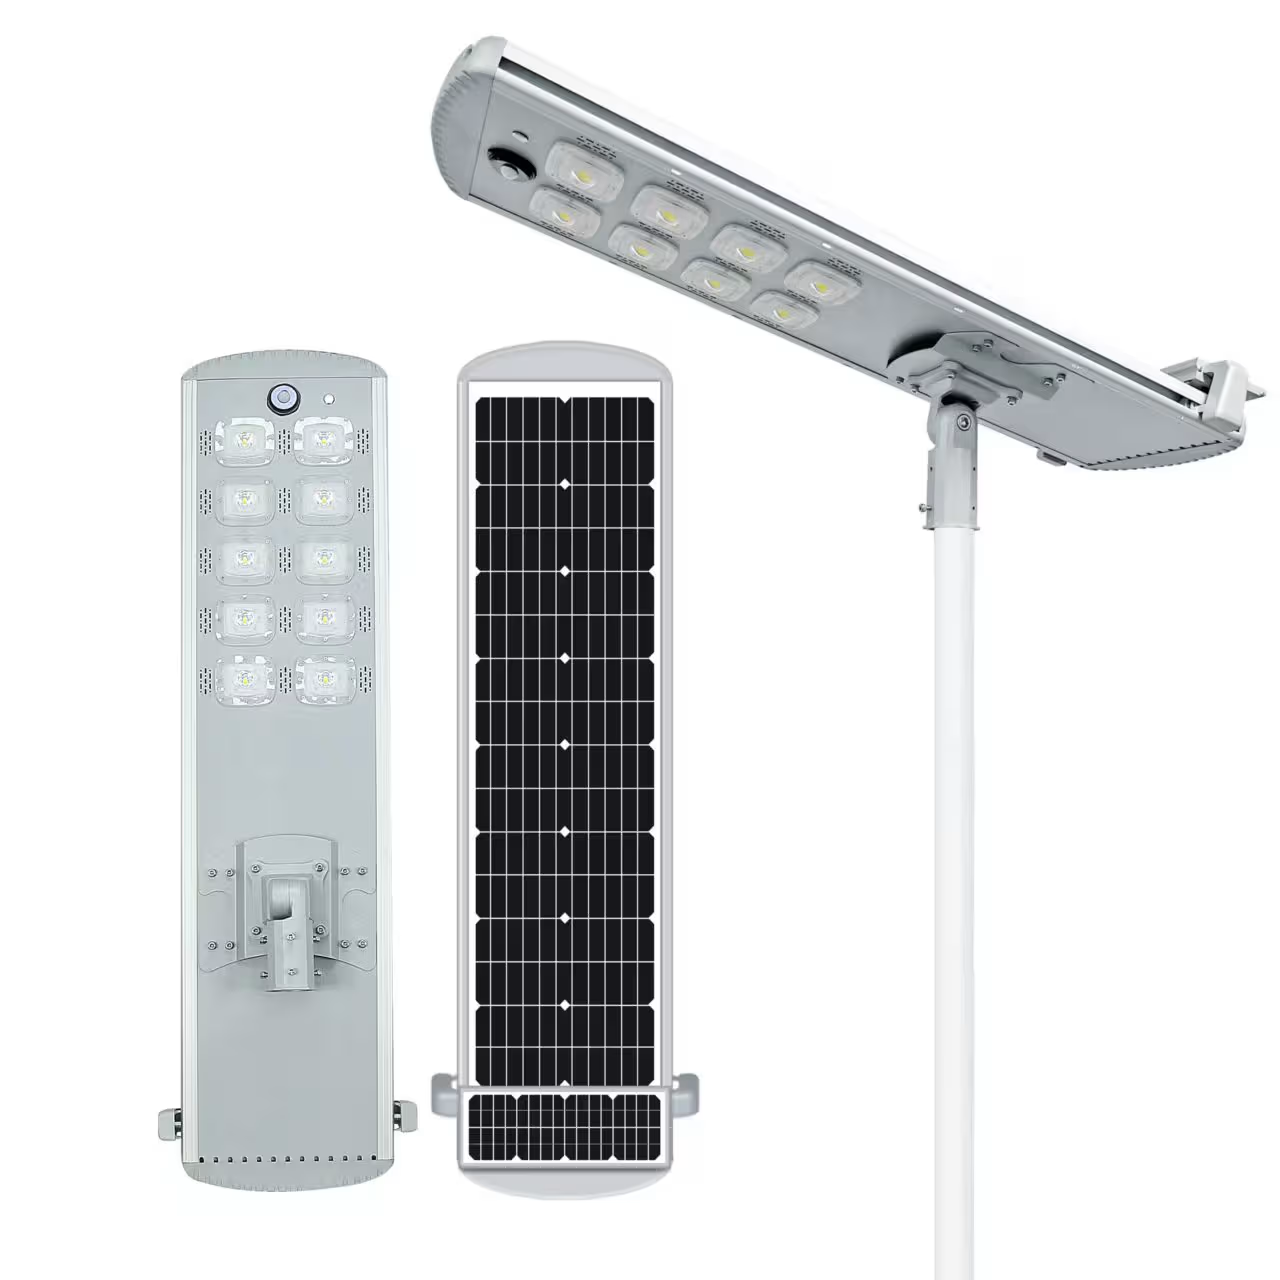
The bigger buying decision is how those four parts come packaged. An all-in-one unit puts everything in one housing at the top of the pole. A split system mounts a separate, larger panel on the pole and places the battery in its own enclosure.
|
System Type |
Best For |
Limitations |
|---|---|---|
|
All-in-one (integrated) |
Small to midsize lots, moderate light levels, fast installs |
Housing limits panel size; fixed panel angle; battery exposed to heat and cold at the pole top |
|
Split system |
Larger lots, higher output, northern climates, code-driven sites |
Higher cost, more parts, longer install |
My rule of thumb: all-in-one units work well when the lighting job is modest and the sun is generous. When you need more light, more backup nights, or reliable winter performance, a split system gives you room to size the panel and battery properly.
What Do Solar Parking Lot Lights Cost?
Most buyers start with the price per light, and that number can mislead you. What matters is the cost of a finished, working pole that stays lit for years. Here’s how that cost breaks down.
Fixture Cost Depends on the System Class
Solar parking lot lights fall into three broad classes. Panel size, battery capacity, build quality, and engineering support drive the price gap between them.
|
System Class |
Typical Use |
Equipment per Pole (Rough Planning Range) |
Notes |
|---|---|---|---|
|
Budget all-in-one |
Small private lots, low traffic |
$300–$1,200 |
Check real lumens and battery size carefully |
|
Commercial split system |
Retail, office, HOA, church lots |
$1,500–$4,000 |
Best balance of output and winter reliability |
|
Municipal / heavy-duty |
Public lots, code-driven sites, harsh climates |
$3,500–$7,000+ |
Stronger poles, longer warranties, full documentation |
Budget units often rely on small batteries and optimistic lumen ratings. Municipal systems add the documentation public buyers commonly need to pass review.
Don’t compare classes by fixture price alone. A $600 unit that dims by 10 p.m. in January can cost more in complaints, callbacks, and replacements than a $2,500 system that holds output all night.
Installation Cost: Where Solar Pulls Ahead
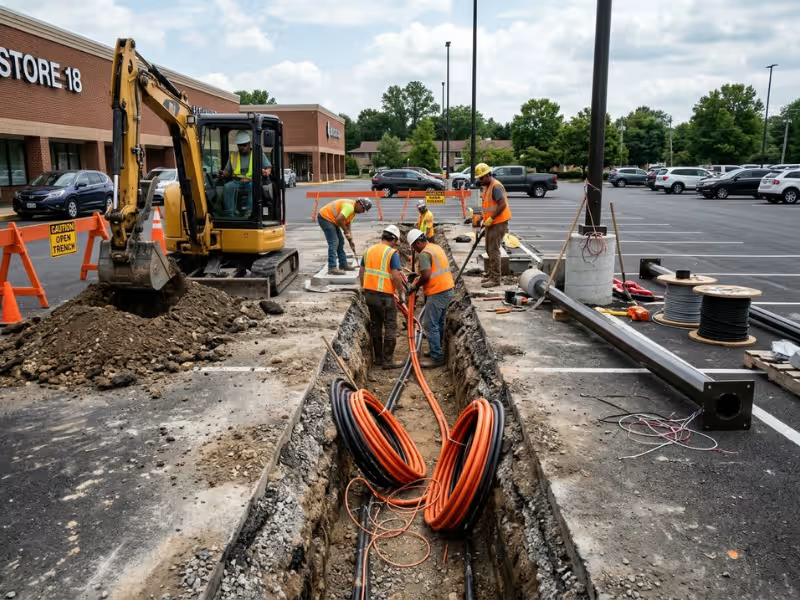
Installation is where solar usually earns its value. With solar, the work centers on the pole: the crew sets the base, assembles the parts, and raises the pole. Nothing runs underground between poles.
Grid-tied lighting needs the same pole work, plus a long chain of extra steps.
|
Cost Item |
Solar |
Grid-Tied |
|---|---|---|
|
Pole and foundation |
Yes |
Yes |
|
Fixture assembly and mounting |
Yes |
Yes |
|
Trenching and conduit |
None |
Often $15–$50+ per foot |
|
Wire and electrical connections |
Minimal, at the pole |
Full circuit runs |
|
Licensed electrician |
Often less electrical work, though local code may still require licensed installation or inspection |
Required |
|
Utility coordination or new service |
None |
Often required |
|
Asphalt cutting and repair |
None |
Common on existing lots |
|
Monthly energy bill |
None |
Ongoing |
Distance drives this gap. When power sits 500 feet away, trenching alone can cost more than a solar pole. When power sits 30 feet away, the gap shrinks fast.
Lifetime Cost and Battery Replacement
Energy savings matter, but they rarely justify solar on their own. A 100-watt LED running 12 hours a night typically uses about $50 to $90 of electricity a year at common commercial rates.
The bigger lifetime question is the battery. Quality lithium iron phosphate (LiFePO4) batteries commonly last 5 to 8 years. Lead-acid and gel batteries often need replacement in 2 to 4 years.
As a rough planning range, budget $300 to $1,000 per pole for each battery swap, including labor and a lift truck. Ask now whether the battery can come out on its own, or whether you must buy a whole new light head.
Over 10 years, a solar pole typically needs one battery replacement plus periodic panel cleaning. A grid-tied pole needs 10 years of power bills plus occasional driver or photocell repairs. The 10-year total, not the purchase order, shows you which option costs less.
What a Real Project Might Cost
These illustrative ranges give you a sense of scale. They aren’t quotes. Soil, wind zone, light levels, and labor rates will shift them.
A 10-pole lot (small office, church, or HOA amenity area):
- Solar, commercial split system: roughly $35,000–$70,000 installed
- Grid-tied, power far from the lot: roughly $45,000–$90,000 installed
- Grid-tied, power close by: roughly $30,000–$55,000 installed
A 40-pole lot (retail center, park-and-ride, or municipal facility):
- Solar: roughly $140,000–$280,000 installed
- Grid-tied: roughly $130,000–$320,000 installed
Notice what happens at scale. On large lots, grid-tied crews share trenches and circuits across many poles, so cost per pole drops. Solar costs grow more evenly with each pole. Solar wins most clearly on small to midsize lots, remote sites, and existing paved lots.
The Specs That Actually Matter
A solar spec sheet can list 30 numbers. Only a handful decide whether your lot looks right at 2 a.m. in January. I review specs in this order because it follows what you’re really buying: light on the ground, every night, for years.
Start with the light itself. Everything else exists to support it.
Light Output and Distribution Come First
Wattage tells you how much power a fixture draws, not how much light it delivers. Ask for lumens first. Many quality commercial LEDs produce roughly 150 to 180 lumens per watt. If a budget unit claims “300W equivalent” but lists no lumen rating, treat that as a warning sign.
Lumens alone still won’t show you how the lot will look. In parking lot and LED street lighting projects alike, four factors decide what happens on the pavement:
- Photometric layout: a lighting simulation that maps foot-candles across your actual lot.
- Pole height: taller poles spread light wider but put less on any single spot.
- Spacing: wide gaps create dark pockets between poles.
- Distribution type: the shape of the light pattern.
For most parking lots, two distribution types do the heavy lifting. Type III throws light forward and to the sides, so it suits poles along lot edges and drive aisles. Type V spreads light evenly in all directions and works best for poles in the middle of the lot.
Put a Type V fixture on a perimeter pole, and you can waste close to half its light on landscaping or the neighbor’s yard. A Type III fixture on the same pole pushes that light onto the stalls. Always ask for a photometric layout built on your site plan.
Battery Capacity and Autonomy Decide Whether Winter Goes Well
Most solar failures trace back to the battery. The lights dim before midnight in December. They go dark after three gray days. Or they run fine for a year, then fade badly.
Focus on nights of autonomy: how many nights the system can run on a full battery with no sun. For most U.S. climates, I want at least three. Snowy or cloudy northern sites often need four or five.
Here’s the math. A 40W fixture running 12 hours uses 480 watt-hours a night. Three nights of autonomy means 1,440 Wh of usable energy. Usable capacity depends on depth of discharge (DoD):
- LiFePO4 can typically use about 80–90% of rated capacity, so you’d need roughly 1,700 Wh nominal.
- Lead-acid and gel should stay near 50% DoD, so you’d need about 2,900 Wh for the same job.
Cold weather adds another layer. Capacity drops as temperatures fall, and standard lithium batteries can’t safely charge below freezing. Good systems use low-temperature charge protection, self-heating packs, or insulated enclosures.
LiFePO4 has become the common choice because it often delivers 2,000 to 4,000 cycles and stays stable in heat. Still, ask every supplier: “What is this battery sized to deliver in December, and how many nights of autonomy does that include?” A vague answer tells you a lot.
Size the Panel for December, Not the Annual Average
A big battery only helps if something can refill it. Many suppliers size panels with annual average sun hours. That works in June and fails in December.
Take Chicago. It averages about 4 peak sun hours a year but only around 2 in December. To replace 480 Wh a day at roughly 75% system efficiency, you’d need:
- Annual average sizing: about 160W of panel
- December sizing: about 320W of panel
That’s double the panel. The smaller system looks great in summer, then slowly drains its battery all winter.
Your lighting profile matters too. A light that dims to 50% after midnight needs far less panel than one running full output until dawn. Build in recovery margin as well, because after a cloudy stretch the panel must power the lights and recharge the battery at once. In northern climates, a steeper tilt captures more low sun and sheds snow faster.
Pole Height, Spacing, and Wind Rating
Pole height controls coverage. As a starting point:
- 15–20 ft: small lots, walkways, HOA amenity areas
- 20–25 ft: most commercial and retail lots
- 25–30 ft: large lots and wide drive aisles
Spacing controls uniformity. Many projects start at three to four times the mounting height between poles, and the photometric layout then confirms the final spacing. Poles set too far apart create dark gaps, and those gaps are where people feel unsafe.
Wind rating matters more for solar than for grid lighting. A large panel acts like a sail and adds load at the pole top. Ask for pole and foundation calculations based on your local design wind speed and the combined effective projected area (EPA) of fixture and panel. For weather resistance, look for IP65 or IP66 on the fixture and battery enclosure.
Smart Controls Help, But They Can’t Rescue an Undersized System
A common profile runs at 100% for four hours after dusk, then drops to 30–50%, with motion sensors restoring full output when someone arrives. Profiles like this can often cut nightly energy use by 30 to 50%. Remote monitoring also flags failing poles before tenants complain.
Treat controls as fine-tuning, not a fix. If a supplier relies on heavy dimming to make a small system look adequate, the lot will sit dim most of the night. Size the hardware for the job first, then use controls to add margin.
How to Choose the Right Solar Parking Lot Light
Good specs only help if they fit your site. The same four steps work for a six-pole church lot or a 60-pole transit facility.
Step 1: Define the Lighting Job Before You Look at Products
Many bad purchases start with a catalog. The buyer picks a fixture, then tries to make the lot fit it. Flip that order and write down five facts:
- Lot size and layout: stalls, drive aisles, entrances, odd corners
- Traffic type: a commuter lot that empties by 7 p.m. differs from a 24-hour retail lot
- Security expectation: do cameras need to read faces and plates?
- Local requirements: zoning, dark-sky rules, color temperature limits, lease terms
- Area type: general parking, perimeter edges, and code-sensitive zones such as ADA routes and crosswalks
That last point saves real money. When you light each zone for its actual job, you stop paying for full output everywhere. Send this one-page brief to every supplier so they all quote the same job.
Step 2: Size for Your Worst Month
Look up peak sun hours for your darkest month, usually December. NREL’s free solar data tools show this by location. Hand that number to suppliers and ask them to size against it.
Next, set your autonomy target: three nights as a floor for most U.S. sites, four to five for snowy or cloudy regions. Then settle the schedule. Do you need light until dawn, or only until the last shift leaves? Can back rows dim after midnight while entrances stay bright?
Partial-night dimming is your biggest lever. It can cut nightly energy use nearly in half, which shrinks the panel and battery. Decide this before you request quotes. Otherwise, you can’t compare prices fairly.
Step 3: Ask Suppliers for Proof, Not Promises
A good supplier sends documents. A weak one sends adjectives. Ask every bidder for:
- A photometric simulation on your site plan, showing average and minimum foot-candles and uniformity.
- A battery spec sheet with chemistry, watt-hours, usable DoD, cycle life, and charge temperature limits.
- A written autonomy statement, such as “4 nights at the stated profile, based on 2.1 December peak sun hours.”
- A battery replacement method that shows whether a technician can swap the battery alone.
- A warranty by component. A “5-year warranty” sometimes covers the battery for only two.
- Parts availability for batteries and controllers.
It also helps to request one reference project in a similar climate that has run through at least two winters.
Step 4: Compare Quotes Line by Line
Quotes rarely line up. One bid can look $40,000 cheaper because it leaves out half the work. Check for exclusions such as foundations, freight, lift rental, permits, or “installation by others.”
|
Item to Compare |
Why It Matters |
Red Flag |
|---|---|---|
|
Lumen output |
Sets the light on the ground |
“Equivalent” wattage, no lumen rating |
|
Panel wattage |
Controls winter recharge |
Sized to annual average sun |
|
Battery capacity |
Drives autonomy and lifespan |
No usable Wh or DoD listed |
|
Autonomy and profile |
Shows what you actually get |
Missing, or assumes dimming you didn’t approve |
|
Pole and foundation |
Must meet local wind load |
No wind calculations |
|
Shipping, lift, permits |
Real project costs |
“By others” or not mentioned |
|
Warranty by component |
Protects long-term budget |
One blanket term with battery exclusions |
|
Battery replacement |
Major 10-year cost |
No method or price stated |
Choose the quote that proves its performance and leaves nothing out.
Solar vs. Grid-Tied: Which One Wins?
Neither option wins every project. The answer depends on how far away the power sits, how much light the site needs, and how much risk you can accept on a bad night.
When Solar Wins
Solar wins when the cable costs more than the light. That commonly includes remote lots, sites with expensive trenching through asphalt or rocky soil, and lots with no conduit or spare panel capacity. Speed matters too. Utility service requests can take weeks or months, while a crew can often set a solar pole on a cured base in a few hours. And during storms, each pole keeps running on its own battery.
When Grid-Tied Still Makes More Sense
Grid power fits better when a site asks for more than solar can deliver at a sensible price. Car dealerships and some retail centers want high, even light all night. On a new build with power 50 feet away and trenches already open, grid wiring adds little cost. Dense urban sites also lose sun to tall buildings. Hospital entrances and 24-hour transit hubs often need grid power with generator backup.
The Practical Decision Rule
|
Factor |
Solar |
Grid-Tied |
|---|---|---|
|
Installation cost |
Low when power is far away |
Low when power is close |
|
Light level ceiling |
Best for moderate targets |
Handles high, constant output |
|
Winter and cloudy weather |
Needs careful sizing |
Weather has no effect |
|
Grid outages |
Stays lit |
Goes dark without backup |
|
Ongoing costs |
Battery swaps every 5–8 years |
Monthly energy bills |
|
Deployment speed |
Days |
Weeks to months |
Choose solar when trenching is expensive, winter sun is decent, and your light target is moderate. Choose grid-tied when power sits close, code demands high light all night, or the lot can never go dim.
Many sites don’t need to pick just one. A hybrid layout often works well: grid power for entrances and main aisles, solar for back rows and perimeter edges.
Five Buying Mistakes That Leave Parking Lots Dark
Most failures don’t start with bad products. They start with early buying decisions.
Trusting Wattage Instead of Light on the Ground
Budget listings push “equivalent” wattage claims that mean little. Some high-watt fixtures produce fewer lumens than efficient lower-watt models. Compare lumens, efficacy, and distribution, then judge results in foot-candles.
Sizing for an Average Day
Systems sized on annual sun run fine all summer, then drain a little more each December night. Size for your worst month and get a written autonomy figure.
Treating the Battery as a One-Time Purchase
When the first swap comes due, owners face a bill across every pole at once. Budget for at least one replacement over 10 years, choose field-replaceable batteries, and get the price in writing.
Skipping the Photometric Layout
Guessing at spacing leads to bright circles, dark gaps, and light spilling into neighboring yards. Adding poles later costs far more than a simulation. Require one from every bidder.
Using Budget All-in-One Units on Demanding Sites
Cheap integrated units can’t scale for higher light levels or northern winters. When they fall short, you replace the whole head. Save them for small, sunny, low-traffic lots, and use documented split systems everywhere else.
Solar Parking Lot Lights: Common Questions
Do solar parking lot lights work in winter?
Yes, if the supplier sized the system for winter. Ask for the December peak sun hours behind the design and the nights of autonomy at your profile. In freezing climates, confirm low-temperature charge protection.
How many lumens do I need?
As a starting range: about 3,000–6,000 lumens for 15–20 ft poles, 6,000–12,000 for 20–25 ft poles, and 12,000 and up for 25–30 ft poles. Let the photometric layout set the final number.
How long do solar parking lot lights last?
Poles often last 25+ years, panels 20–25 years, LED fixtures 50,000–100,000 hours, and controllers 7–10 years. A quality system can commonly serve a lot for 20 years with periodic battery swaps.
Do batteries need replacement?
Yes. LiFePO4 packs often need replacement every 5 to 8 years, and lead-acid or gel batteries every 2 to 4. Check that the battery can come out without replacing the light head.
What is the difference between all-in-one and split systems?
All-in-one units pack everything into one housing at the pole top. They install fast but limit panel and battery size. Split systems cost more but let you size each part for higher output and harsh winters.
Can solar lights be bright enough for security?
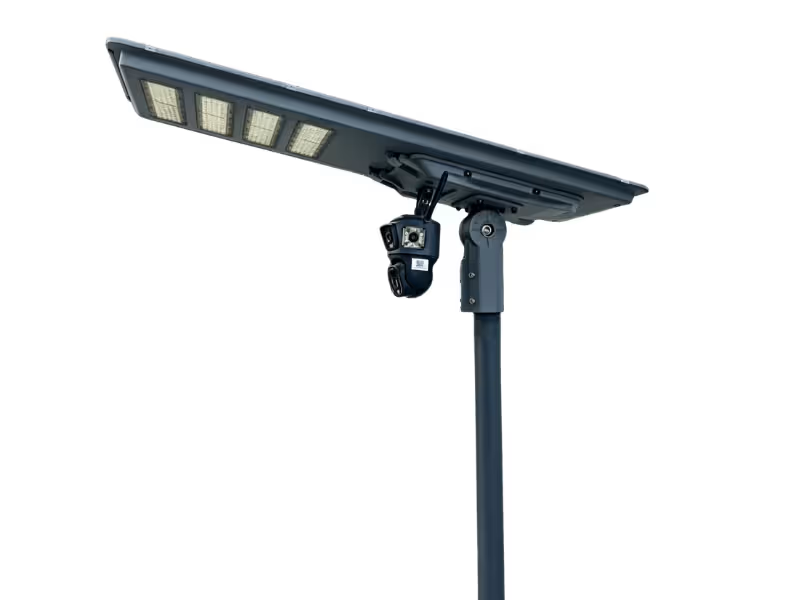
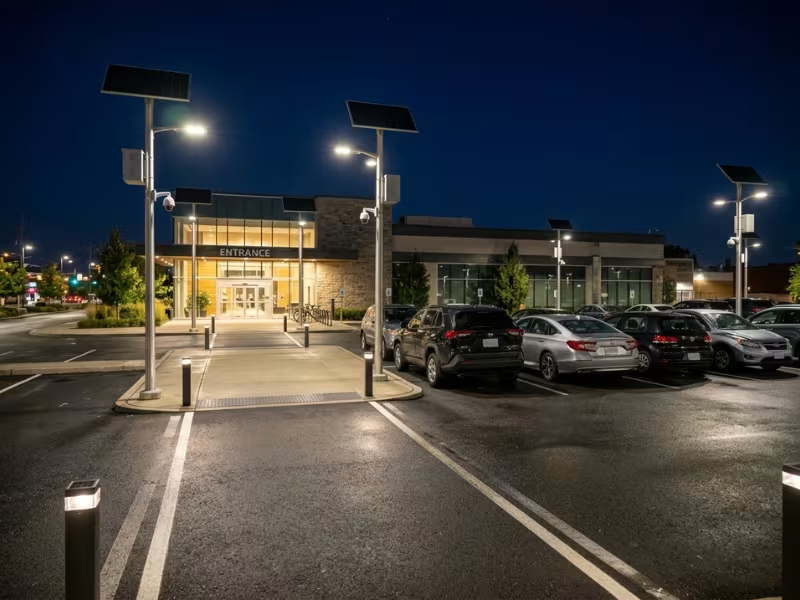
Yes, when you size them for the job. Cameras need even light more than raw brightness, so check minimum foot-candles and uniformity. Neutral white around 4000K with a CRI of 70 or higher helps cameras pick up faces and plates. Some buyers also evaluate solar lights with camera integration to combine lighting and surveillance on one pole. Ask for motion-triggered full output near entrances and walkways.
Conclusion
Solar parking lot lights pay off when you judge them on results, not marketing. Before you sign anything, check three things:
- Delivered light: foot-candles and uniformity on your own lot, not wattage on a box.
- Autonomy when the sun disappears: a schedule that holds through your darkest December week.
- Total cost over time: installation, battery swaps, and maintenance across 10 years.
Start with a site walk. Note shade, distance to power, and the zones that need the most light. Then request quotes from two or three suppliers, require a photometric simulation from each, and compare their battery and autonomy assumptions side by side.
If you’re planning a project now, gather your lot plan, target pole count, and operating schedule first. With those three items ready, any qualified supplier can give you a layout review and an accurate quote.