
A single underspecified solar street light can quietly wreck a project. The technology usually isn’t the culprit. Lights that dim by 2 a.m., batteries that give out after one cloudy week, poles that bloom with rust within sight of the coast — trace each failure back and you almost always land at the same place: someone chose the wrong specification for the site. Size the system correctly, and you get the opposite outcome. Reliable off-grid lighting, no trenching, no electricity bills, and years of near-invisible operation.
This guide from Sigostreetlight is written for the people who actually have to make that call — project engineers, procurement teams, contractors, and distributors. We’ll cover how these systems work, which components determine their lifespan, how to read a spec sheet without being misled, and the mistakes that catch even experienced buyers. By the end, you’ll be able to look at a product and a site and know whether they belong together.
What Is a Solar Street Light?
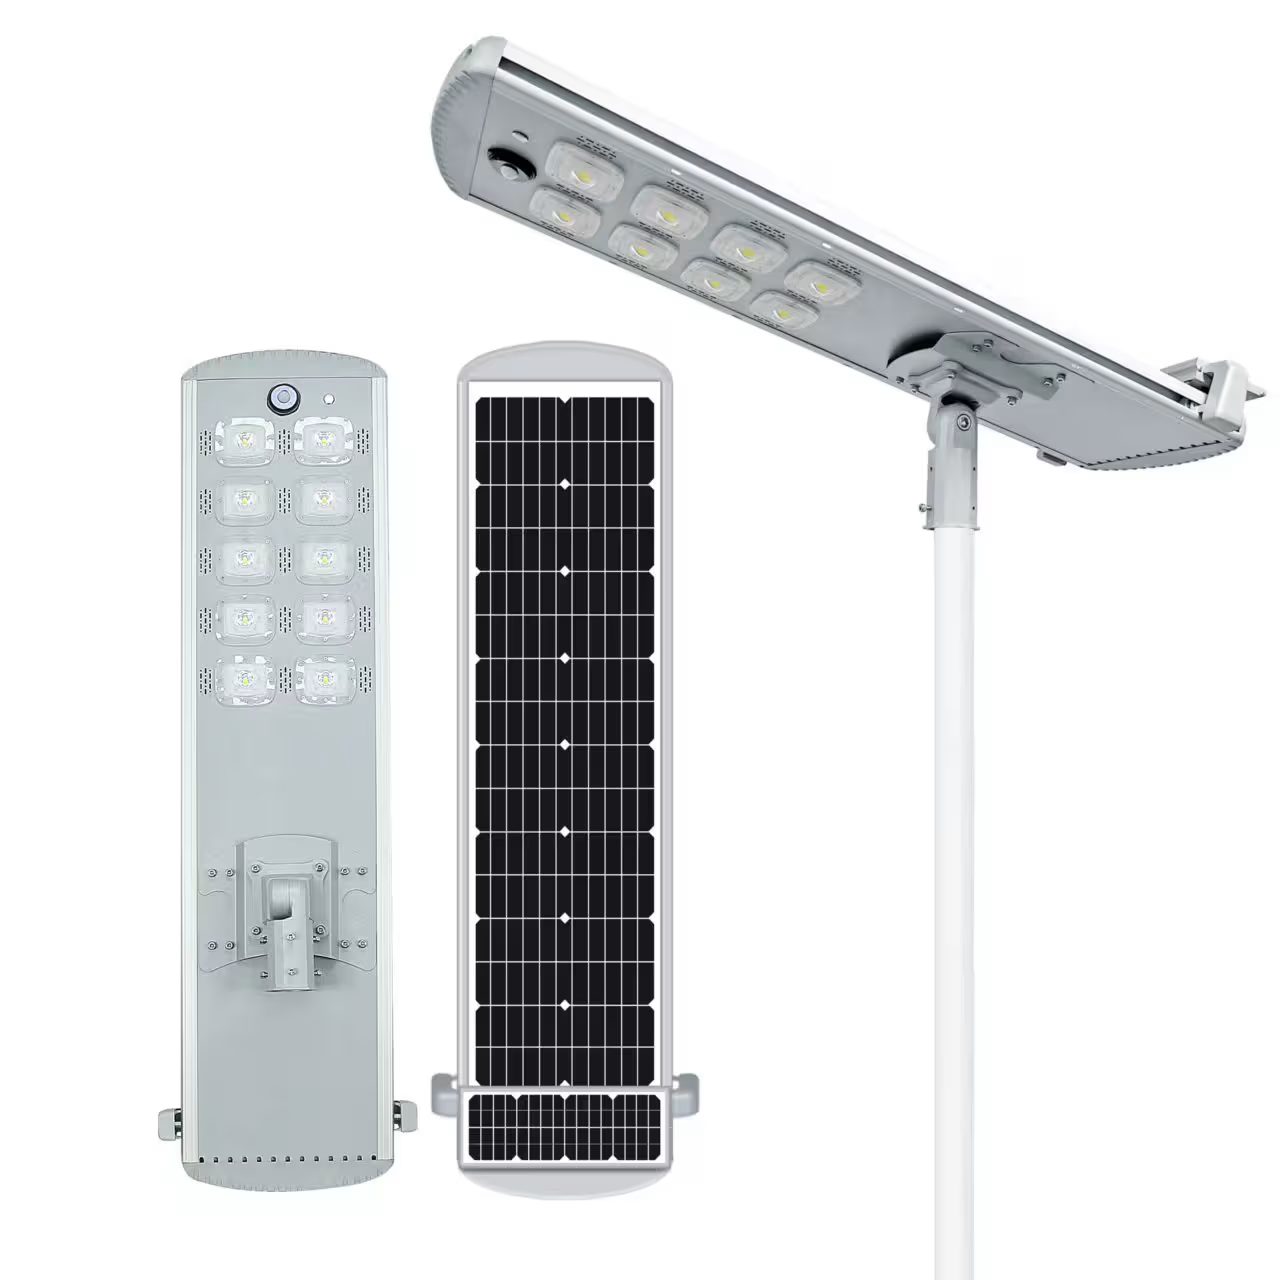
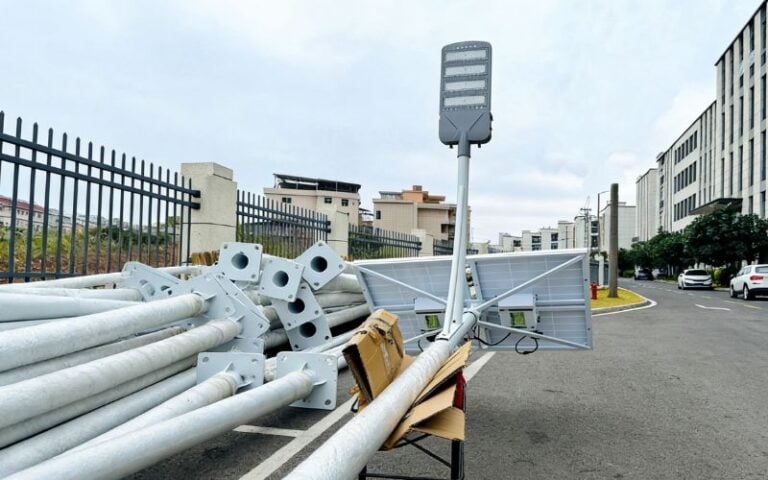
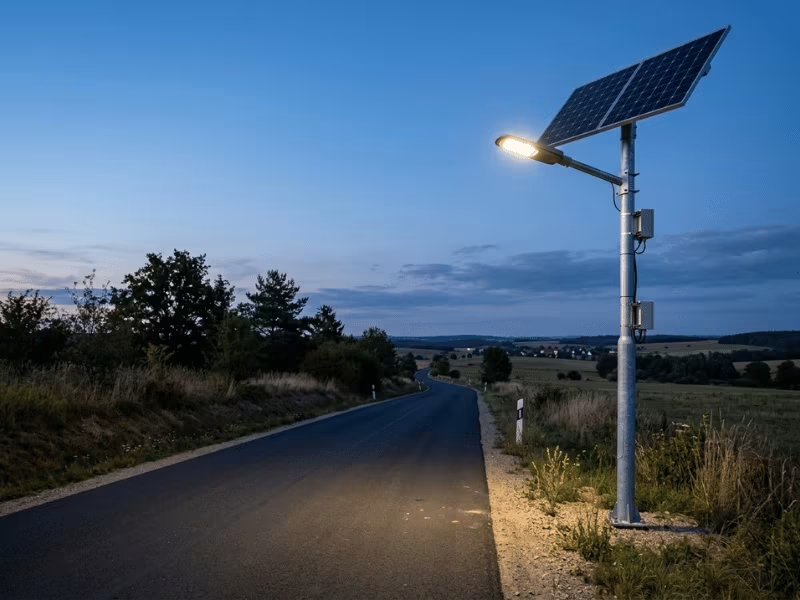
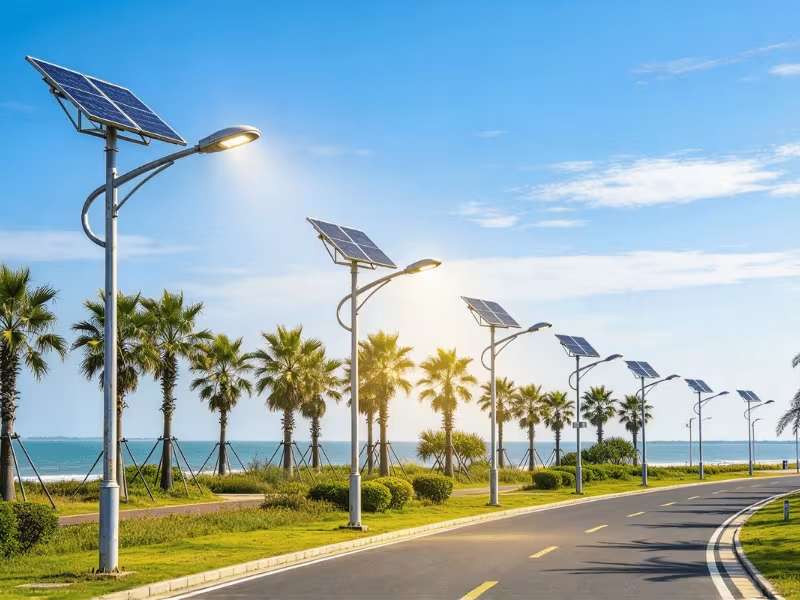
A solar street light is a self-contained outdoor lighting system that generates, stores, and delivers its own power. A panel captures daylight and charges a battery. When darkness falls, a controller draws on that stored energy to run an LED fixture. Each unit works alone, with no tie to the grid — and that single trait shapes everything about how you specify, install, and maintain it.
Set it against traditional grid lighting and the contrast is stark. Grid systems mean trenching, cabling, and often permits, all of which push up cost and timeline. They also share a single point of failure: when the grid goes down, the street goes dark. Solar sidesteps both. No cable runs, no monthly power bill, and no shared fault line — each pole keeps working even when everything around it doesn’t.
That independence makes solar a natural fit across three broad settings: municipal and public infrastructure (rural roads, highways, roundabouts), commercial and institutional sites (parking lots, campuses, industrial parks, pathways), and remote or off-grid locations (border posts, farms, mining areas) where running a cable simply isn’t realistic. Wherever cabling is expensive, impractical, or unreliable, a well-specified solar unit tends to win.
How a Solar Street Light Actually Works
Understanding the daily cycle makes every later spec decision easier — because most field failures are just one stage of this cycle quietly breaking down.
During the day, the panel converts sunlight into DC electricity. How much depends on panel efficiency, size, orientation, and the number of usable sun-hours the site actually gets — not the number a brochure assumes. The controller sits between panel and battery, regulating the charge so the battery fills safely without overvoltage or overheating. A good controller harvests as much as conditions allow while protecting the cells. That “as much as conditions allow” is the part buyers underestimate. On a short winter day behind thin cloud, the panel may not fully recharge the battery — and if that happens night after night, the reserve slowly bleeds away until the light fails at 3 a.m. and everyone blames the fixture.
At dusk, the controller senses falling light and switches on the LED. Through the night it manages discharge, feeding power at a controlled rate and usually dimming during low-traffic hours to stretch the charge. This is where the real trade-off lives. Run at full brightness all night and you get excellent light — until the battery hits a deep discharge it can’t sustain, ages fast, and dies early. Dim too aggressively and you save the battery but leave a road darker than the safety brief allows. The controller’s discharge logic, and how honestly it’s been tuned, decides whether a light survives the season.
Smarter systems add another layer. Timers, photocells, and motion sensors let output adapt to real conditions instead of burning full power all night. Better controllers also use weather-aware logic: after a run of cloudy days, they trim output automatically to protect the reserve and keep the light alive through the shortfall. The catch is that this behavior is a design decision, not a given — two products with identical panels and batteries can perform very differently because one controller manages a bad-weather stretch intelligently and the other doesn’t.
In practice, the cycle is simple — daytime charge, dusk trigger, managed nighttime discharge, dawn shutoff — but performance comes from the whole loop working together under real weather, not from any single headline number.
Key Components — and What to Ask About Each
A headline wattage figure tells you almost nothing. Performance is decided component by component, and a weak link anywhere drags down the whole system. Here’s what actually matters, and the questions a supplier should be able to answer without hesitating.
Solar panel. The panel sets your daily energy ceiling. Monocrystalline cells (typically 18–22% efficiency) outperform polycrystalline in both output and low-light conditions, which is why they’ve become standard on space-limited fixtures. Watch conversion efficiency, rated wattage, and the annual degradation rate — that last figure quietly erodes output over the years and is often left off cheaper datasheets. Ask for: cell type, efficiency %, rated watts, and a stated degradation rate.
Battery. The battery powers every single night, so it drives both reliability and lifespan — and it’s where corners get cut most often. Judge it by usable capacity (Wh or Ah), chemistry, and rated cycle life. We’ll dig deeper into chemistry below, because it deserves its own section. Ask for: capacity, chemistry, cycle life, and depth-of-discharge rating.
LED light source. Efficacy is the number that counts — lumens per watt (lm/W). Higher efficacy means more light from the same stored energy, which directly extends runtime. Quality chips also hold their output longer, so ask about lumen maintenance, not just initial brightness. Color temperature (in Kelvin) shapes comfort and legibility; 3000K–4000K suits most roads and pathways, though the actual choice often depends on the municipality’s brief. Ask for: efficacy, chip brand, lumen maintenance data, and color temperature.
Controller. As the last section showed, the controller quietly governs performance and battery life. MPPT (Maximum Power Point Tracking) units extract noticeably more energy than simpler PWM controllers, especially in weak light — worth the extra cost on most serious projects. Look for protection against overcharge, over-discharge, short circuit, and reverse polarity, plus genuine programmable dimming. Ask for: MPPT vs. PWM, protection features, and the dimming/bad-weather logic.
Sensor and pole. PIR sensors read body heat; microwave sensors detect movement and see through minor obstructions. The pole has to match the mounting height and survive the environment — hot-dip galvanized steel or aluminum handles corrosion best, which matters enormously in coastal or humid air. Don’t stop at the pole itself: brackets, fasteners, and foundations fail just as often as the metal they hold. Ask for: sensor type and range, pole height, material, corrosion treatment, and fixings.
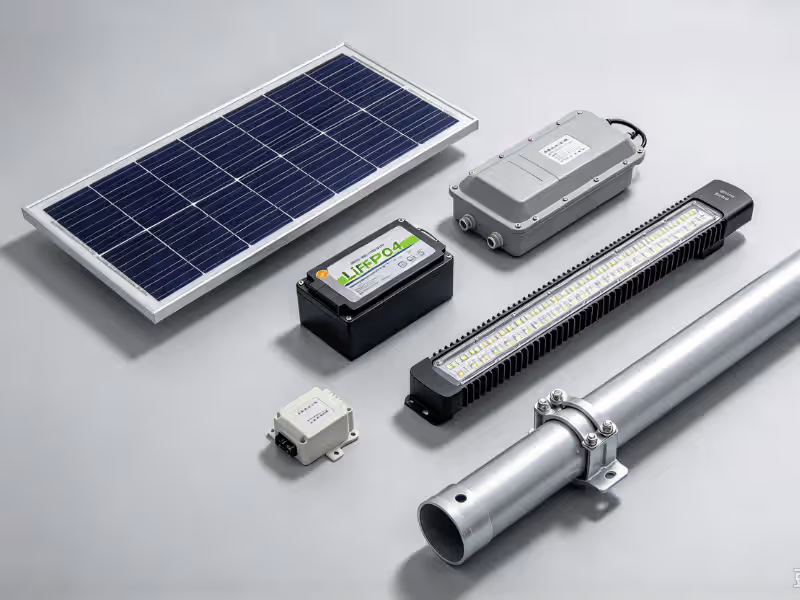
The theme across all of them is balance. A brilliant panel paired with a weak battery, or a strong battery starved by an undersized panel, gives you a system that performs to its weakest part—never its best.
Integrated vs. Split: Which One Fits Your Project?
Choosing between an all-in-one and a split system is one of the first architectural calls you’ll make, and it shapes cost, installation, and maintenance for the life of the project. Instead of just listing differences, it helps to know exactly when each one wins.
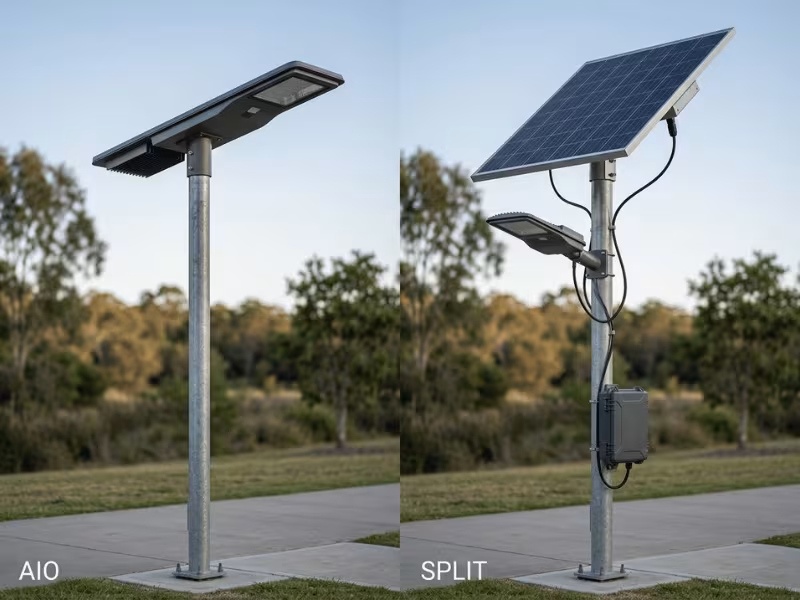
An integrated (all-in-one) design packs panel, battery, LED, and controller into a single housing that mounts on the pole. A split design separates them — usually a standalone panel and a pole- or ground-mounted battery wired to the fixture. The trade-offs are real:
|
Factor |
Integrated (All-in-One) |
Split System |
|---|---|---|
|
Installation speed |
Fast — one unit to mount |
Slower — multiple parts to wire |
|
Upfront cost |
Lower per unit |
Higher, more labor |
|
Maintenance access |
Harder; often a full-unit swap |
Easier; parts serviced separately |
|
Sun-angle flexibility |
Limited; panel fixed |
High; panel can be angled |
|
Battery capacity |
Constrained by housing |
Larger batteries possible |
|
Theft risk |
Lower; sealed unit |
Higher; visible components |
Here’s the shortcut. Choose integrated when you need a fast rollout, you’re lighting pathways or low-to-medium roads, the site has good sun exposure, and the maintenance budget is tight. Its simplicity is the whole point. Choose split when you need larger battery reserves, when the panel must be angled for a high or low latitude, or when long cloudy spells demand extra autonomy — think highways, high-output roads, or regions with difficult sun.
Two warnings. Avoid integrated where you genuinely need serviceable parts or oversized storage, because you’ll end up swapping whole units to fix one failed cell. And avoid split where labor is expensive, or theft is a real concern, since visible panels and cabling are both a cost and a target. In practice, integrated wins on speed and simplicity, while split earns its extra spend on capacity, flexibility, and serviceability. For maintenance-sensitive sites, it’s also worth looking at a self-cleaning solar street light, where reduced panel soiling protects daily energy harvest with far less manual upkeep.
Battery Technologies, Explained Honestly
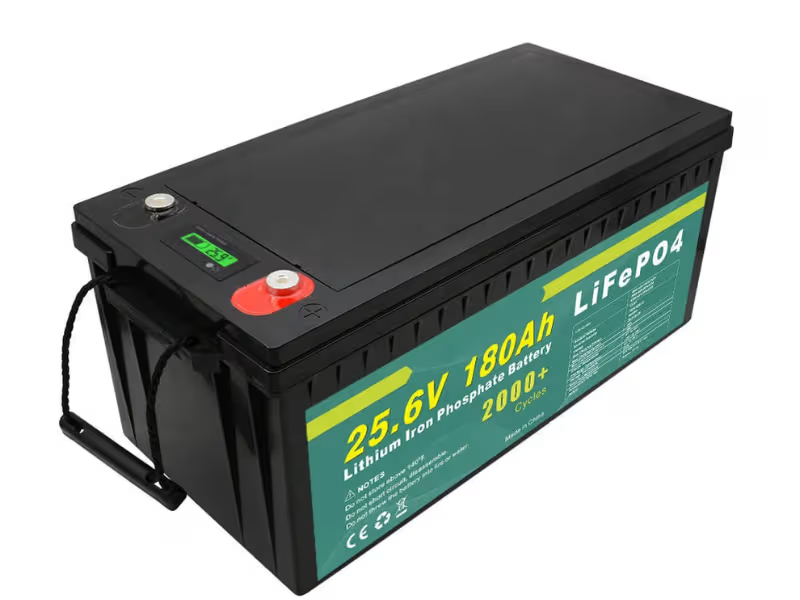
If any single component decides whether a project succeeds, it’s the battery. It takes the most stress, ages fastest, and generates the majority of warranty claims. The real question behind “LiFePO4 vs. lithium-ion” isn’t which sounds better — it’s which chemistry survives more nights, more heat, and more deep discharges before it quits.
|
Chemistry |
Cycle Life |
Temperature Tolerance |
Relative Cost |
Best Fit |
|---|---|---|---|---|
|
LiFePO4 (LFP) |
2,000–4,000+ |
Wide; strong in heat |
Higher upfront |
Most modern projects; hot climates |
|
Lithium-ion (NMC) |
1,000–2,000 |
Moderate; heat-sensitive |
Medium |
Weight-sensitive, mild climates |
|
Lead-acid / Gel |
300–800 |
Poor in heat and cold |
Lowest upfront |
Legacy or tight-budget projects |
LiFePO4 has become the default for quality fixtures for good reason. It handles high ambient heat far better than NMC, tolerates deeper discharges, and delivers many more cycles — which usually makes it cheaper per year of service despite the higher sticker price. Lead-acid still shows up in budget products, but its short life and poor temperature behavior lead to early failures and repeat replacements that erase the initial saving.
Now the part datasheets rarely spell out: lab numbers and field life are not the same thing. A cycle-life rating is measured under controlled temperature and a defined depth of discharge. Out in the field, that same battery bakes at 45°C inside a sealed housing, gets discharged deeper than rated during cloudy stretches, and never fully recharges on short winter days. Each of those conditions shortens real life, sometimes dramatically. This is also where the BMS (battery management system) earns its keep. A quality BMS balances cells, blocks damaging deep discharges, and protects against temperature extremes — and it’s exactly the part a cheap product skimps on. Two batteries with identical chemistry and capacity can live very different lives depending on the BMS behind them.
One myth worth killing: bigger capacity is always better. A larger battery only helps if the panel can actually recharge it and the site needs the extra autonomy. Oversize the battery relative to the panel, and it never reaches full charge — which shortens its life and wastes money. The goal is a matched system sized to real autonomy needs, not the biggest number on the page.
Reading Lumens, Wattage, and Autonomy Without Being Fooled
Spec sheets mislead as often as they inform. Learning to read them turns marketing figures back into real requirements — and stops you from over- or under-buying.
Start with lumens versus wattage, because this is where the first trick lives. Wattage tells you power consumption; it says nothing about how much light you get. Lumens measure actual output, and efficacy (lm/W) tells you how efficiently the fixture converts power into light. A 30W fixture at 150 lm/W beats a 40W unit at 100 lm/W while using less energy. Watch for a common datasheet sleight of hand: “system watts” quietly standing in for LED power, or an initial lumen figure with no lumen-maintenance data behind it. Always compare lumens and efficacy, never watts alone.
Next, turn output into coverage. Lux measures how much light actually reaches the surface, and the requirement varies wildly by application — a main road needs far more than a garden path. Pole height and spacing then decide whether that light lands evenly or leaves dark pools between poles. Roads want taller poles and calculated spacing to hold uniform lux; pathways can run shorter poles set closer together.
Then there’s autonomy — the number of nights the system runs on stored power without a full recharge, your buffer against bad weather. This is the single most manipulated figure on many datasheets. Ask what the autonomy claim assumes. Is it based on full brightness or an aggressive dimming profile? Does it assume a fully charged, brand-new battery in ideal temperature? A “5 autonomy days” rating built on 50% dimming and lab conditions can collapse to two real nights on a cold, cloudy site. Autonomy is only meaningful next to your local sun-hours — a fixture rated for a sunny climate can fail in a cloudier one with the exact same battery.
So when you match specs to a site: compare lumens and lm/W rather than wattage; set lux and pole spacing by application, not habit; size autonomy to your worst realistic weather; and confirm the panel can actually recharge the battery within your local sun-hours. Miss that last check and everything upstream falls apart.
Installation Environment, IP/IK Ratings, and Durability
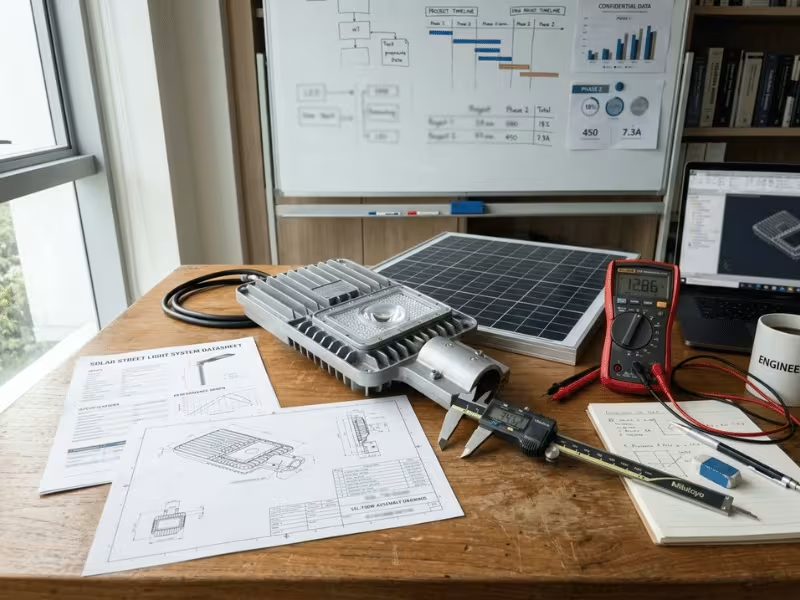
A solar street light lives outdoors for years, taking everything the climate throws at it. The right build and protection rating decide whether it endures or fails early — and matching the two keeps maintenance low.
Protection ratings come first. The IP (Ingress Protection) rating uses two digits: solids/dust, then water. IP65 resists dust and low-pressure water jets, which suits most sites; IP66 handles powerful jets and driving rain, better for exposed or storm-prone locations. The IK rating measures impact resistance — IK08 shrugs off significant knocks, which matters in public or vandalism-prone areas. One caveat worth insisting on: a rating is only as trustworthy as the test behind it, so ask whether IP/IK figures are backed by actual test reports rather than claimed on the box.
Climate shapes long-term performance more than most buyers expect. Heat derates both panels and LEDs and accelerates battery aging — the decisive factor in hot regions. Cold cuts usable battery capacity, so winter losses must feed into your autonomy sizing. Wind loading demands poles, brackets, and foundations rated for local gust speeds, not just the pole in isolation. Coastal salt air corrodes untreated metal fast, so specify galvanized or marine-grade materials—and check whether the product has passed salt-spray testing if the site is near the sea.
Site conditions matter as much as the product. Before installation, walk the site and confirm: the panel is free from shading across the full day; nearby trees or buildings won’t cast new shadows as they grow; the panel faces the sun (south in the northern hemisphere, north in the southern); the tilt suits the latitude; and local sun-hours genuinely support your autonomy target. The warning that bears repeating: even partial shading can slash daily harvest far more than its size suggests. A perfectly specified fixture will still underperform if one branch shades the panel every afternoon — so survey across a full day before you commit.
The proof that this discipline pays off is in the field. Our solar street light project in Tanzania shows how build, battery chemistry, and autonomy were tuned specifically to a hot East African climate rather than a generic spec — the difference between a light that lasts and one that quietly dies its first hot season.
The Buyer Mistakes That Cause Most Field Failures
Most solar street light failures trace back to specification and sizing errors, not to the technology. These six account for the bulk of disappointed projects — and every one is preventable before an order is placed.
- Undersizing autonomy. Systems die during the first long cloudy spell. Fix: size autonomy to your worst realistic weather, not the seasonal average.
- Chasing the lowest price. Cheap fixtures hide short-life batteries, weak LEDs, and absent BMS protection. Fix: compare cost per year of service, not sticker price.
- Ignoring local sun-hours. A product built for sunny climates underperforms in cloudier ones. Fix: size the panel and battery against your site’s real sun-hour data.
- Wrong IP or IK rating. Under-protected units fail in rain, dust, or high-vandalism areas. Fix: specify IP66 and adequate IK for exposed or public sites, backed by test reports.
- No dimming strategy. Full power all night drains batteries and shortens runtime. Fix: use controllers with time- or motion-based dimming to protect autonomy.
- Overlooking warranty and after-sales. A cheap unit with no support turns expensive fast. Fix: confirm warranty terms, spare-part access, and supplier responsiveness before buying.
Notice the pattern: nearly every field failure is a decision that could have been made better at the specification stage. That’s also where every good outcome starts.
Cost, ROI, and Where Solar Wins Hardest
Judging solar by unit price alone leads straight to bad decisions. The real question is total cost of ownership — and knowing where the investment pays back fastest.
Compare upfront against lifetime cost honestly. Solar carries a higher per-unit price than a basic grid fixture, but it erases entire cost lines: no trenching, no cabling, no grid connection fees, no monthly electricity. The main recurring cost is battery replacement every few years — predictable and modest against the infrastructure and energy spend you avoid. Across a full lifecycle, a well-specified solar system frequently costs less than its grid equivalent.
The economics tilt hardest toward solar under a few specific conditions, and it’s worth knowing them because they change the math completely:
- High civil-works cost. Where trenching runs through rock, pavement, or developed land, the savings from skipping it can dwarf the fixture premium.
- Grid extension cost per meter. The further a site sits from an existing connection, the faster solar wins — extending a line even a few hundred meters often costs more than the entire solar install.
- Remote access and maintenance logistics. At hard-to-reach sites, the cost of sending a crew matters more than unit price, which rewards durable, low-maintenance systems.
- Low-traffic roads. These tolerate aggressive dimming, which shrinks battery size and cost while improving ROI.
Solar doesn’t win everywhere, and it’s worth saying so plainly. Where a strong grid connection already exists and sunlight is genuinely scarce, conventional lighting can still deliver lower lifetime cost. The discipline is to match the technology to the site rather than to a preference — and to run the numbers over the full lifecycle, not the first invoice.
OEM/ODM Customization and Choosing a Supplier You Can Trust
Standard products rarely fit every project perfectly, which is why OEM and ODM options matter. Once you understand the technology, the final step is deciding what to customize — and, more importantly, vetting the partner who’ll build it.
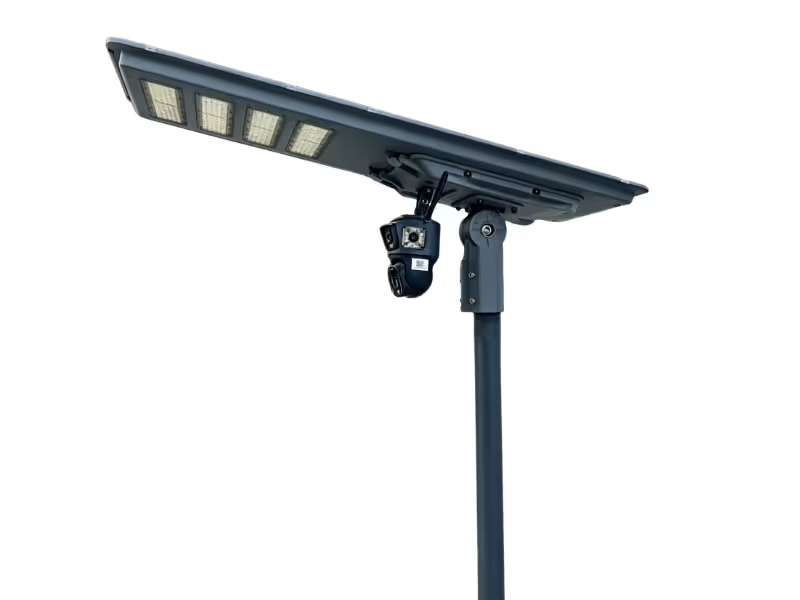
Customization usually covers wattage and lumen output tuned to the application, battery sizing matched to local autonomy, pole design and finish, branding and packaging, and smart controls or sensor configuration. For sites that need more than lighting, that can extend to an integrated solar street light with camera for security and monitoring — increasingly common on municipal and smart-city projects.
But a strong product from a weak supplier still fails, because nobody’s there when something goes wrong. Before you commit, put every candidate through a hard screening — these are the questions that separate a real manufacturer from a reseller:
- Certifications: valid CE, RoHS, and relevant IEC documentation for your target market — actual certificates, not claims.
- Test evidence: real reports for battery cycle life, IP/IK ratings, and LED performance — ideally LM-80 data with TM-21 projections for lumen maintenance, and salt-spray results for coastal work.
- Sizing support: can they size the system against your local irradiance and sun-hours, and provide pole, bracket, and foundation load calculations?
- Warranty: clear terms, realistic coverage, and genuinely accessible spare parts.
- References: completed projects similar in scale and climate to yours.
- Responsiveness: technical support that helps you specify correctly rather than just close a sale.
This is where a manufacturer’s real depth shows, and where Sigostreetlight prefers to start — at the specification stage, matching components, autonomy, and output to your actual site conditions before a single unit is built, then backing custom OEM and ODM work with documentation you can verify. The aim isn’t to sell you the biggest system; it’s to size the right one and stand behind it.
Bringing It Together
Choosing solar street lights well comes down to one discipline: match the system to the site. Size autonomy to your real weather, balance components instead of chasing a single spec, specify the IP rating and battery chemistry for your climate, and judge cost across the full lifecycle rather than the first invoice. Read the datasheet skeptically — ask what the autonomy assumes, what the lumen figure hides, and what test reports actually exist. Every failure in the field traces back to a decision that could have been made better up front, which means every reliable installation starts there too.
The practical next step is simple: map your site’s sun-hours, coverage needs, and durability requirements against the criteria in this guide. When you want a second opinion on a spec — or help sizing a system for a difficult climate — reach out to the Sigostreetlight team for a review or project consultation, and turn a sound plan into lighting that quietly does its job for years.