
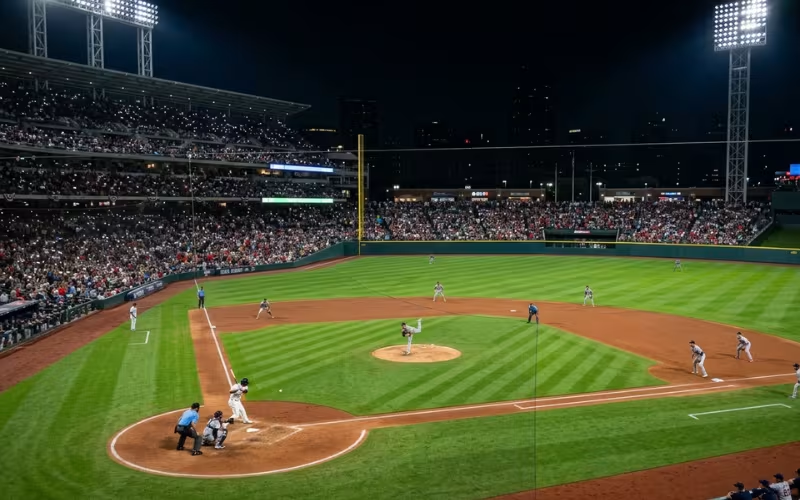
LED lighting has become the standard for baseball fields because it delivers better uniformity, sharper visibility for tracking fast-moving balls, and 50-75% lower energy costs than metal halide. The right system depends on field level: youth fields need safe, even light; high school and college fields need higher footcandles and glare control; broadcast fields need high CRI and flicker-free performance.
I’ve spent years helping facility managers and athletic directors figure out how to light their fields properly, and baseball is consistently one of the trickiest sports to get right. A football field just needs even light across a rectangle. A baseball field asks your lighting system to serve a batter tracking a 90-mph fastball, an infielder judging a bad-hop grounder, and an outfielder losing a fly ball against a dark sky, all at the same time, on a field shaped nothing like a simple grid.
This guide walks through what actually matters when you’re planning an LED lighting upgrade for a baseball field: the metrics that count, how requirements shift by level of play, what drives cost, and the mistakes I see buyers make again and again. Whether you’re managing a Little League complex or a college stadium with broadcast ambitions, you’ll find practical, field-tested guidance here rather than generic lighting theory.
Why More Baseball Fields Are Switching to LED
The shift away from metal halide lighting isn’t a trend chasing hype. It’s a response to real operational pain: constant relamping, unpredictable color shift, and electric bills that climb every year. LED technology solves each of those problems directly, and it does so while improving the actual quality of light on the field.
Metal halide fixtures take several minutes to reach full brightness, degrade in output far faster than advertised, and typically need bulb replacement every 10,000 to 20,000 hours. LED fixtures, by contrast, turn on instantly, maintain consistent output over tens of thousands of hours, and give facility managers far more control over beam angle, dimming, and zoning.
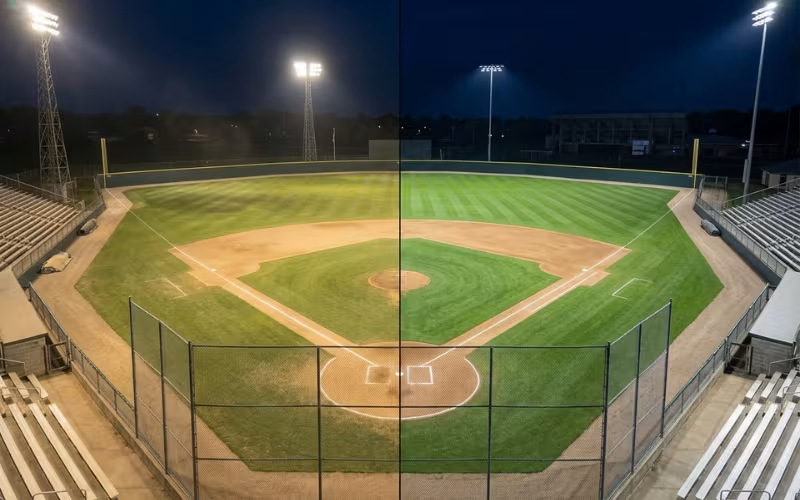
For a facility running a field several nights a week, that lifespan difference alone can mean the gap between one maintenance visit a decade and a crew climbing poles every year or two. That’s before you factor in the energy savings, which for most retrofits show up on the very first utility bill.
Why Baseball Is One of the Hardest Sports to Light Well
Most sports need light on a field. Baseball needs light that supports three distinct visual tasks happening simultaneously, each with its own demands on brightness, angle, and uniformity.
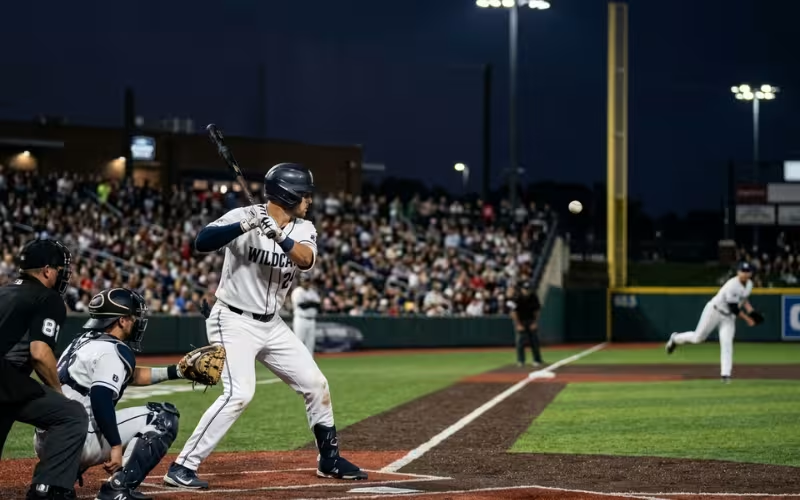
No single design consideration solves all three problems. Effective baseball field lighting requires balancing horizontal and vertical illuminance, controlling glare from multiple viewing angles, and maintaining uniformity across an irregularly shaped playing surface. That’s why I always tell clients that baseball lighting design deserves more scrutiny than a standard rectangular-field sport.
The Lighting Metrics That Actually Matter
Buyers get overwhelmed by lighting spec sheets, but only a handful of metrics genuinely determine whether a system will perform well on a baseball field. Here’s what to focus on.
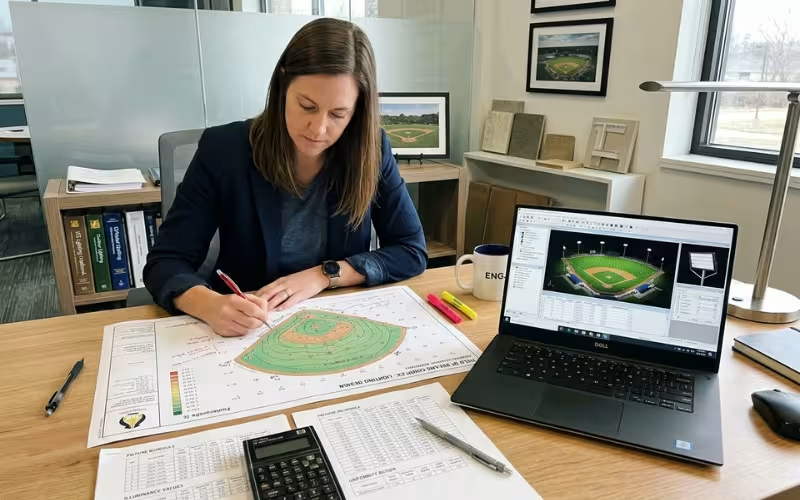
Footcandles: Start With the Level of Play
Footcandle (fc) targets scale directly with the level of competition, since higher levels involve faster ball speeds and greater visual precision demands.
These ranges follow general guidance similar to the illuminance frameworks used in standards like EN 12193, which I cover in more depth in my guide to LED sports lighting standards for stadiums. If you’re planning a facility that might host higher-level tournaments or broadcast games down the road, it’s worth designing toward the upper end of your current level’s range rather than the minimum.
Horizontal vs. Vertical Illuminance
Horizontal illuminance measures light hitting the ground, which matters most for infield play and general field visibility. Vertical illuminance measures light hitting a vertical plane, which matters most for outfielders tracking fly balls and for cameras capturing broadcast footage. A field that only optimizes for horizontal footcandles can look perfectly bright on a light meter while still leaving outfielders struggling to track the ball. Any competent lighting design for baseball needs to specify both.
Uniformity Matters More Than Raw Brightness
Uniformity ratio compares the darkest spot on the field to the average or brightest illuminance level. A field with high average footcandles but poor uniformity will have dark pockets that create real tracking problems, even if the overall numbers look impressive on paper. I generally recommend targeting a uniformity ratio of at least 0.7 (minimum to average) for competitive play, and organizations chasing broadcast-quality lighting should aim tighter still. Uniformity, not peak brightness, is usually the difference between a field that “feels” well-lit and one that doesn’t.
Glare Control Affects Safety, Comfort, and Playability
Glare isn’t just uncomfortable, it’s a safety issue. A poorly shielded fixture positioned in an outfielder’s sightline can cause a player to lose the ball entirely. Good LED fixtures use internal optics and external shielding to direct light precisely where it’s needed and minimize spill into players’ and spectators’ eyes. When evaluating fixtures, ask for glare ratings and, ideally, a lighting simulation that models sightlines from home plate, the infield, and outfield positions.
Color Temperature and CRI
Most baseball fields perform best with a color temperature between 5000K and 5700K, which produces a crisp, daylight-like white that supports fast visual tracking. Color Rendering Index (CRI) measures how accurately colors appear under the light; a CRI of 70+ is acceptable for recreational play, but anything intended for broadcast or livestreaming should target CRI 80 or higher to ensure uniforms, the ball, and the field surface render accurately on camera.
How to Match an LED Lighting System to Your Field
Not every field needs the same lighting package, and over-speccing a youth field wastes money just as badly as under-speccing a college venue compromises play. Here’s how I typically approach matching systems to field level.
Youth and Little League Fields
At this level, safety and basic visibility take priority over broadcast-grade performance. Footcandle targets can stay modest, but uniformity and glare control still matter enormously, since younger players have less experience tracking balls under lights. Budget-conscious fixture selection and simple, reliable controls are usually the right call here.
High School Fields
High school fields need a meaningful step up in footcandles to support faster play, along with better uniformity to accommodate a wider range of skill levels across varsity and JV squads. Many high school programs are also starting to livestream games for families, which pushes CRI and color temperature considerations higher up the priority list than they used to be.
College Fields
College programs typically need higher footcandle levels, tighter uniformity ratios, and more attention to vertical illuminance, since games are faster and scouting and recruiting video often depend on quality lighting. Smart controls become more valuable here too, since college fields often host a mix of games, practices, and camps that benefit from adjustable lighting scenes.
Professional or Broadcast-Oriented Fields
Fields designed for televised or high-production livestreamed games need the highest footcandle levels, the tightest uniformity ratios, high CRI (80+), and flicker-free performance rated for high-frame-rate cameras. This is also where dynamic controls, like pre-set scenes for batting practice, game play, and post-game ceremonies, deliver the most value.
What Drives Project Cost and ROI
Cost is usually the first question I get, and the honest answer is that it depends heavily on field size, existing infrastructure, and how ambitious the lighting targets are.
What Makes Costs Go Up
Higher footcandle targets require more fixtures or higher-wattage units, both of which raise upfront cost. Poles in poor condition or undersized electrical service can trigger expensive infrastructure work before a single fixture goes up. Broadcast-grade requirements, like high CRI, tight uniformity, and flicker control, also push costs higher because they demand premium fixtures and more precise aiming.
What Helps Keep Costs Down
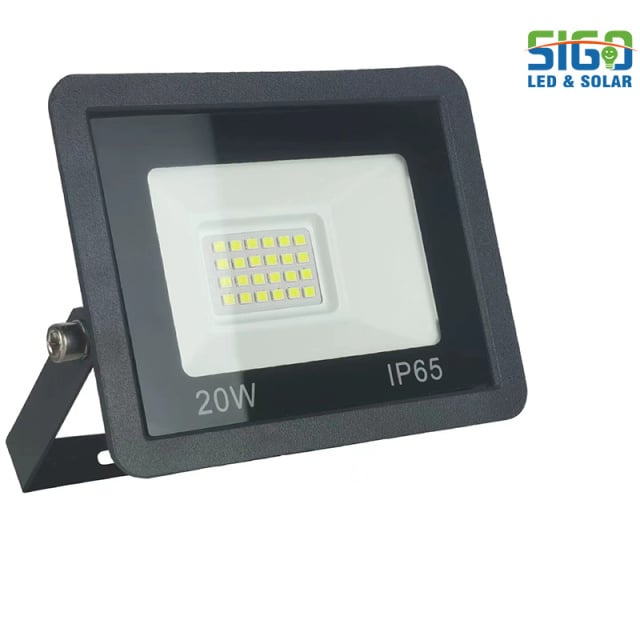
Reusing existing poles, when structurally sound, is one of the biggest cost-saving opportunities in a retrofit, since LED fixtures are significantly lighter than metal halide equivalents. Choosing modular fixture designs, like the LED flood lights built with adjustable beam angles and scalable wattage options, also helps facilities right-size their investment without overpaying for capacity they don’t need.

How to Think About Payback
Most LED retrofits pay for themselves within 3 to 7 years through energy savings and reduced maintenance, though fields with heavy usage and high local electricity rates often see payback in under four years. The math generally comes down to run hours, local utility rates, and whether rebate programs are available in your area.
Before You Retrofit, Check These Site Conditions
A lighting upgrade is only as good as the infrastructure supporting it. I’ve seen otherwise well-planned projects run into costly surprises because these details got overlooked early on.
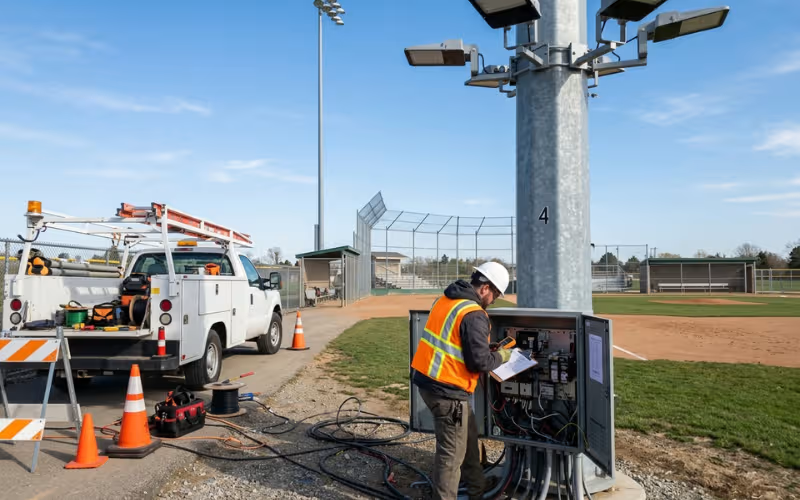
Can You Reuse Your Existing Poles?
LED fixtures weigh considerably less than metal halide equivalents, so many existing poles can handle the switch without reinforcement. Still, don’t assume compatibility. Have an engineer assess pole age, corrosion, and wind-load ratings before finalizing a design, especially for poles that have been in place for 20+ years.
Check Your Conduit and Wiring
Older fields often have conduit and wiring sized for the higher amperage draws of metal halide systems. While LED’s lower power draw usually means existing wiring is more than adequate, it’s worth confirming conduit condition and capacity, particularly if you’re planning to add smart controls that require additional low-voltage wiring for communication.
Confirm Your Panel and Service Capacity
Even though LED systems draw less power overall, it’s still worth verifying that your electrical panel and service capacity align with the new system’s requirements, especially if you’re adding capacity for future expansion or additional fields.
Aiming and Commissioning Are Not Optional
A well-designed lighting system can still underperform badly if fixtures aren’t aimed correctly during installation. Proper commissioning, including aiming verification and initial light-level testing, should be a contractual requirement, not an afterthought.
Verify the Light After Install
Once the system is live, measure actual footcandle levels and uniformity ratios on the field itself rather than relying solely on the design simulation. Field conditions, fixture placement tolerances, and even paint or turf reflectance can all cause real-world results to differ slightly from projections.
Common Buying Mistakes to Avoid
Over the years, I’ve seen the same handful of mistakes derail otherwise well-intentioned lighting projects.
What to Ask a Lighting Vendor Before You Sign
A good vendor conversation should cover far more than price per fixture. Here’s a checklist I recommend every buyer use before signing a contract.
Frequently Asked Questions
These are the questions buyers most often ask when they move from research to real project planning. The answers are short, but practical.
Getting Your Baseball Field Lighting Right
Baseball asks more of a lighting system than most sports, and treating it like any other rectangular field is one of the most common ways facilities end up disappointed with their upgrade. The fields that get it right start with a clear picture of their level of play, prioritize uniformity and vertical illuminance alongside raw brightness, and verify site conditions before committing to a design.
If you’re at the early stages of planning a retrofit, start with an honest assessment of your current poles, wiring, and panel capacity, then work backward from your footcandle and uniformity targets to select fixtures suited to your field’s actual needs. A properly designed LED system, paired with careful aiming and commissioning, will serve your players, coaches, and spectators well for the better part of two decades.